Part 9 covered the basic PIM flow: configure role → assign Eligible → user activates → admin removes when done. This guide adds two layers:
- An approval workflow — the user can’t just activate; an approver has to say yes first
- The renew/extend mechanic — how the system handles role assignments that are time-bound and approaching expiry
Approval workflows are the right pattern for high-blast-radius roles (Global Admin, Privileged Authentication Admin, User Admin). For lower-tier roles (Security Reader, Helpdesk), self-activation with MFA + justification is enough. Apply approval where the cost of misuse outweighs the friction.
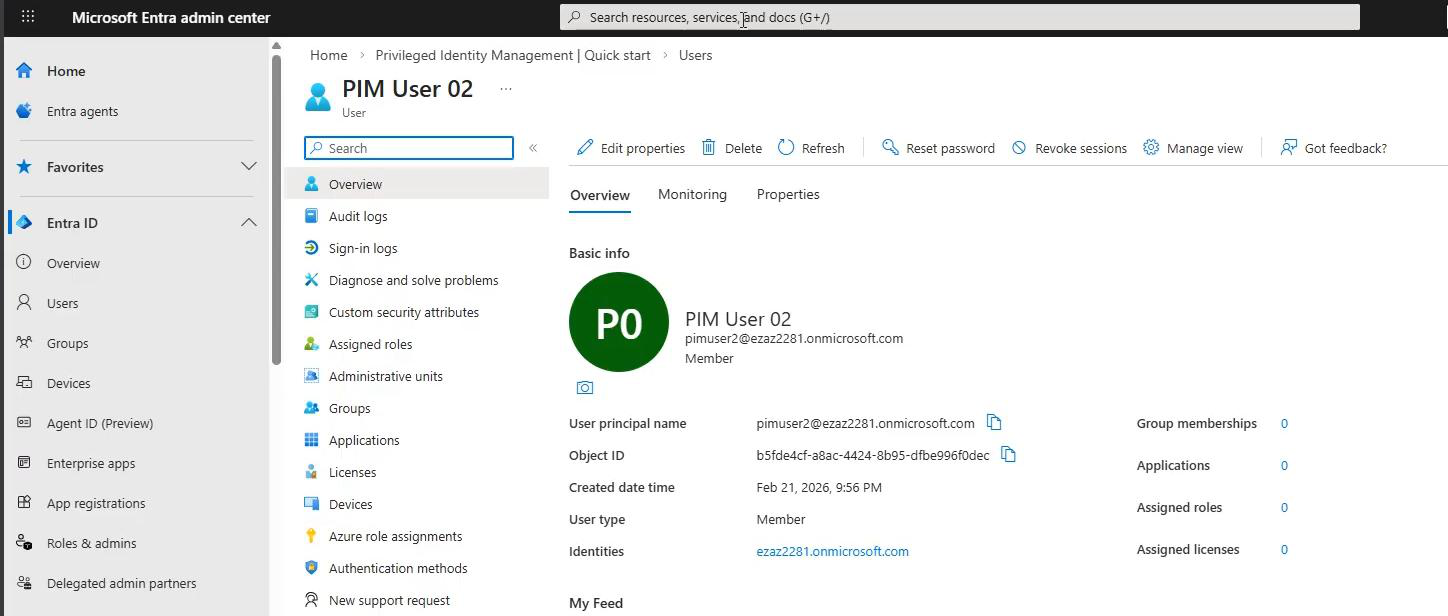
Prereq: create a standard test user account. No license needed for PIM testing.
Phase 1 — configure the role with approval
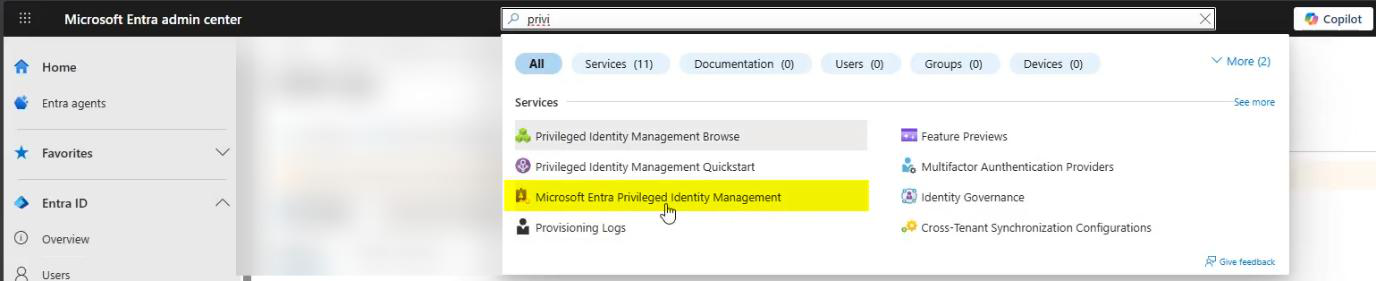
Sign in as Global Admin > PIM.
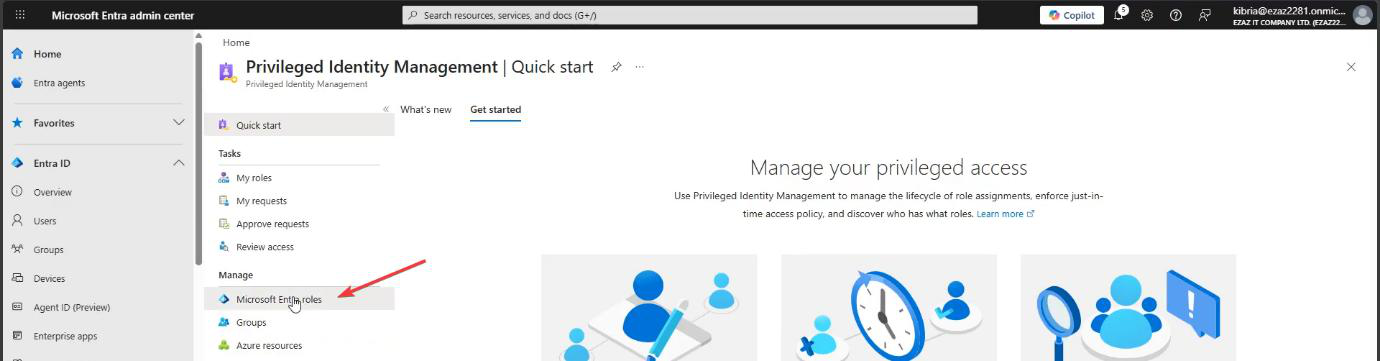
Microsoft Entra roles > Manage > Settings.
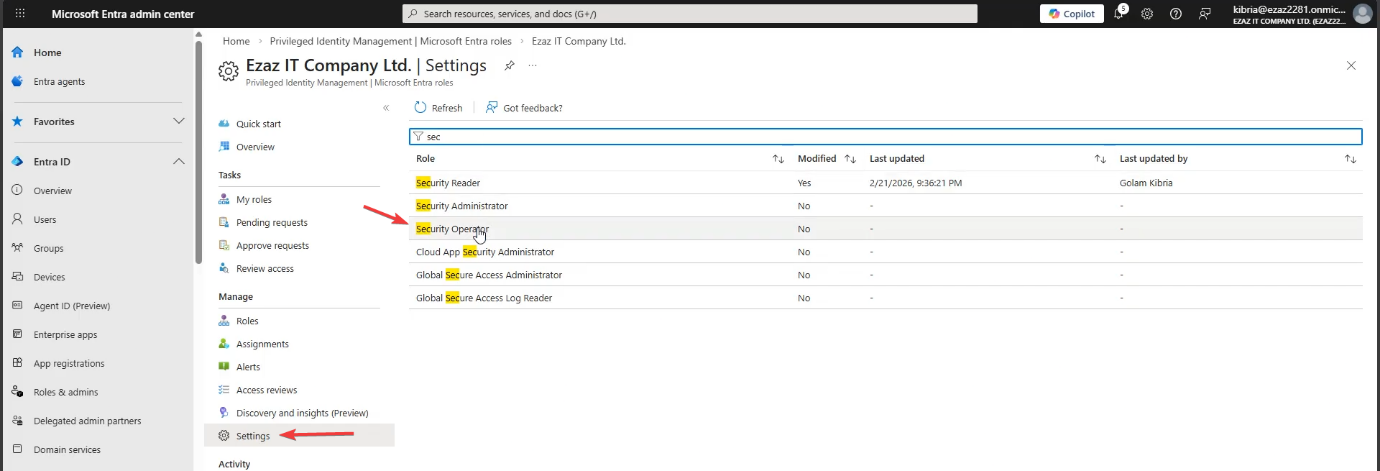
Security Operator — view, manage, dismiss security alerts in Defender + Entra. Used as the worked example here. In production: pick the role that fits the user’s actual job.

Edit > Activation tab.
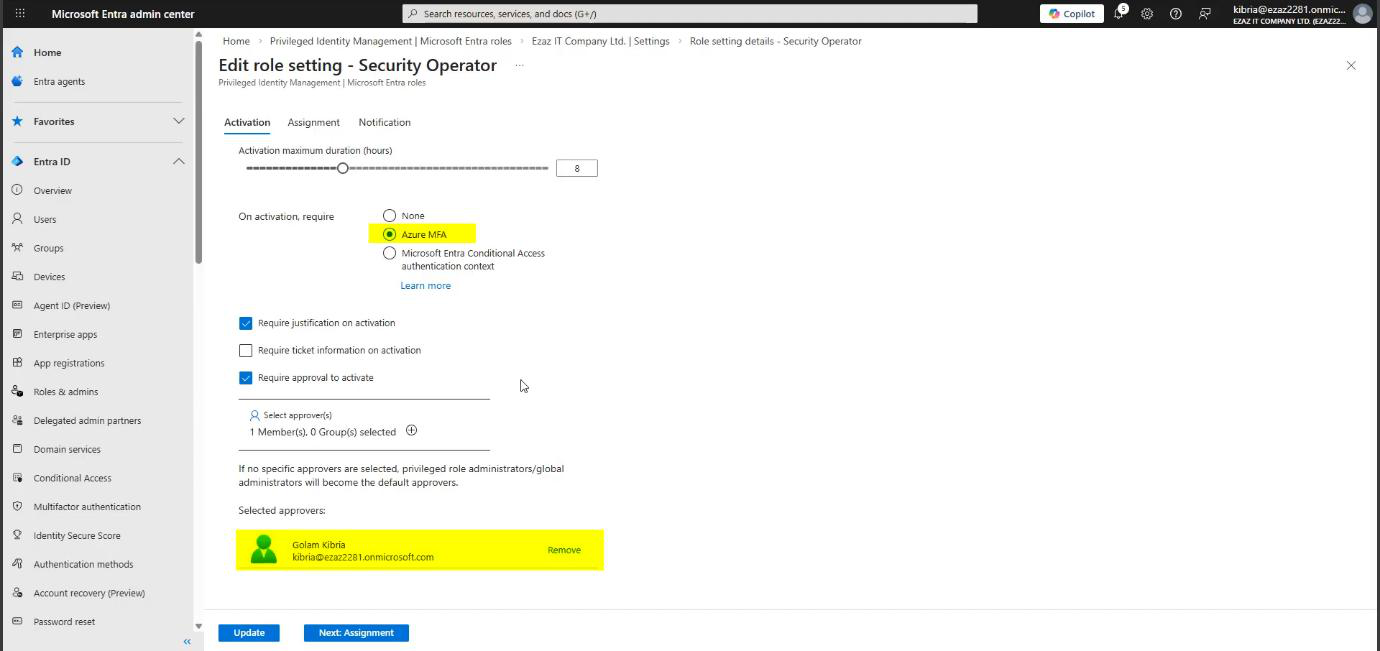
Tick all four:
- Maximum duration: 8 hours
- Require Azure MFA on activation
- Require justification on activation
- Require approval to activate — the new piece. Click the link to add an approver. Pick your Global Admin account for this test (production: a security/compliance team distribution group is better — never one person)
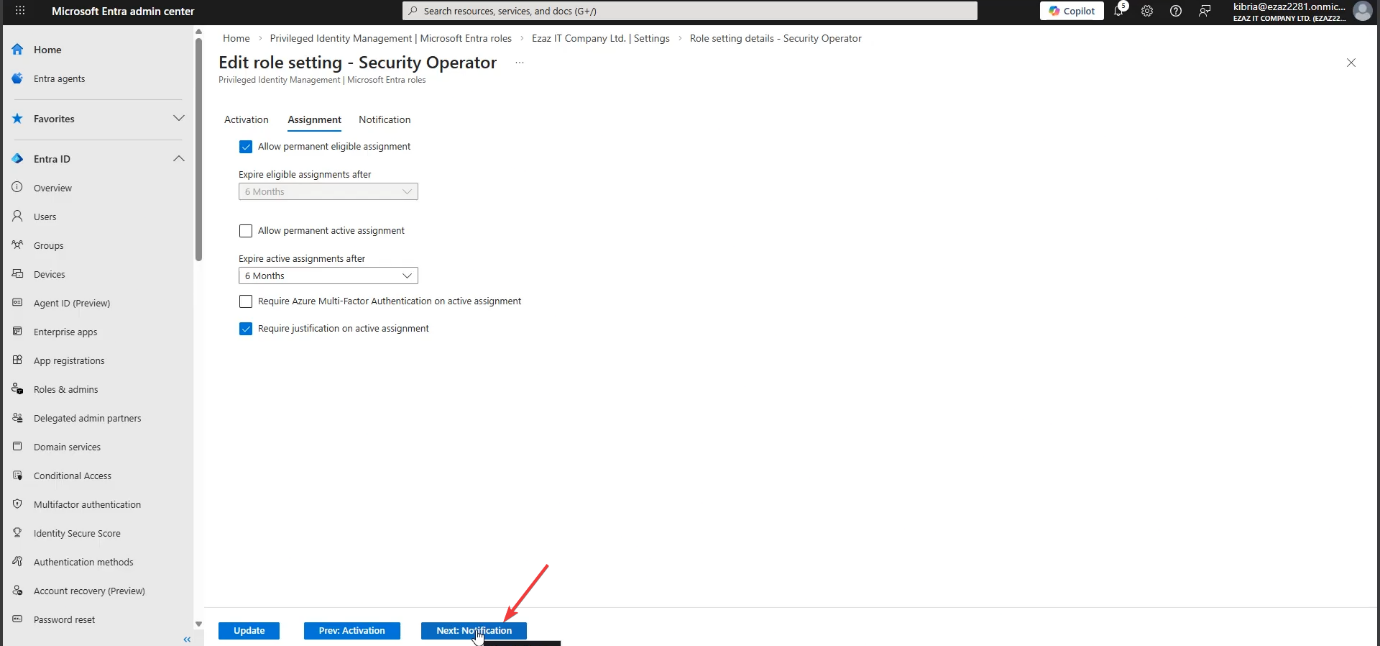
Assignment tab: Permanent eligible = ON. Permanent active = OFF. Same rule as Part 9.
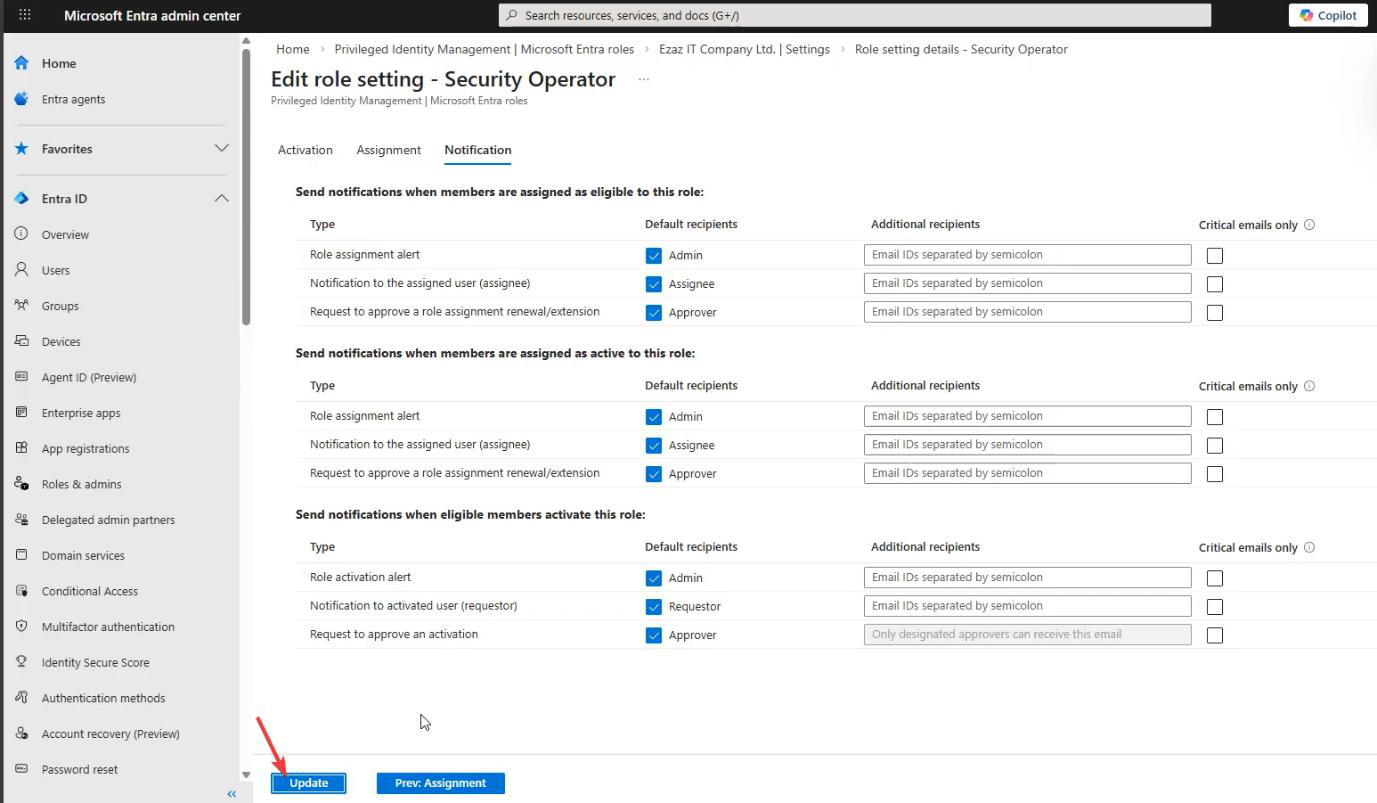
Notification tab: defaults > Update. The default emails are critical for an approval workflow — without them you have no way to know there’s a pending request.
Phase 2 — assign the eligible role
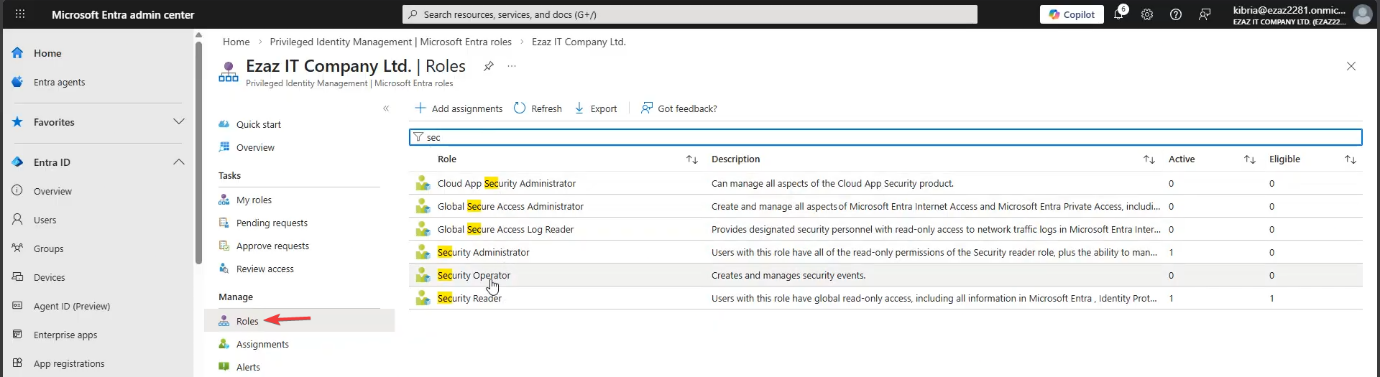
PIM > Manage > Roles > Security Operator.
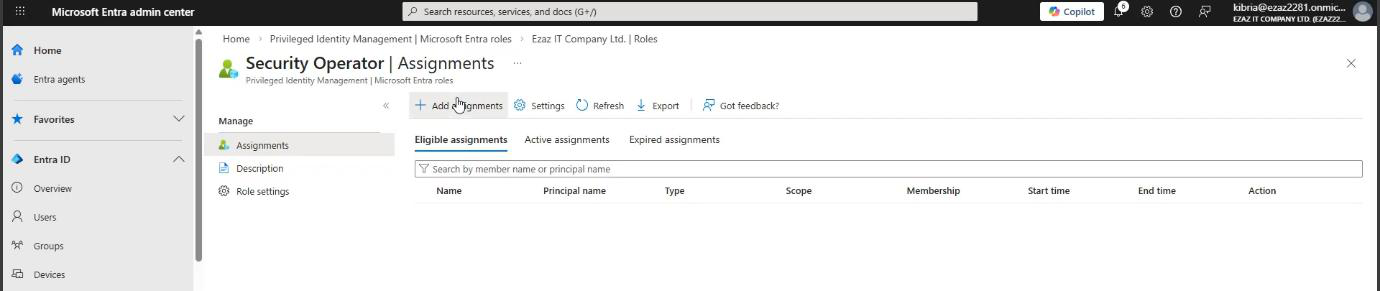
+ Add assignments.
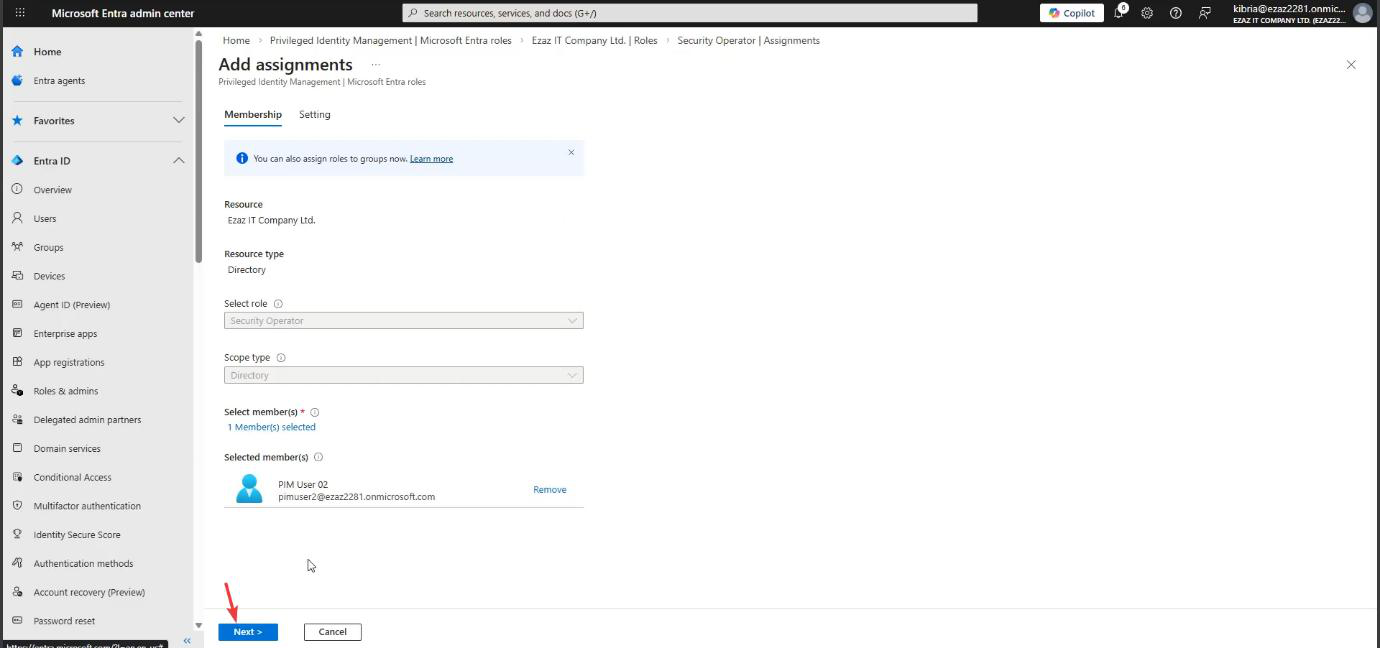
Pick the test user > Next.
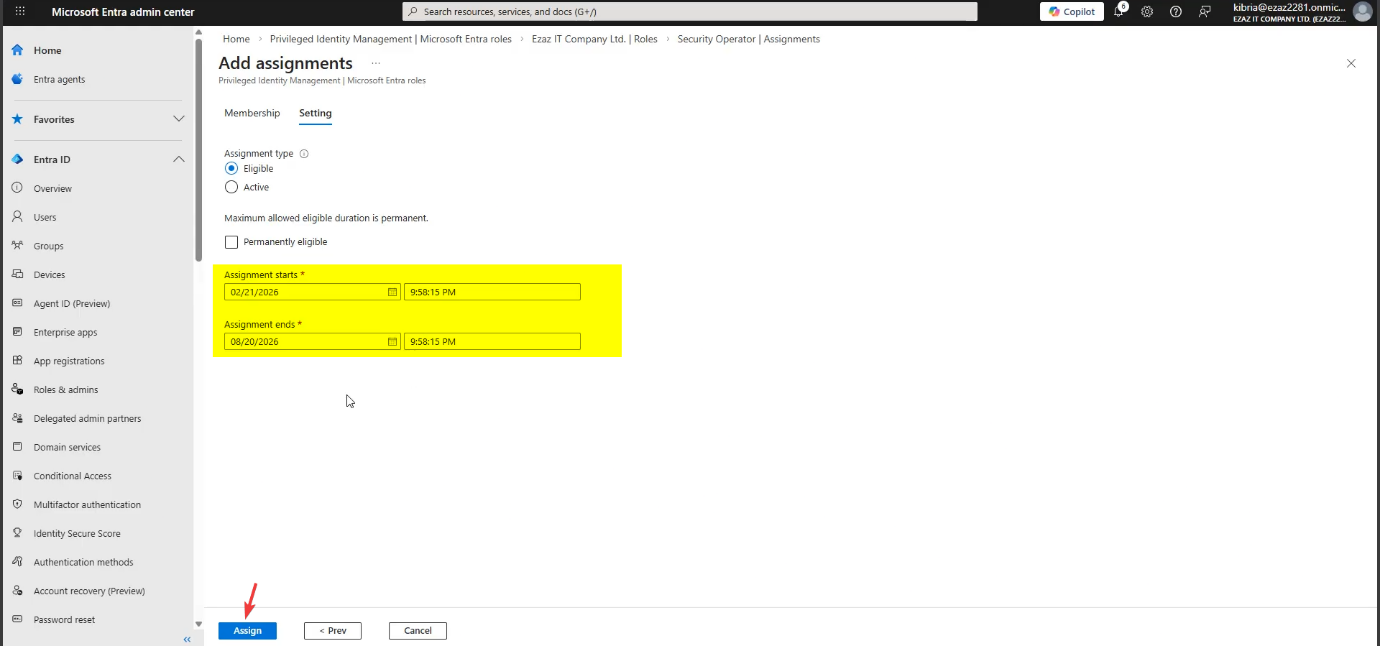
Assignment type: Eligible. Configure a start and end timeframe (e.g. 6 months). Optional: untick Permanent for time-bound access. The end date matters — the Extend mechanic in Phase 5 keys off this.
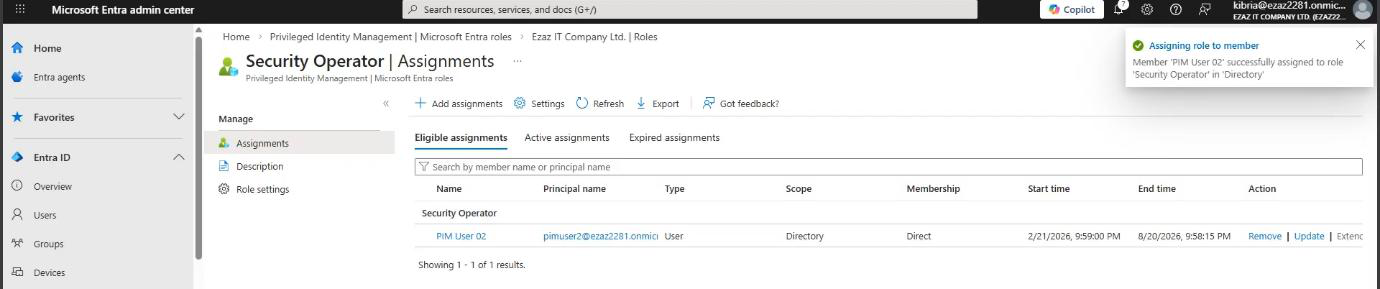
Assign. Test user is now Eligible.
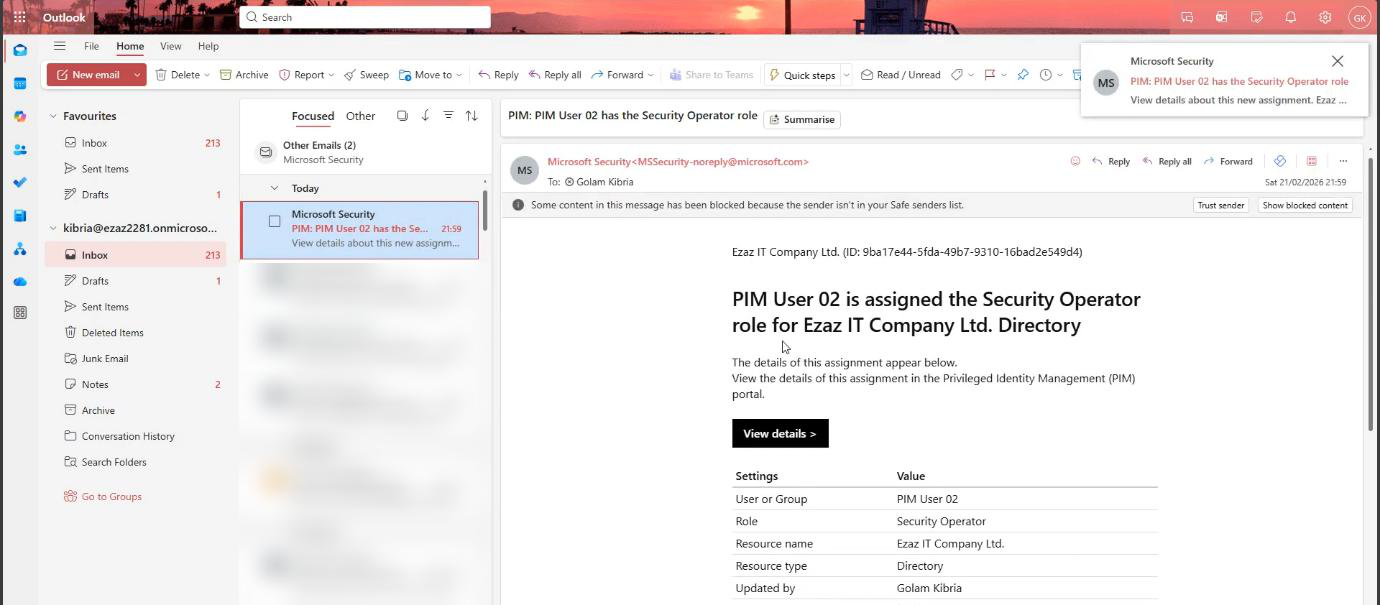
First email auto-sends to the Global Admin: assignment confirmed.
Phase 3 — user requests activation
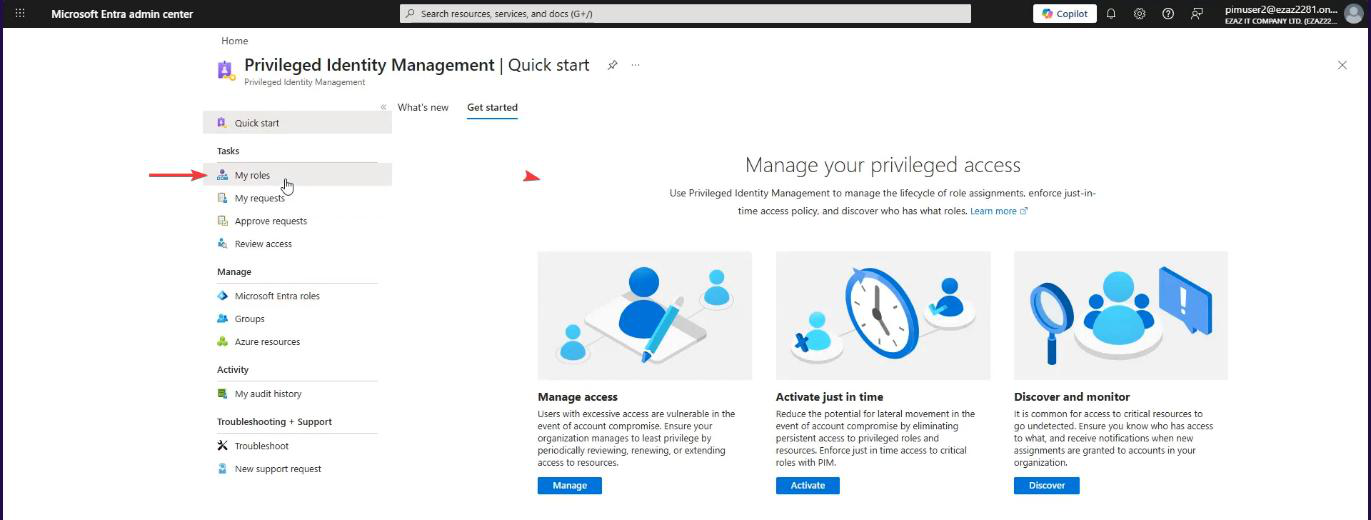
Test-user browser. My roles > Microsoft Entra roles > Security Operator under Eligible > Activate.
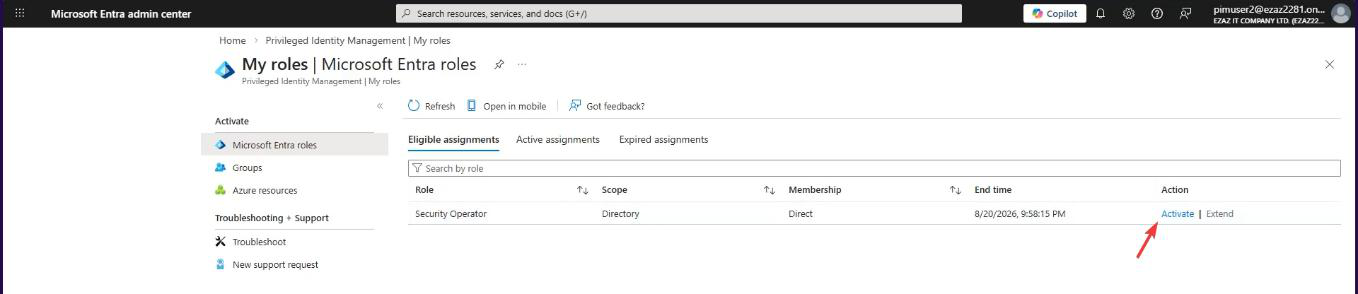
Pane: max duration locked at 8h (admin set the ceiling in Phase 1, can’t exceed it). Type a reason — specific is better. “Triaging Defender alert IR-2026-0142” beats “work.” Activate.
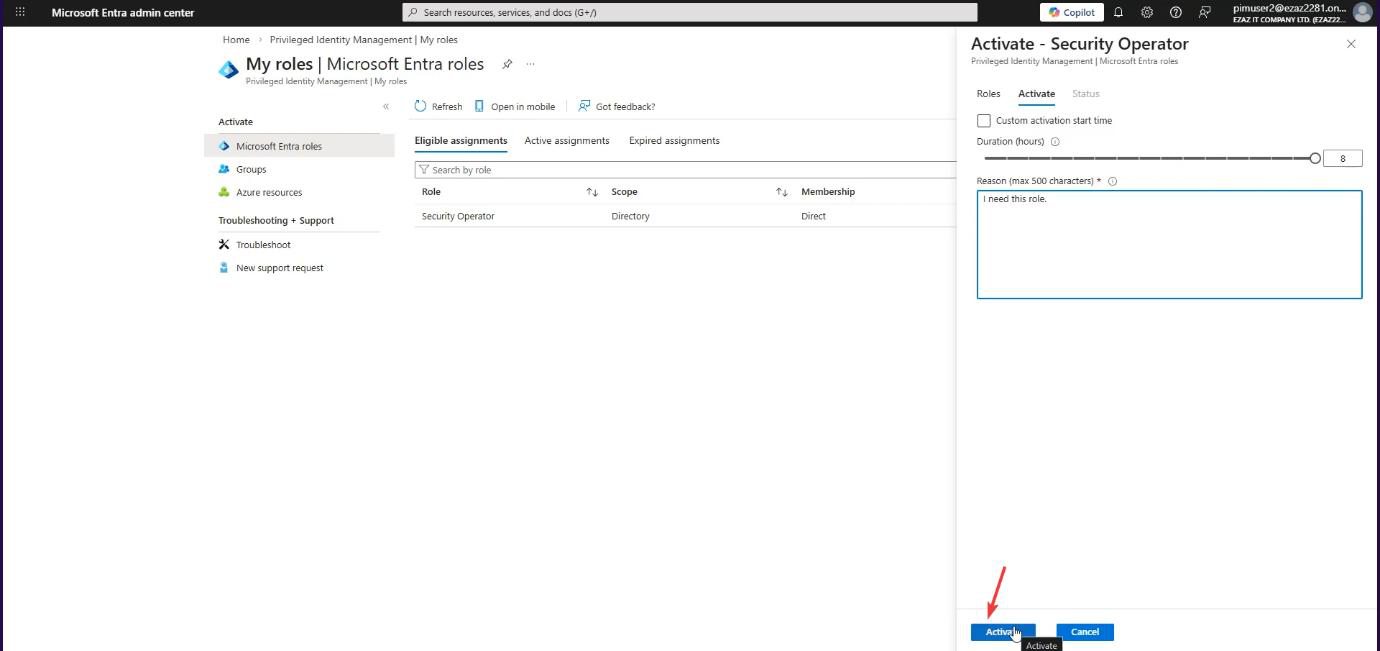
Because we required approval, the request enters Pending for approval state. The user’s permissions DO NOT activate yet.
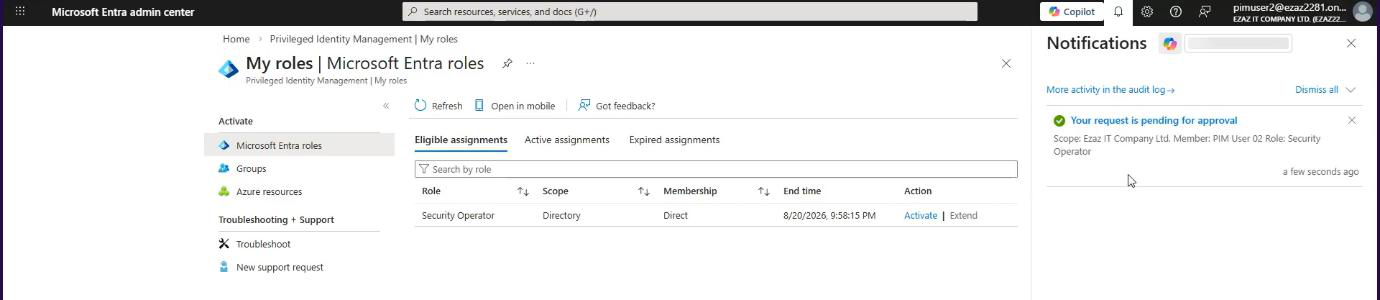
Notification bell > status: Pending. The user can refresh; nothing changes until an admin approves.
Phase 4 — admin approves

Global-admin browser. PIM > Tasks > Approve requests. The pending request appears here. (Approver also got an email in the meantime.)
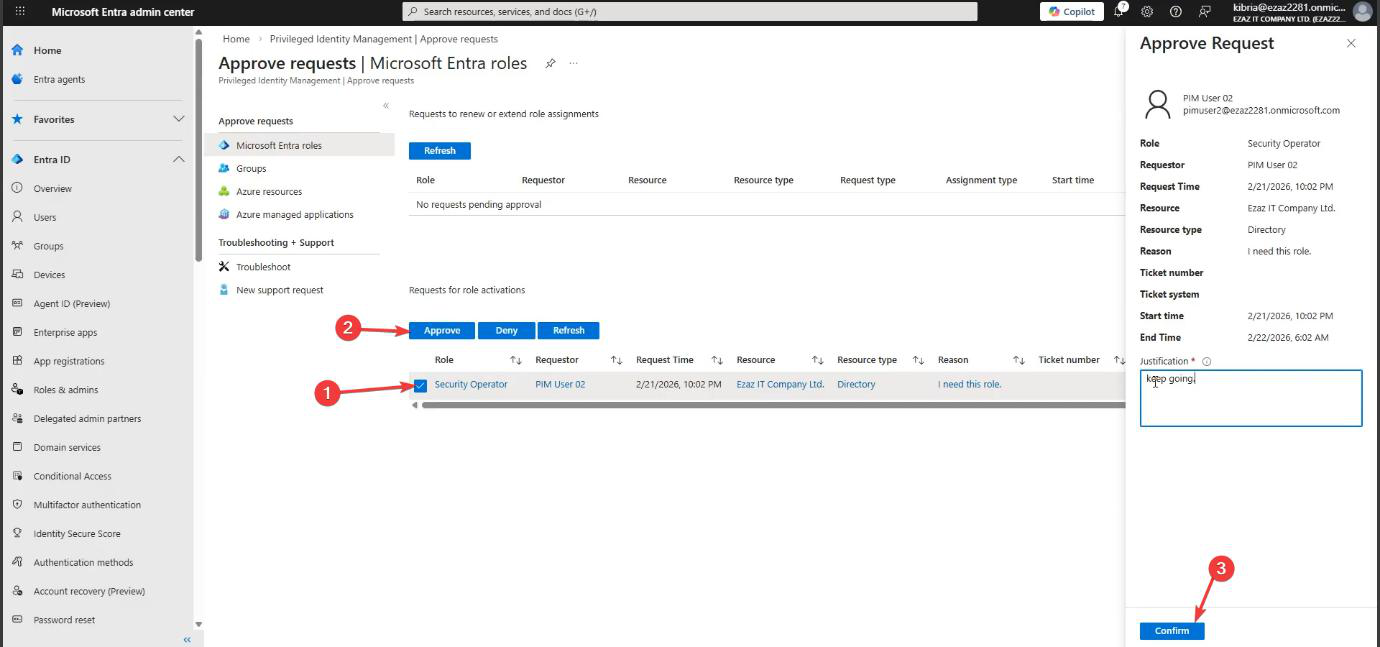
Tick the request > Approve > type a justification (auditable too) > Confirm.
If the request looks suspicious (wrong user, wrong reason, off-hours from an unfamiliar location), Deny instead and ping the user out-of-band to verify before approving.
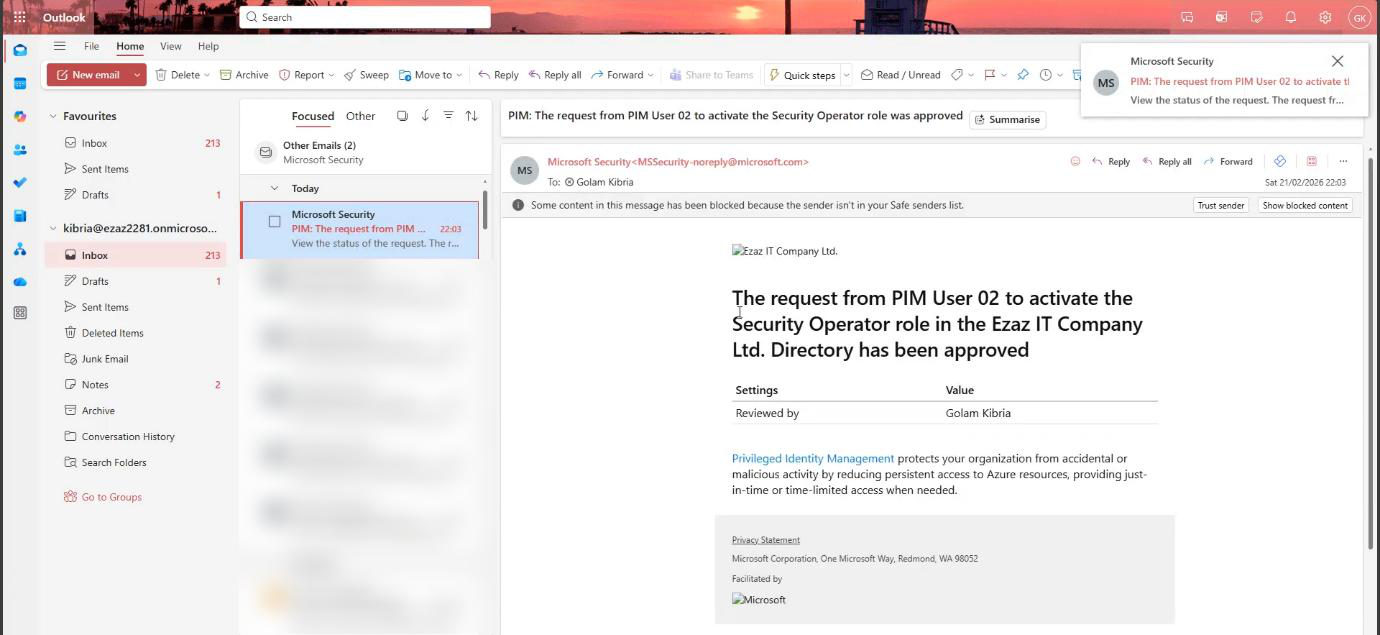
Final email: role is now active. User can refresh and start working.
Phase 5 — verify + understand “Extend”
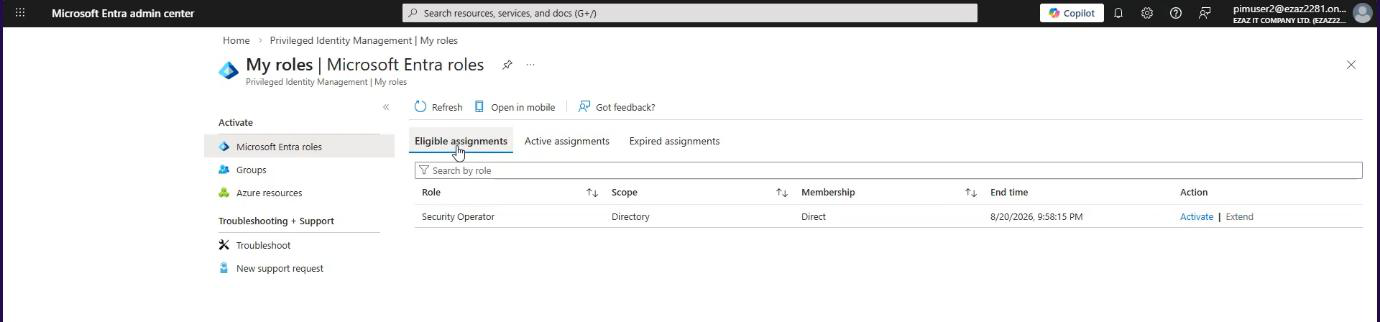
Test user: My roles > Active assignments tab. Security Operator now active for the next 8 hours.
What “Extend” actually does
You’ll see an Extend button next to the role — greyed out. This trips up new users every time. Extend does NOT extend the current 8-hour activation. It refers to the overall assignment timeframe we set in Phase 2 (the 6-month window).
The Extend button lights up automatically in the last 14 days of the assignment expiry. So if you assigned a 6-month role and 5 months 16 days have passed, Extend becomes clickable and the user can request renewal from the admin (with a reason). Before that 14-day window, it’s greyed out by design.
If the user needs more than 8 hours of active session time today, they re-activate after expiry — same approval workflow each time. (For high-frequency activation patterns, lower the max duration to make re-activation less painful, or grant the user permanent Active for low-tier roles.)
Phase 6 — remove or update
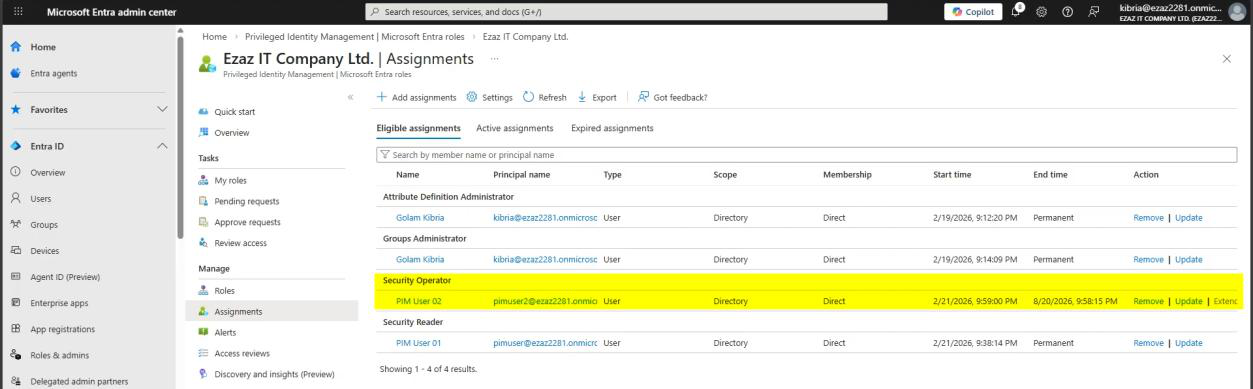
Admin: PIM > Manage > Assignments > pick the user. Right side:
- Update — change start/end, change Eligible ↔ Active
- Remove — revoke the role entirely
Project ends or person changes jobs → remove. Don’t leave dormant Eligible assignments around — they’re still attack surface.
Things that bite people
Single approver = bottleneck
If you set one person as the approver and they’re on holiday / sick / out of office, every request stalls. Always set a group of approvers (3+ people, or a distribution group). Any one of them can approve.
User can self-approve their own request
If you accidentally add the requesting user to the approver group, PIM lets them self-approve — defeating the entire workflow. Always exclude the user from their own approver list.
Approver doesn’t have time to review
If approval requests pile up, approvers tend to rubber-stamp. Two mitigations: (1) make the user’s reason field a required quality (reject vague reasons), (2) sample 1-in-10 approvals for spot-audit by a separate role.
Time-bound assignment expired without warning
The 14-day, 1-day, expiry emails go to the user AND the admin. If they’re going to a shared mailbox no one reads, the user loses access without warning. Confirm the email destination is monitored.
“Pending forever” requests
Requests don’t auto-expire if no one approves them — they sit in the queue. Periodically clean stale requests. PIM has no built-in “auto-deny after X days”.
What’s next
You now have role-based access (RBAC), MFA, Conditional Access, IP blocking, audit logging, PIM with and without approval. The next post in the Entra ID Security pathway shifts focus to devices — the four Entra device join types and when to use each.