SQL Server Always On Availability Groups (AG) are the modern HA + DR primitive for SQL workloads. Two or more SQL nodes hold synchronized copies of the same database. A listener (virtual network name) sits in front, so applications connect to one address and reach whichever node is currently primary — failover is transparent.
This is the first part of a 7-post series that builds a complete AG lab from bare metal:
- Part 1 (this article) — create two identical Hyper-V VMs that will become SQL-NODE-01 and SQL-NODE-02
- Part 2 — install SQL Server 2022 + SSMS on both nodes
- Part 3 — configure Windows Failover Clustering across both nodes
- Part 4 — create the database that will be in the AG
- Part 5 — configure the Availability Group + listener VNN
- Part 6 — verify replica synchronization
- Part 7 — manual failover testing
Production setup: two physical hosts. Lab setup: two Hyper-V VMs — identical RAM, vCPU, OS version. Same domain, same SQL service account.
Build VM #1 — SQL-NODE-01
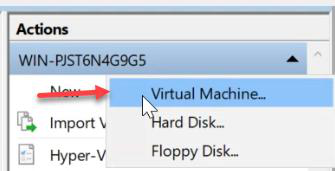
Open Hyper-V Manager on your physical host. Action pane > New > Virtual Machine.
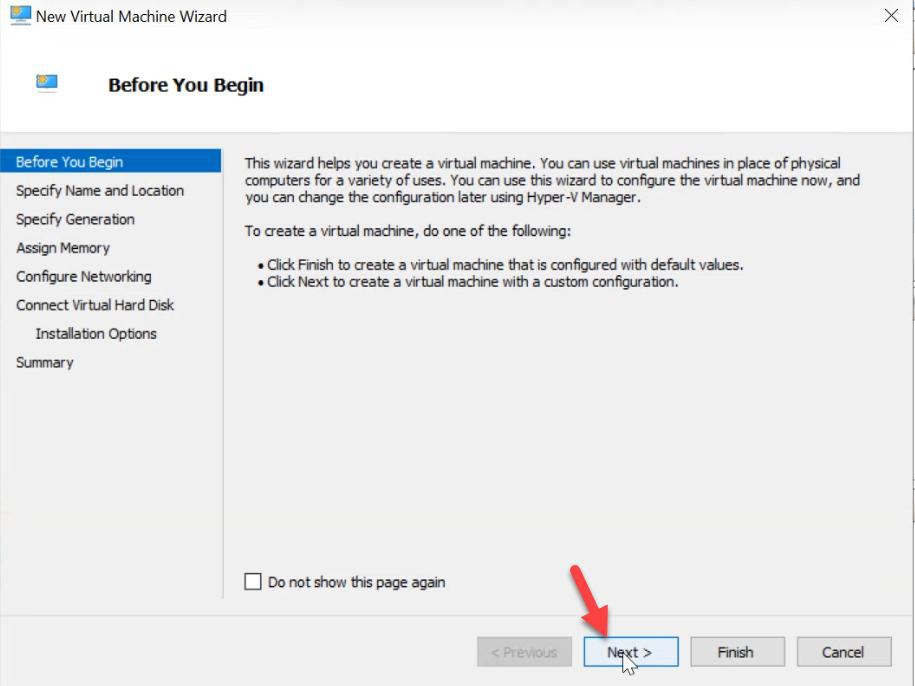
Before You Begin > Next.
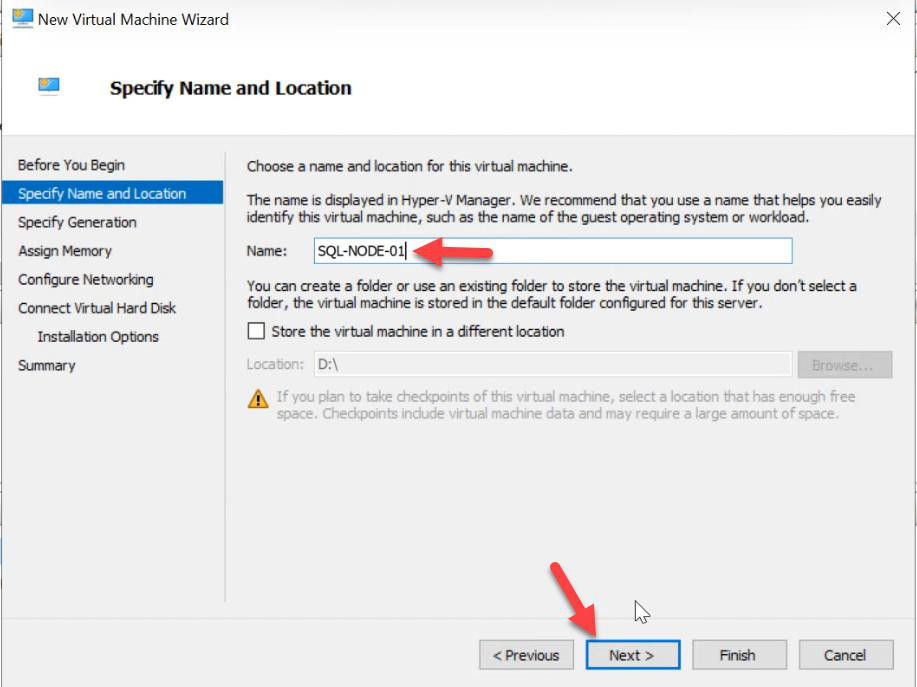
SQL-NODE-01 > Next. Pick a location with enough free disk for the OS VHDX.Name: SQL-NODE-01. Storage location: pick a path with enough free space for the 80 GB OS VHDX (and later, larger SQL data VHDXs).
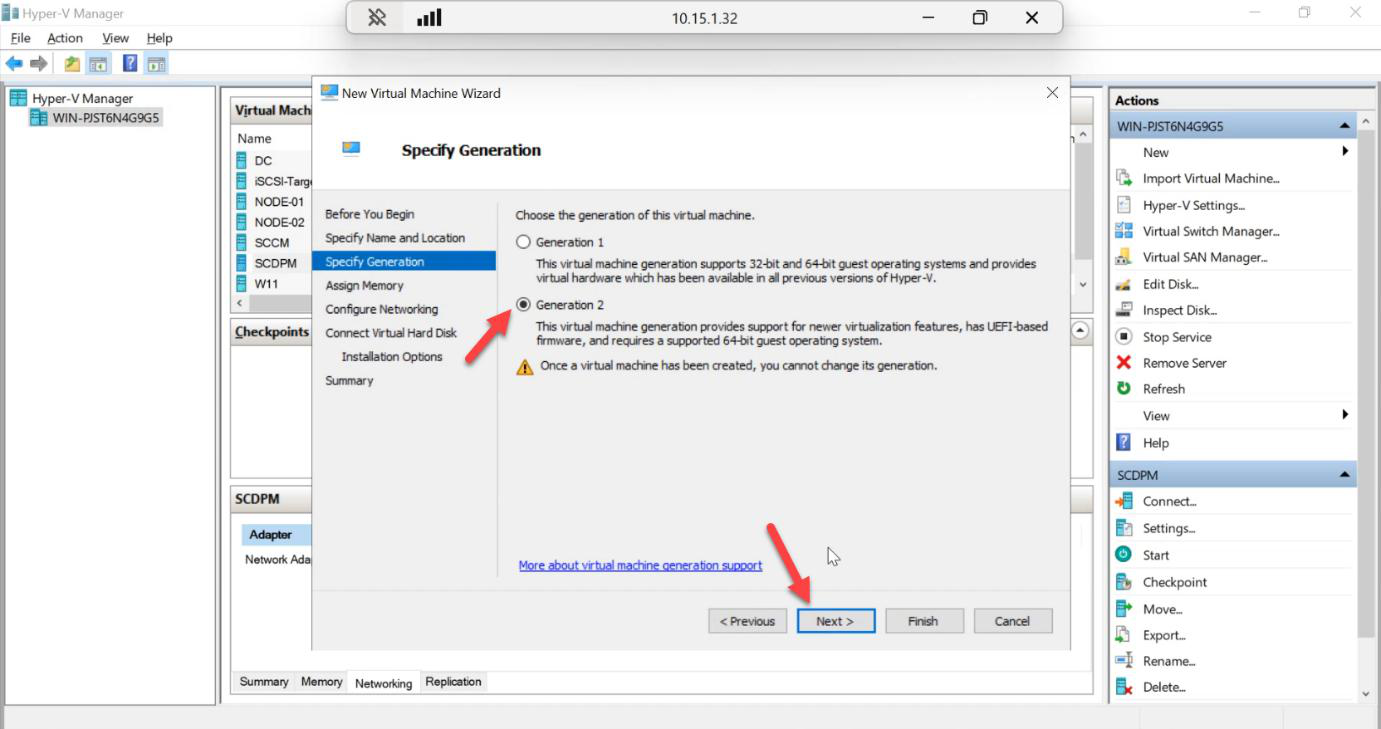
Generation: Generation 2. Required for SQL Server 2022 + UEFI / Secure Boot. Don’t pick Gen 1 even “just to see if it works.”
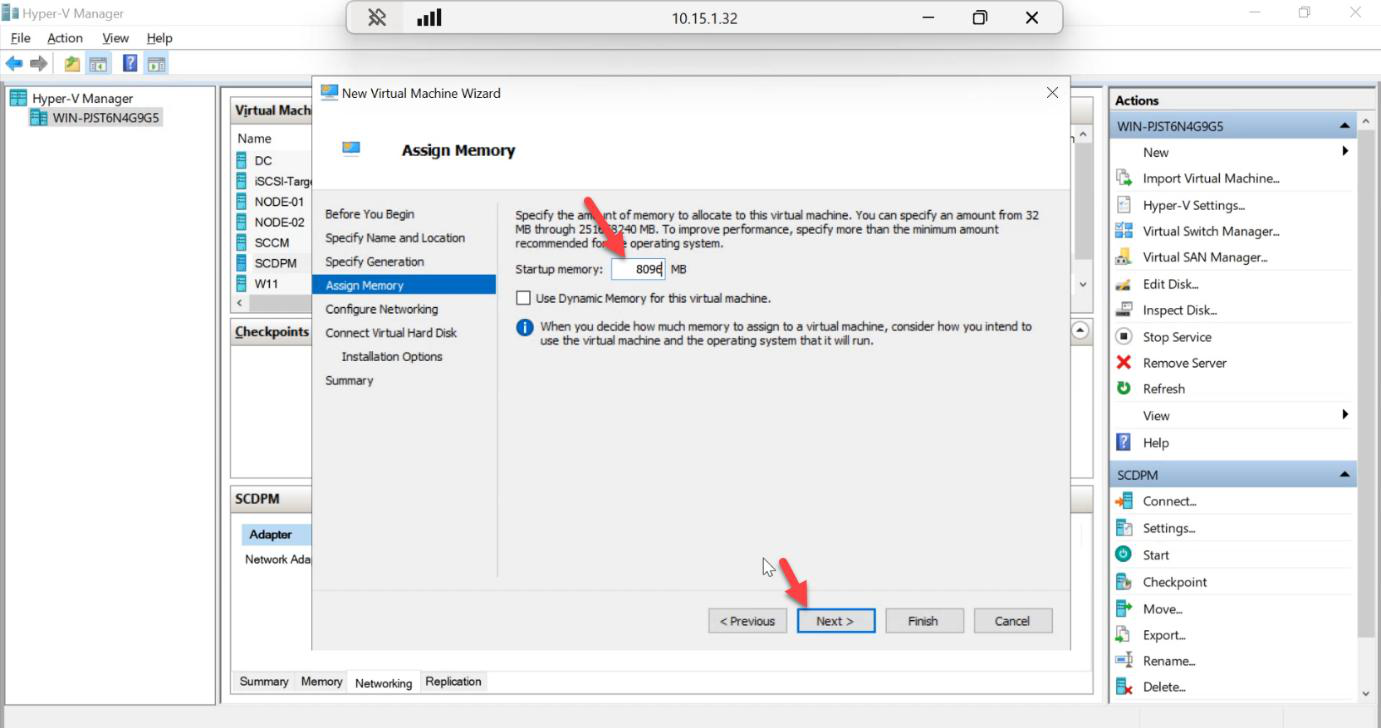
Startup memory: 8192 MB for a lab. Production: 16+ GB minimum, 32+ GB if real workloads. Leave dynamic memory OFF — SQL Server prefers a fixed allocation it can grab once and hold.
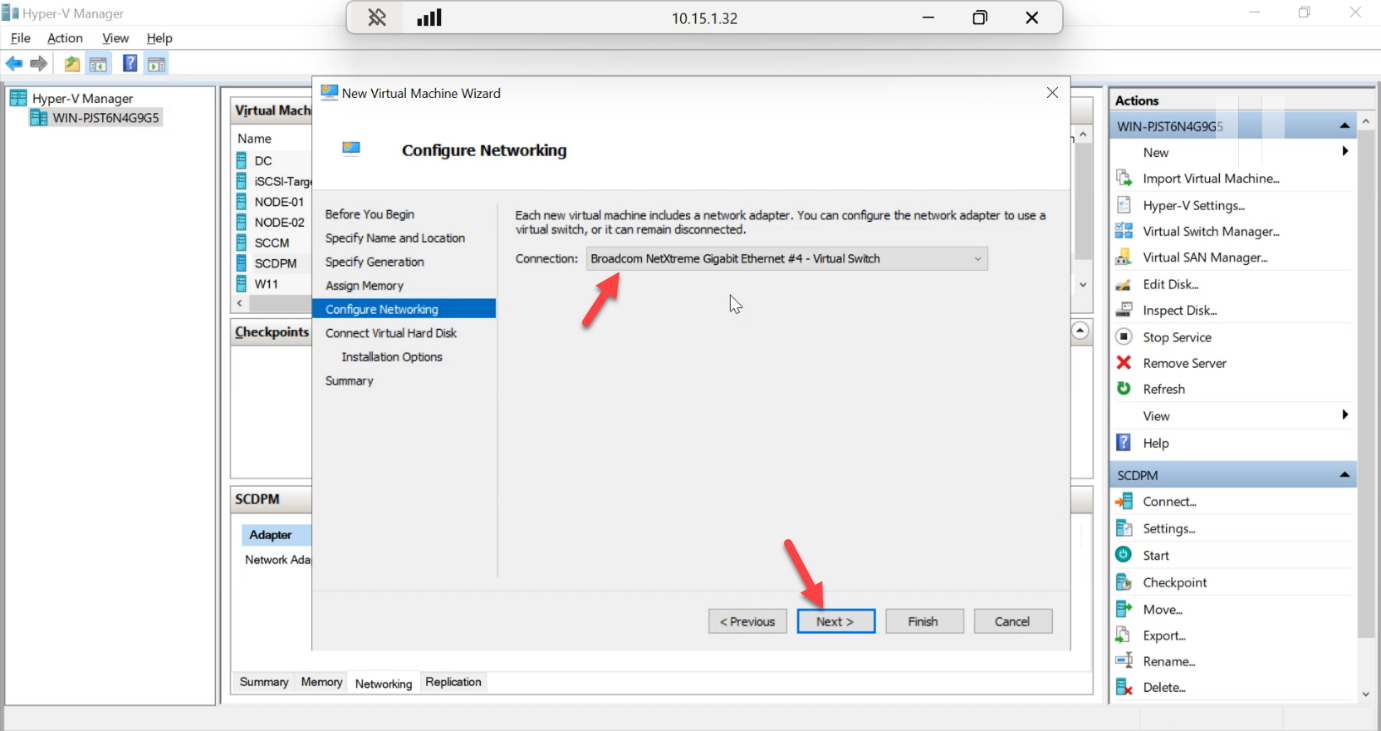
Network: External vSwitch. The VMs need to reach your DC for AD join, Kerberos, and DNS. An Internal or Private switch isolates them from the domain and breaks the lab.
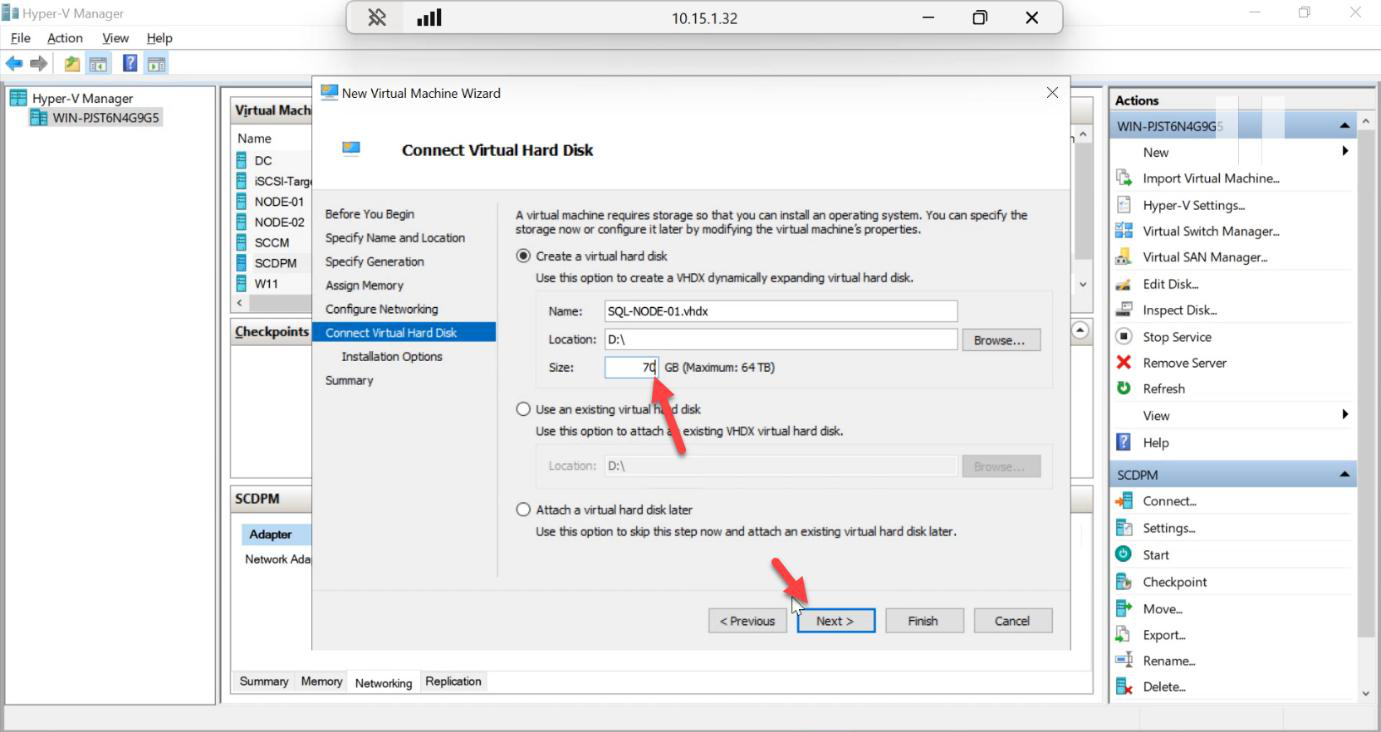
Virtual hard disk: 80 GB for the OS volume. Choose Fixed type for production-like I/O. Dynamic VHDXs grow on first write, hurting SQL benchmark numbers.
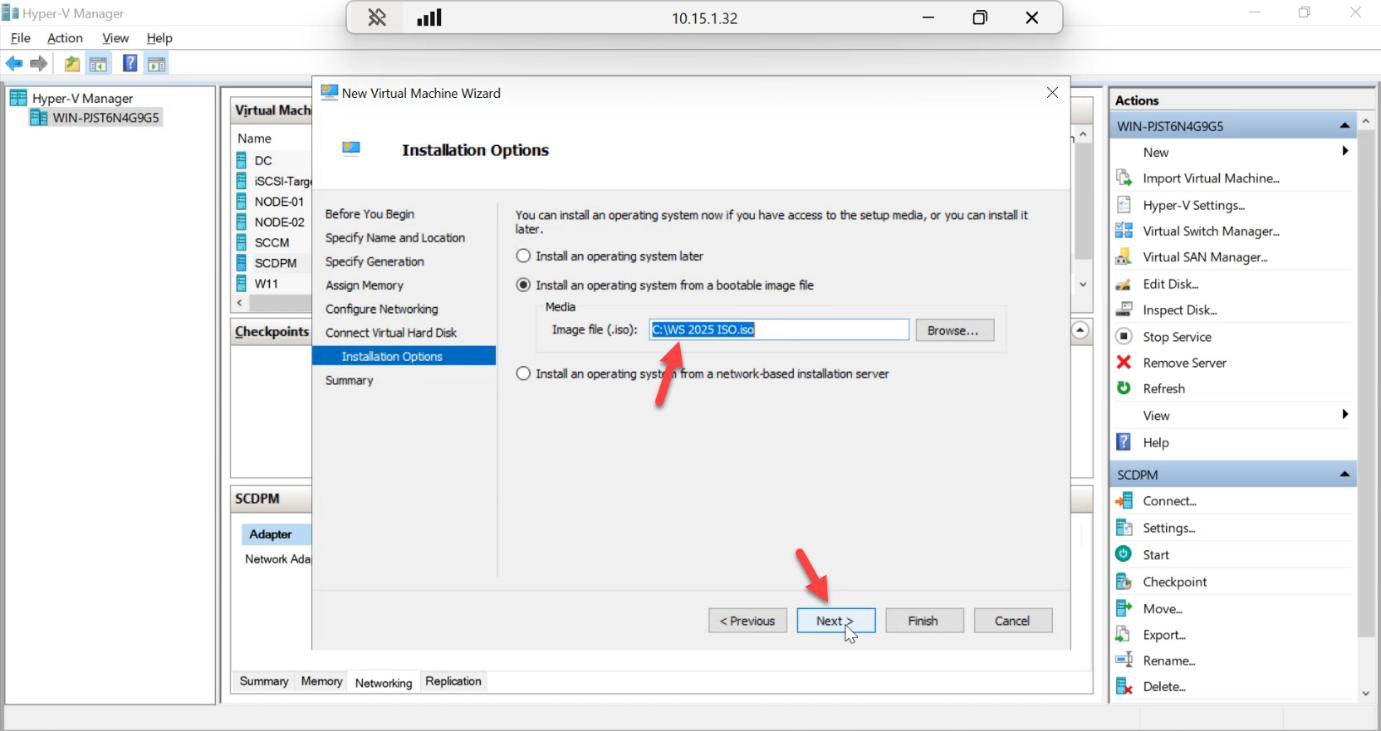
Install an OS from a bootable image file > Browse > pick the Windows Server 2025 ISO. Next.
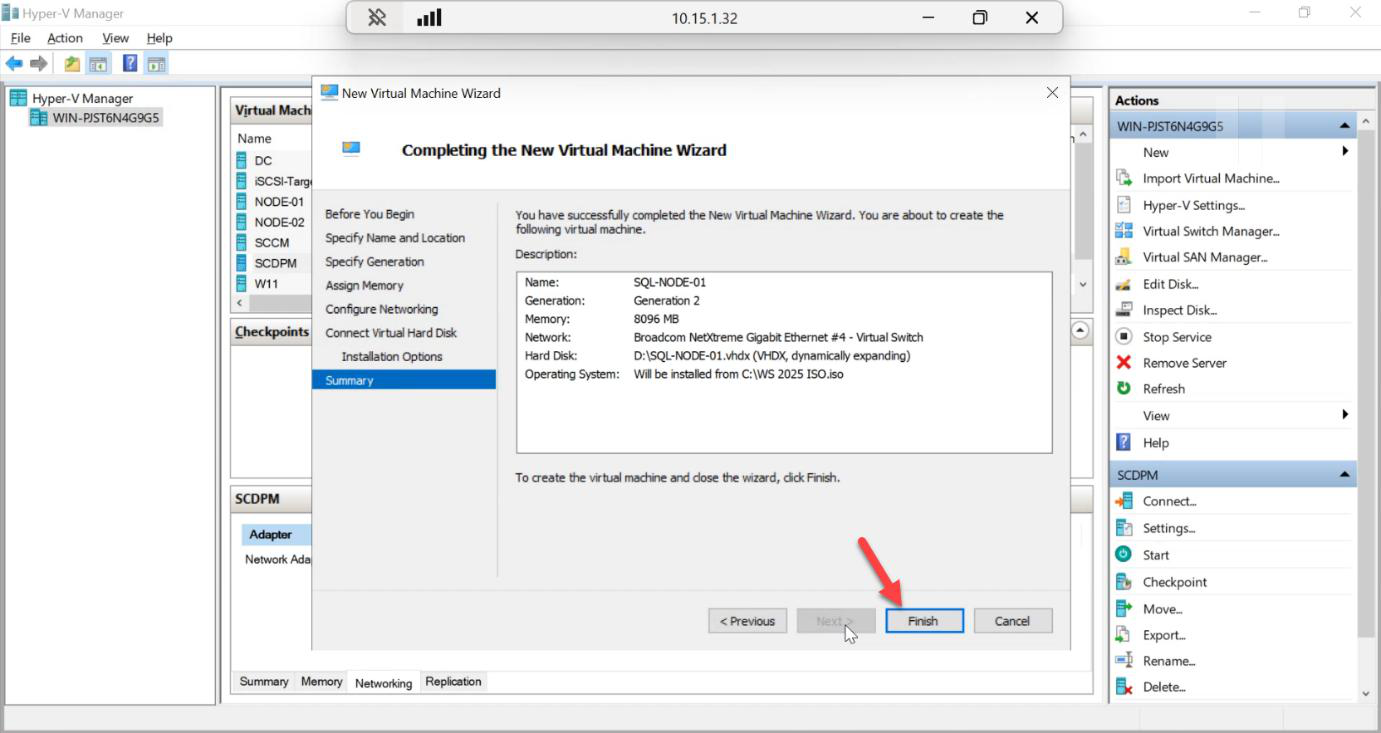
Review the summary > Finish.
Bump vCPU after creation
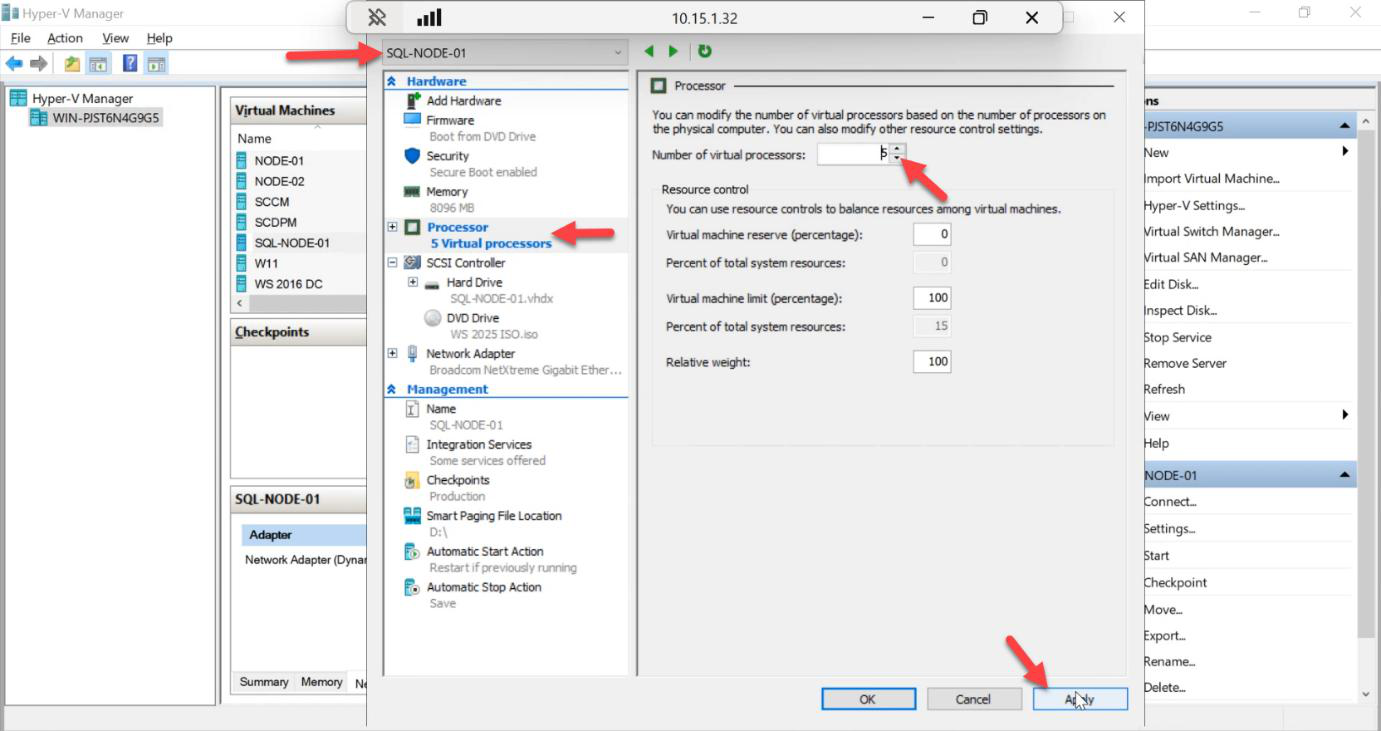
VM created with 1 vCPU by default. Right-click the VM > Settings > Processor > set Number of virtual processors to 4 (or more). Apply.
SQL Server licensing aside, 1 vCPU starves the cluster heartbeat, sync replication, and any meaningful query work.
Build VM #2 — SQL-NODE-02
Repeat the entire wizard with the name SQL-NODE-02 and identical settings (Gen 2, 8 GB RAM, External vSwitch, 80 GB Fixed VHDX, Win Server 2025 ISO, 4 vCPU). Identical specs are not optional — mismatched VMs cause AG init failures later.
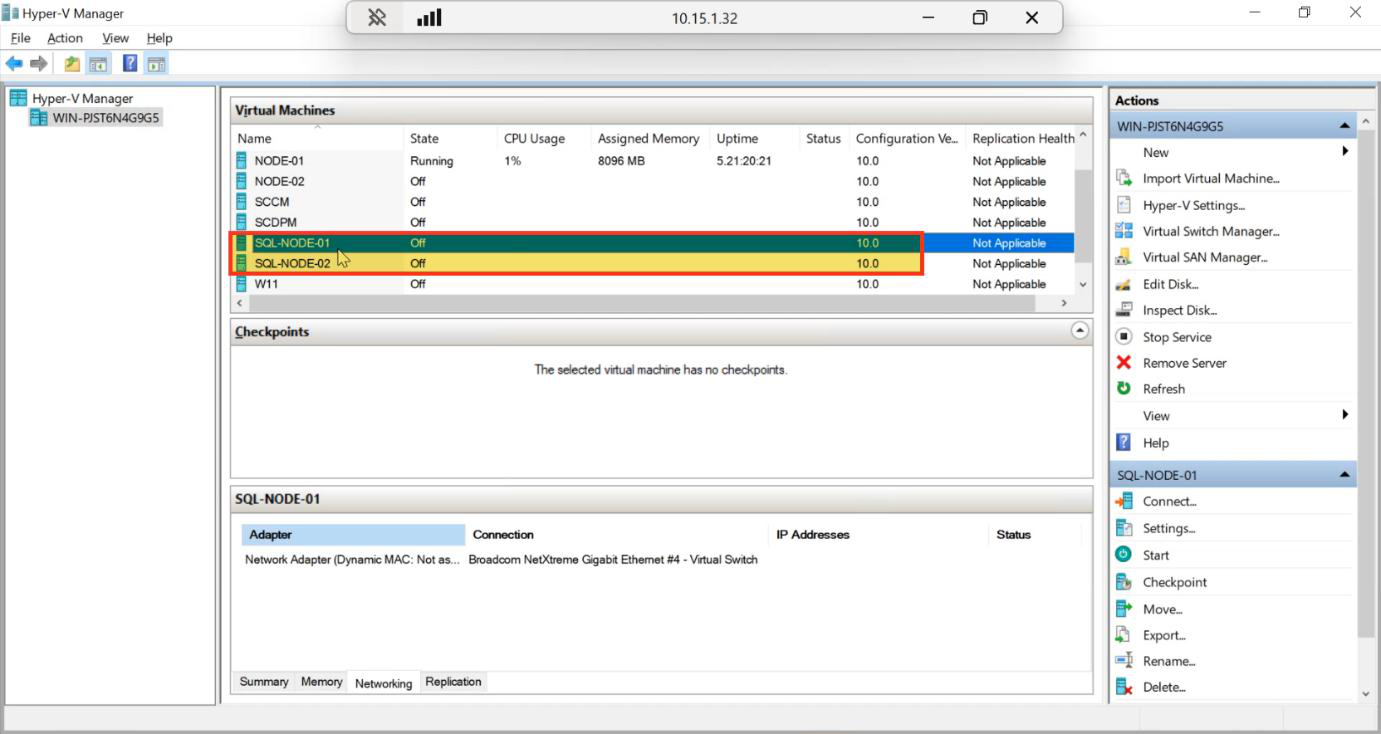
Both VMs in Off state, ready to install the OS.
Install Windows Server 2025 (do this on both)
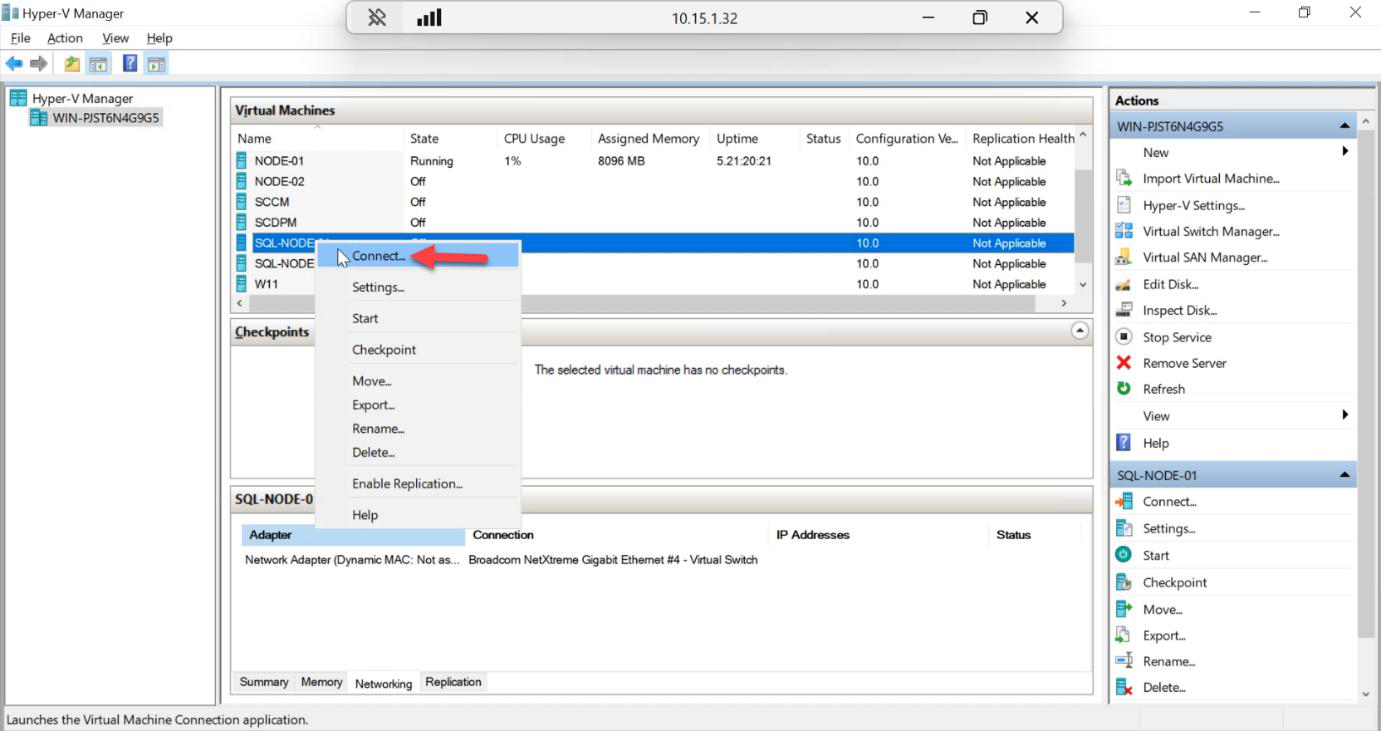
Right-click VM > Connect to open the console.
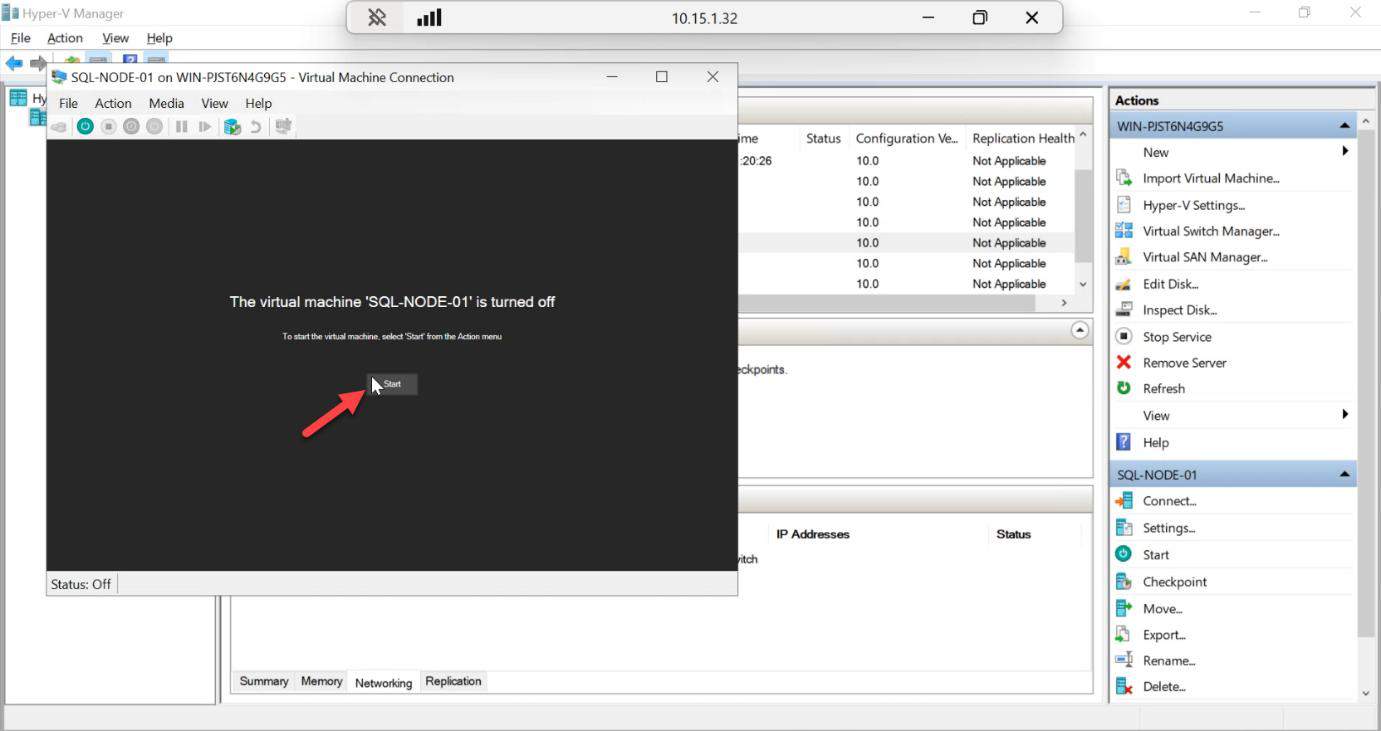
Click Start in the console > fast-press spacebar several times to catch the ISO boot prompt. Miss the window and Hyper-V boots from the (empty) VHDX instead and you have to power-cycle.
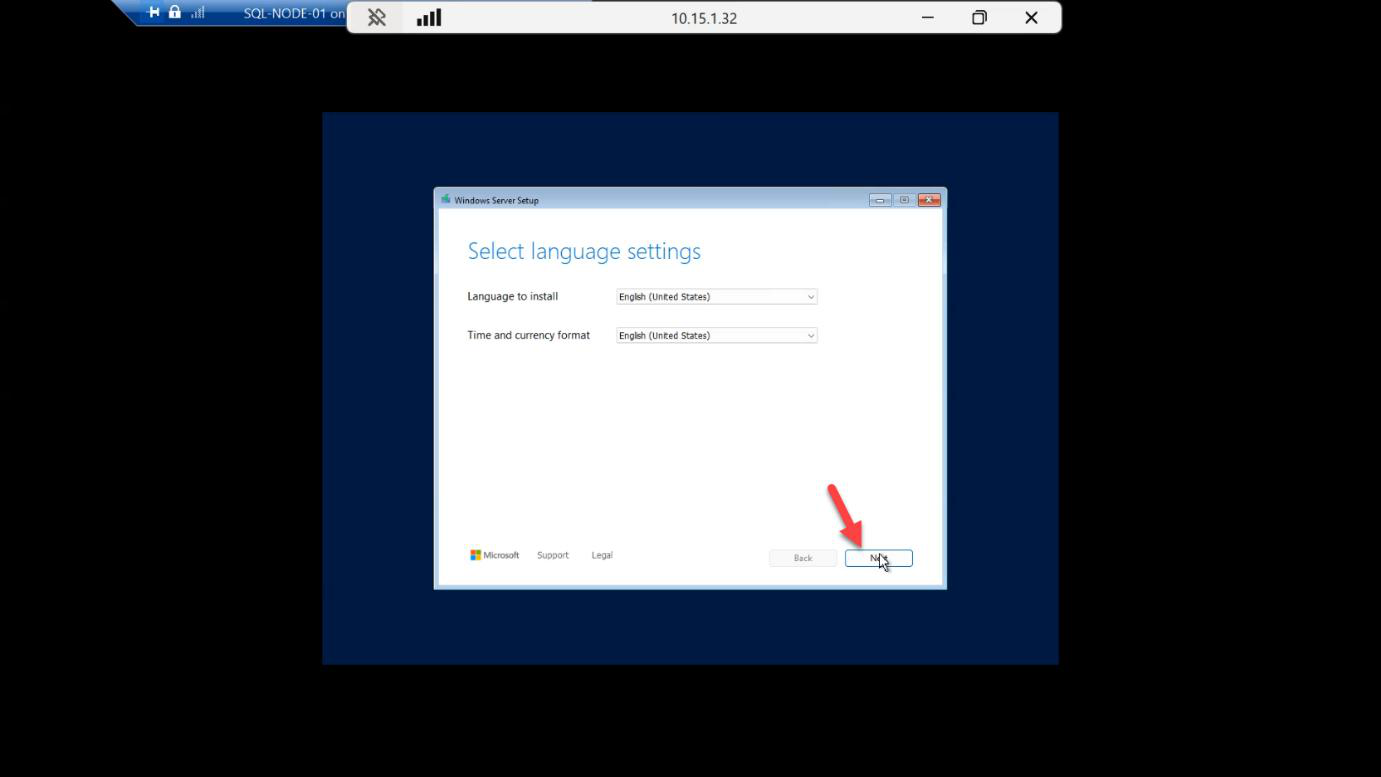
Language + keyboard layout > Next.

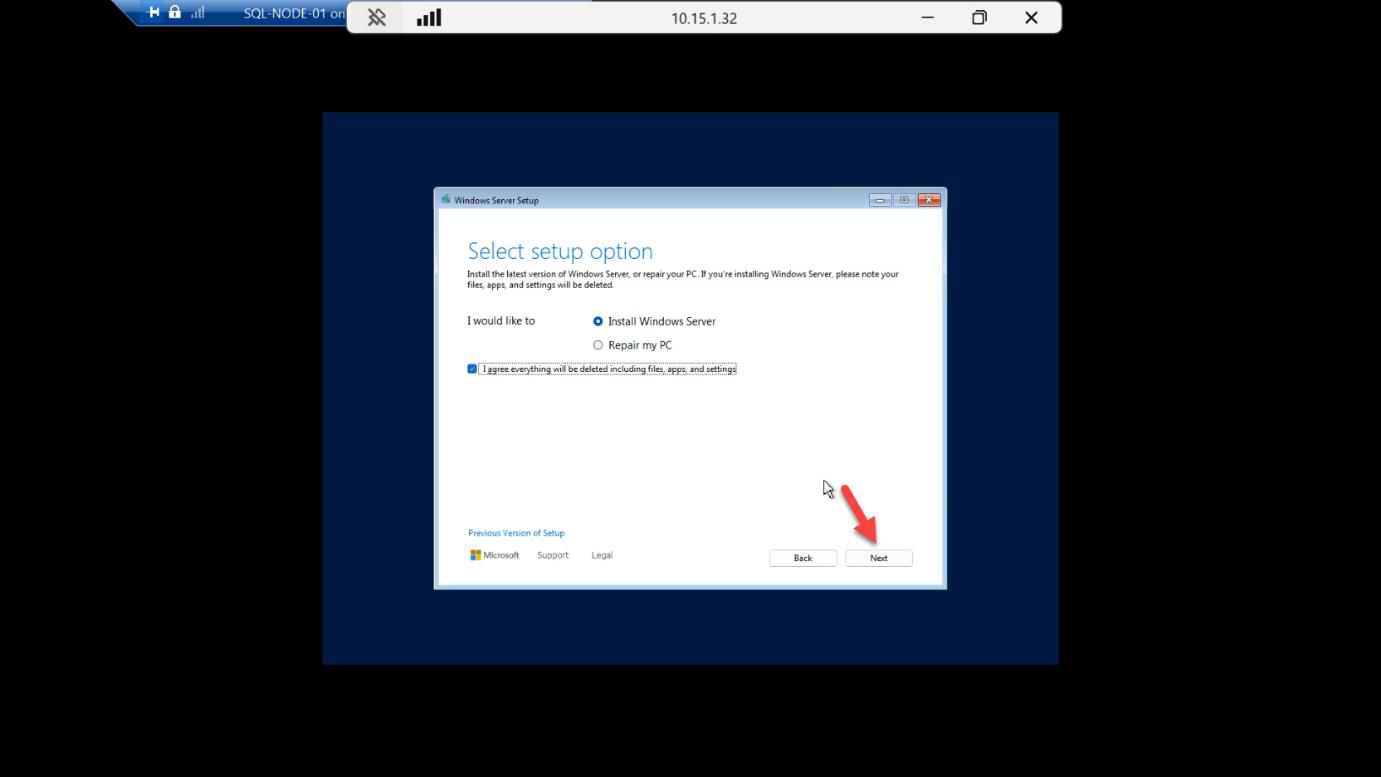
Install Now.
Skip the product key — uses 180-day evaluation. (Eval edition gives Enterprise features, including readable secondary in AG — useful for testing.)
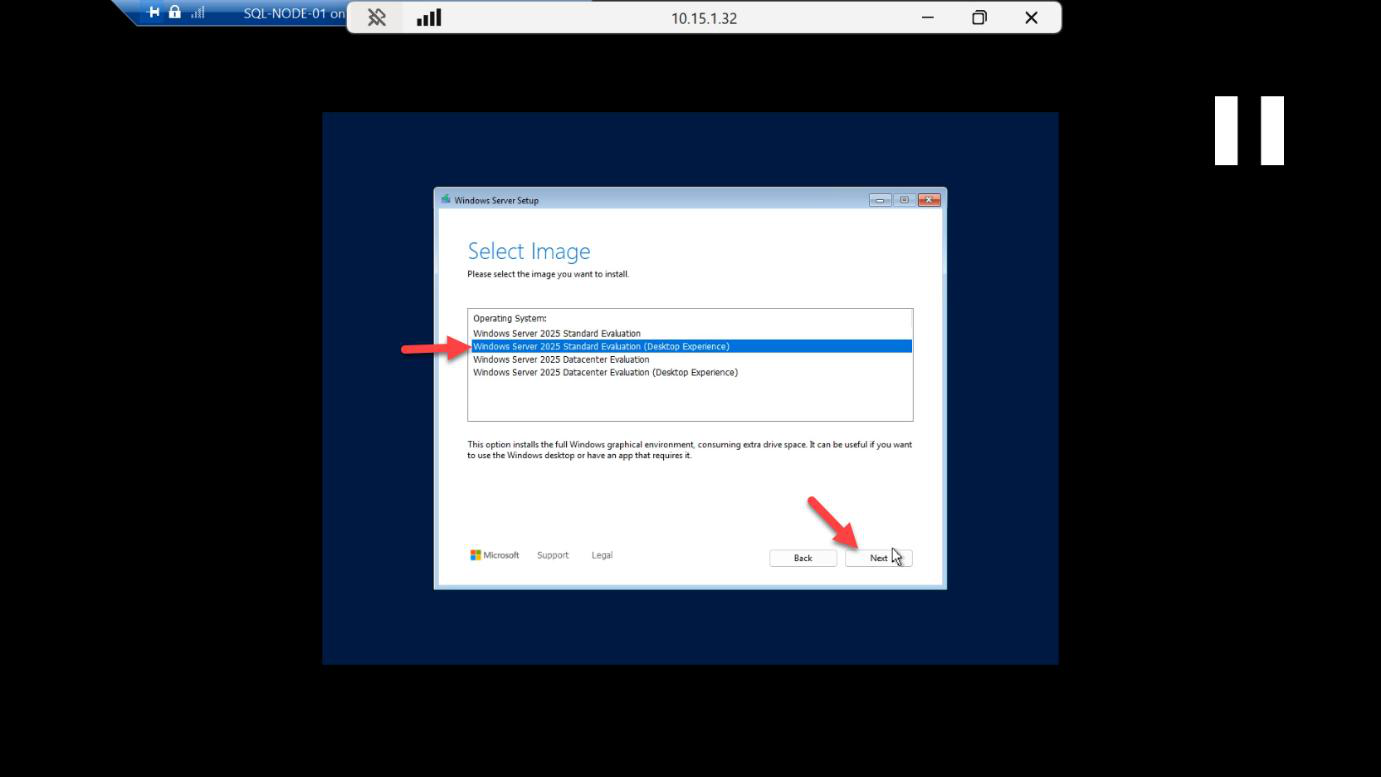
OS edition: Windows Server 2025 (Desktop Experience). Server Core works too but the SQL setup wizard is friendlier with Desktop Experience for first-time installs.
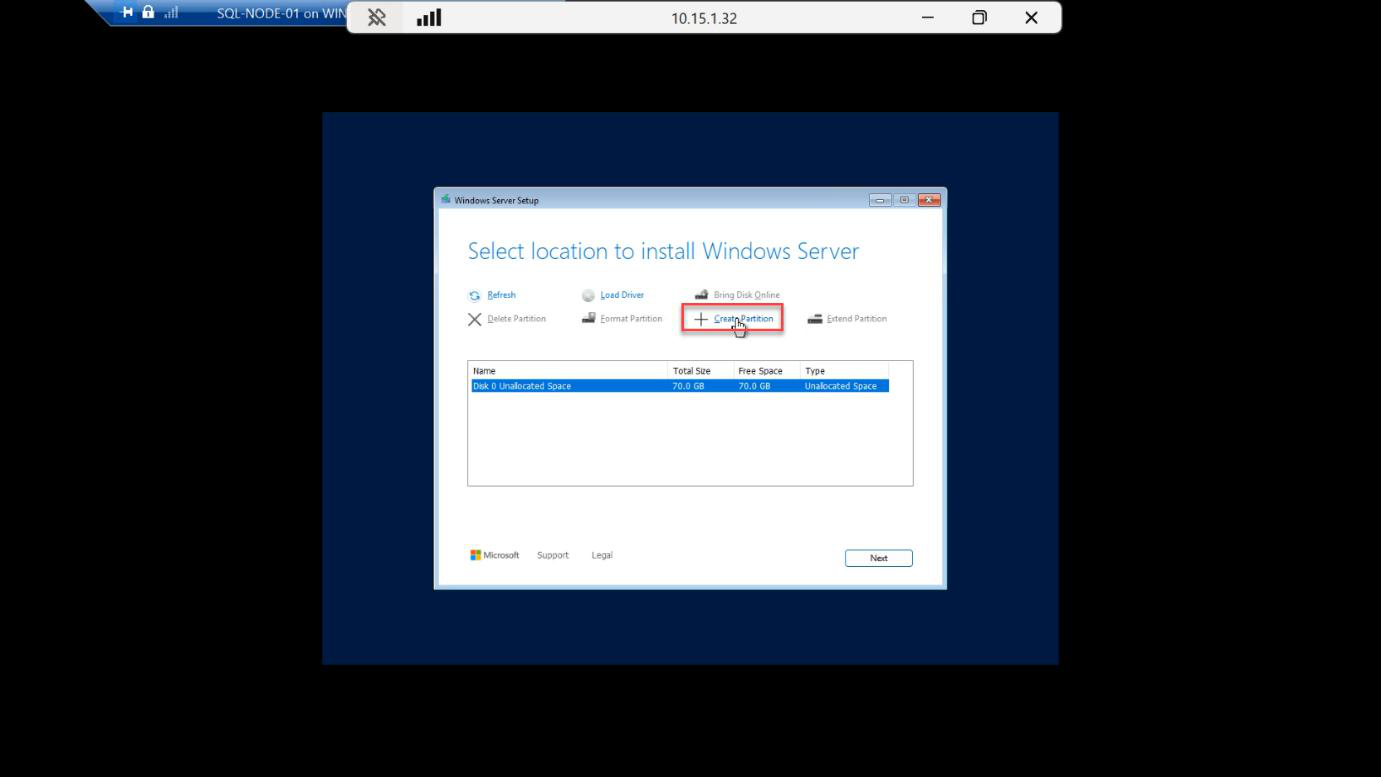
Partition > New on the unallocated 80 GB.
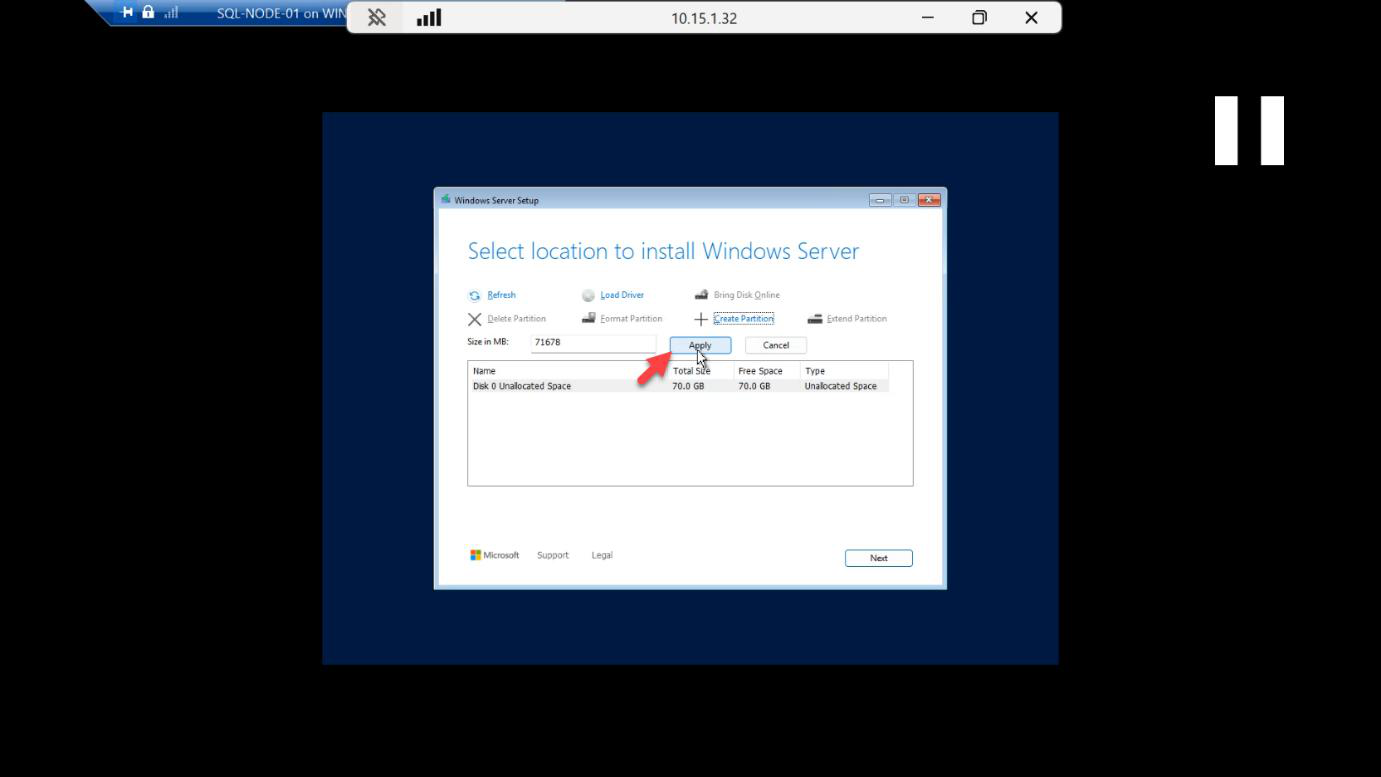
Apply > OK to confirm. Windows creates a small system partition + the main OS partition.
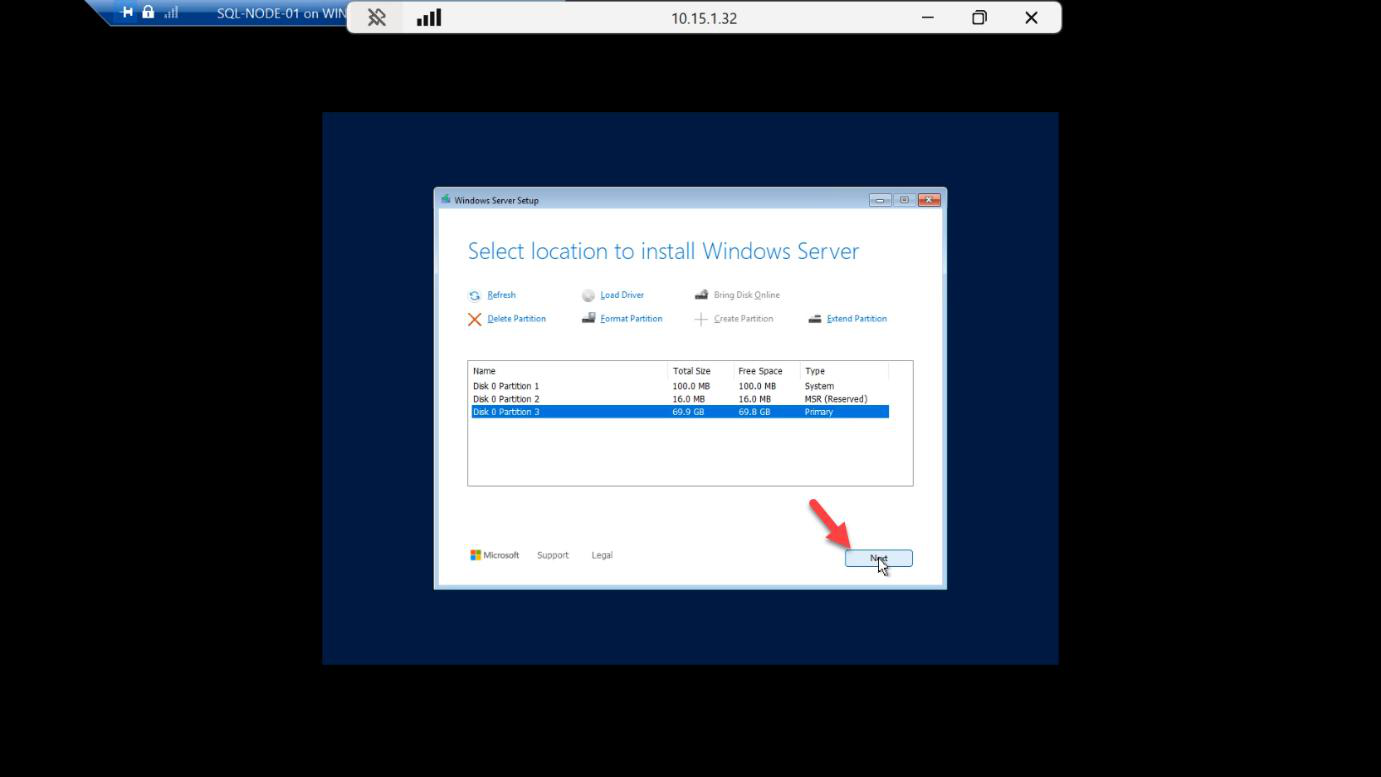
Final layout review > Next.
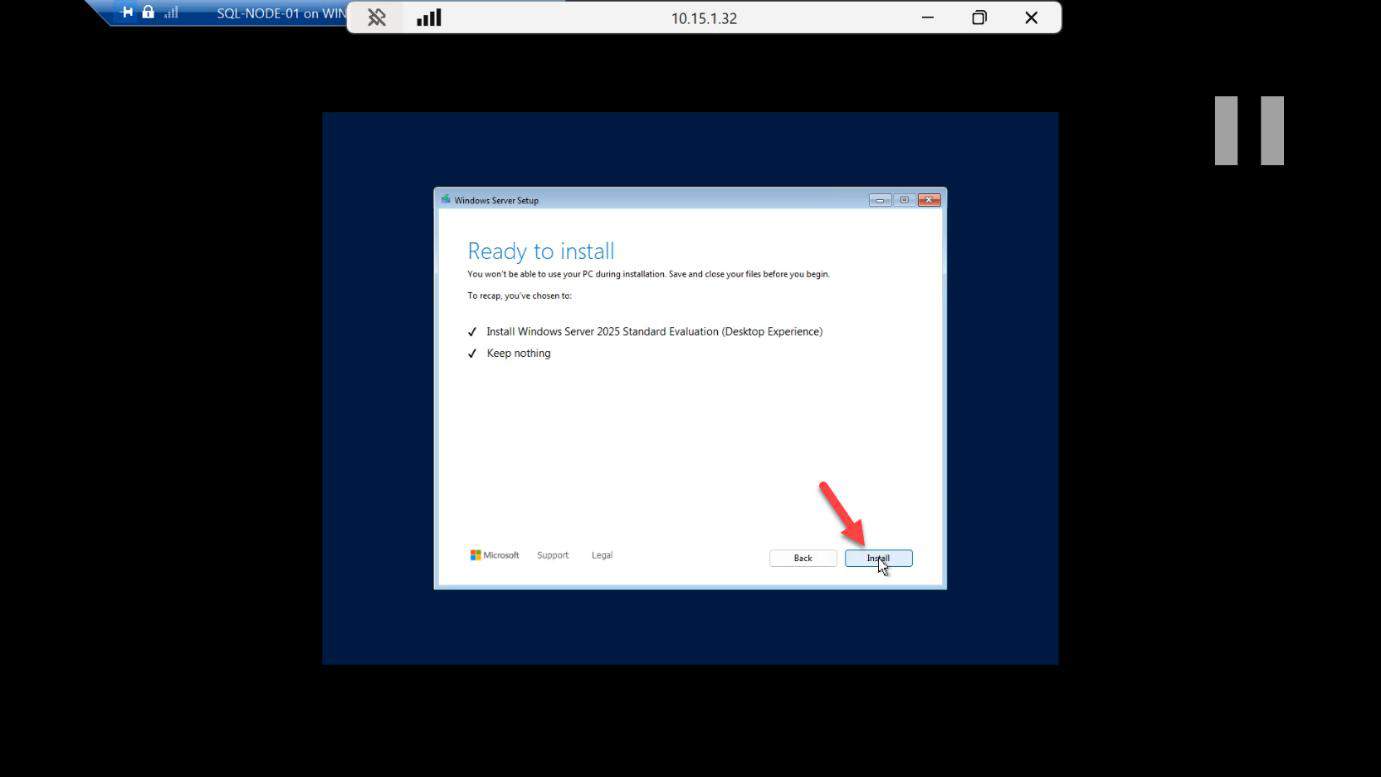
Confirm summary > Install.
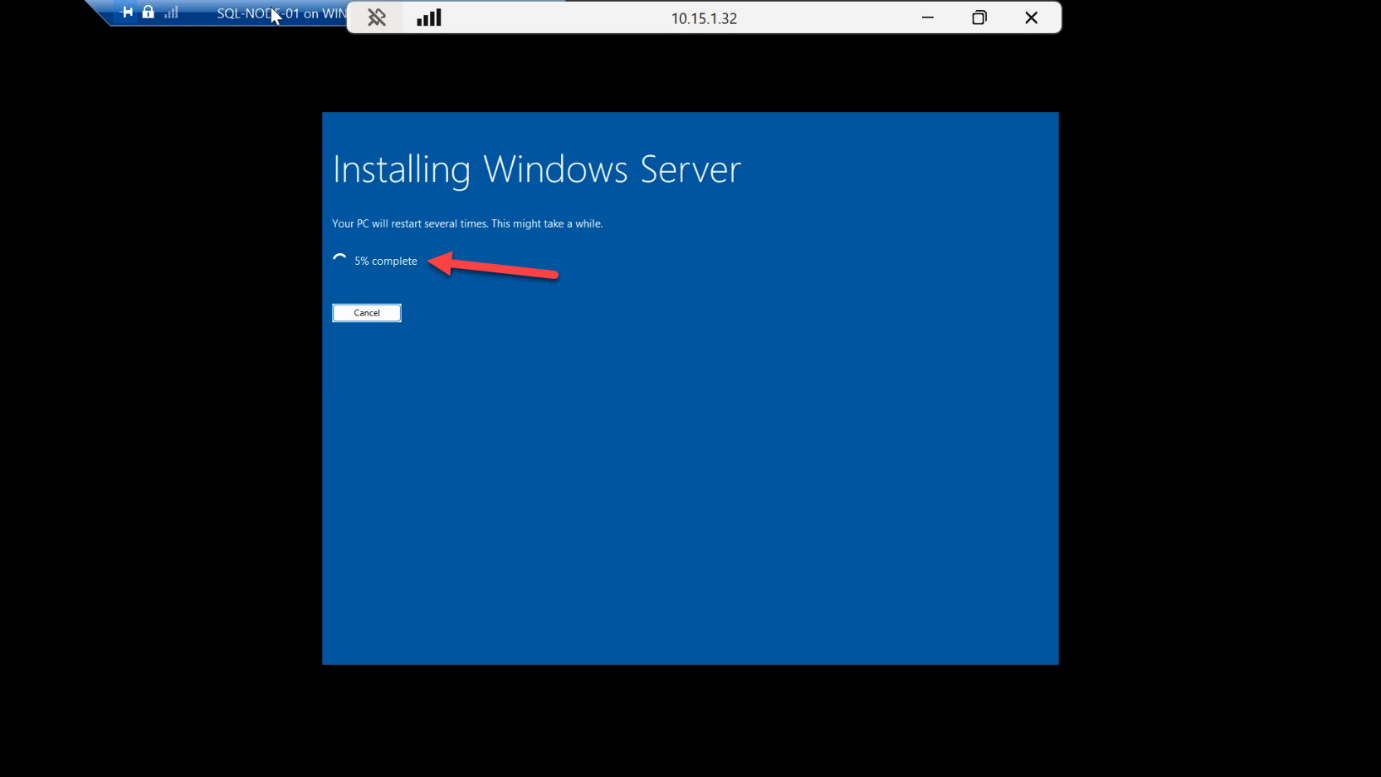
Install runs 10-15 min with multiple reboots. Don’t interrupt.
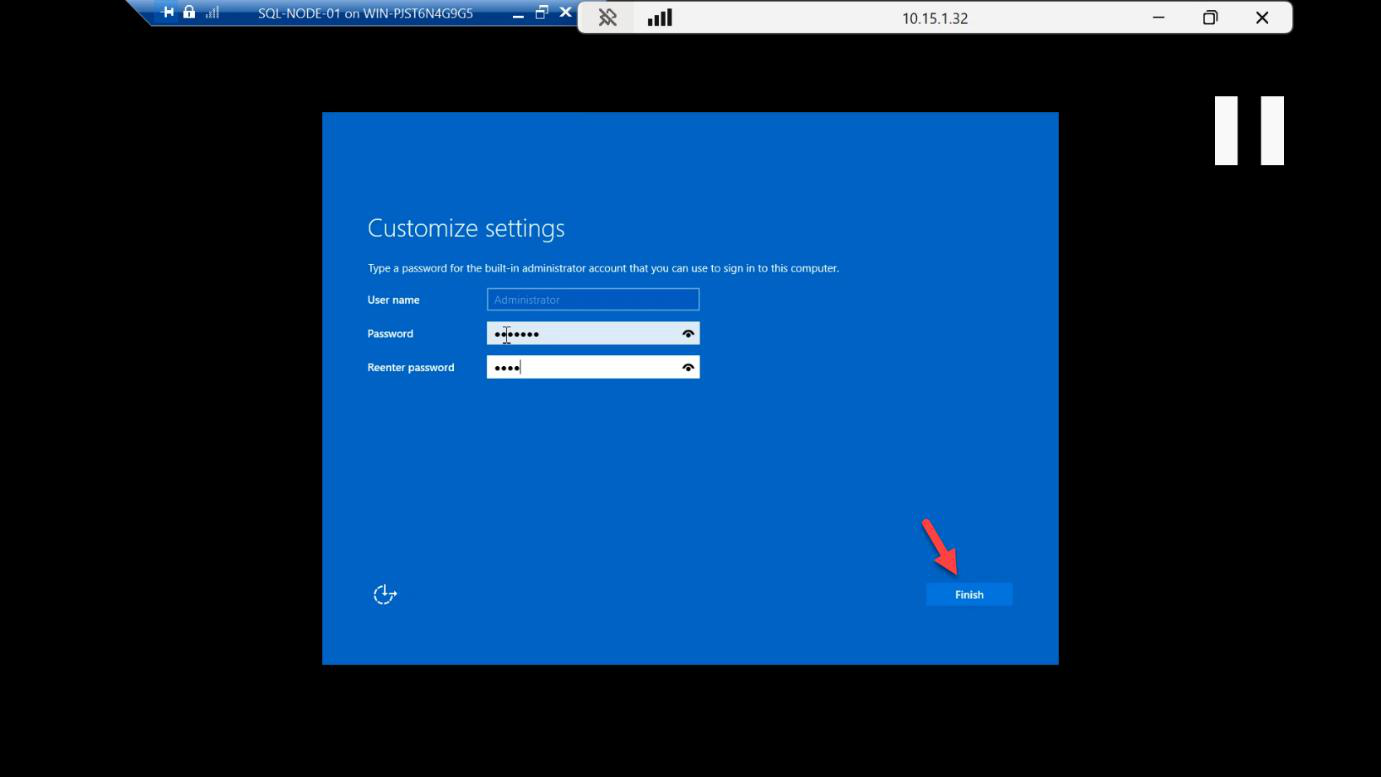
Set the local Administrator password > Finish. Log in for the first time.
Post-install checklist (every node)
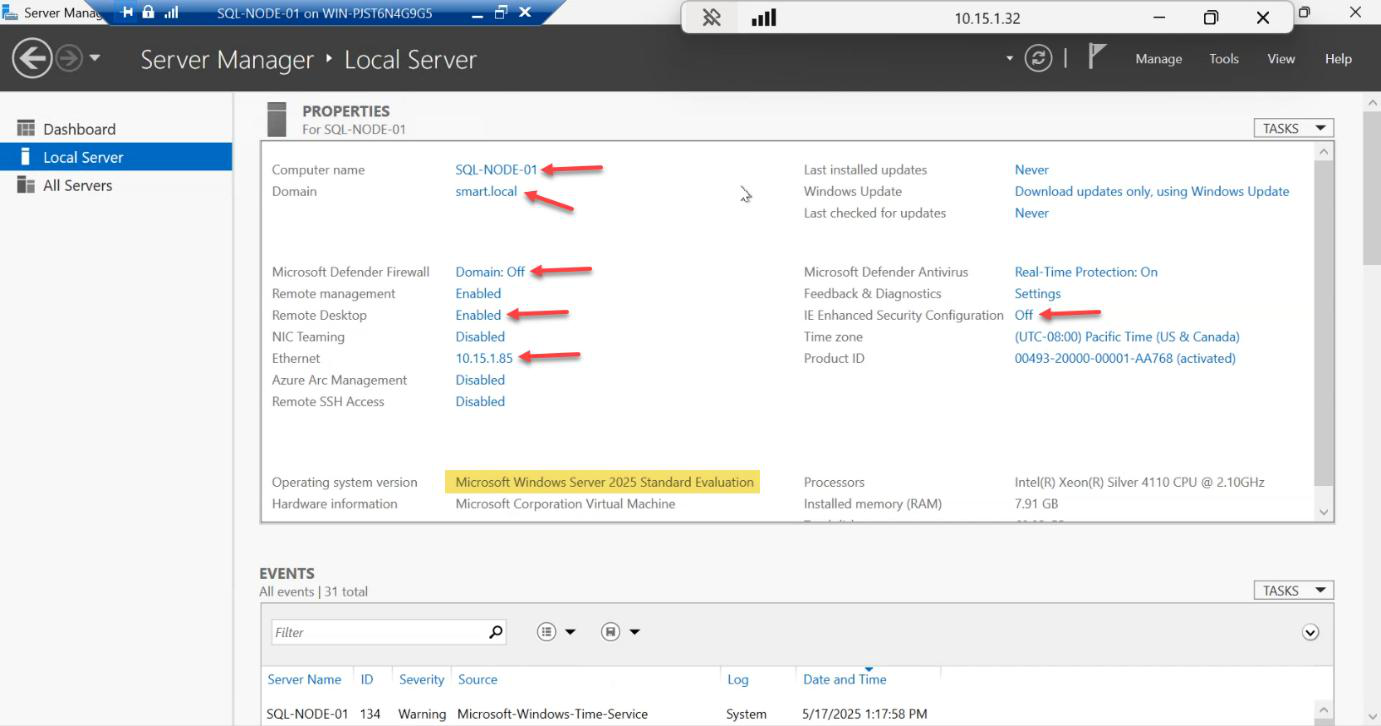
Before SQL touches this box, do all of:
- Rename to SQL-NODE-01 / SQL-NODE-02
- Join the AD domain (e.g.
contoso.local) - Set a static IP (DHCP-assigned IPs break clustering)
- Disable IE Enhanced Security Configuration (Server Manager > Local Server)
- Disable Windows Firewall or open the SQL ports (1433, 5022 for AG endpoint, 47001 for SCM)
- Enable Remote Desktop
- Set the time zone (cluster nodes must agree on time within 5 min)
Copy the SQL installers to the VM
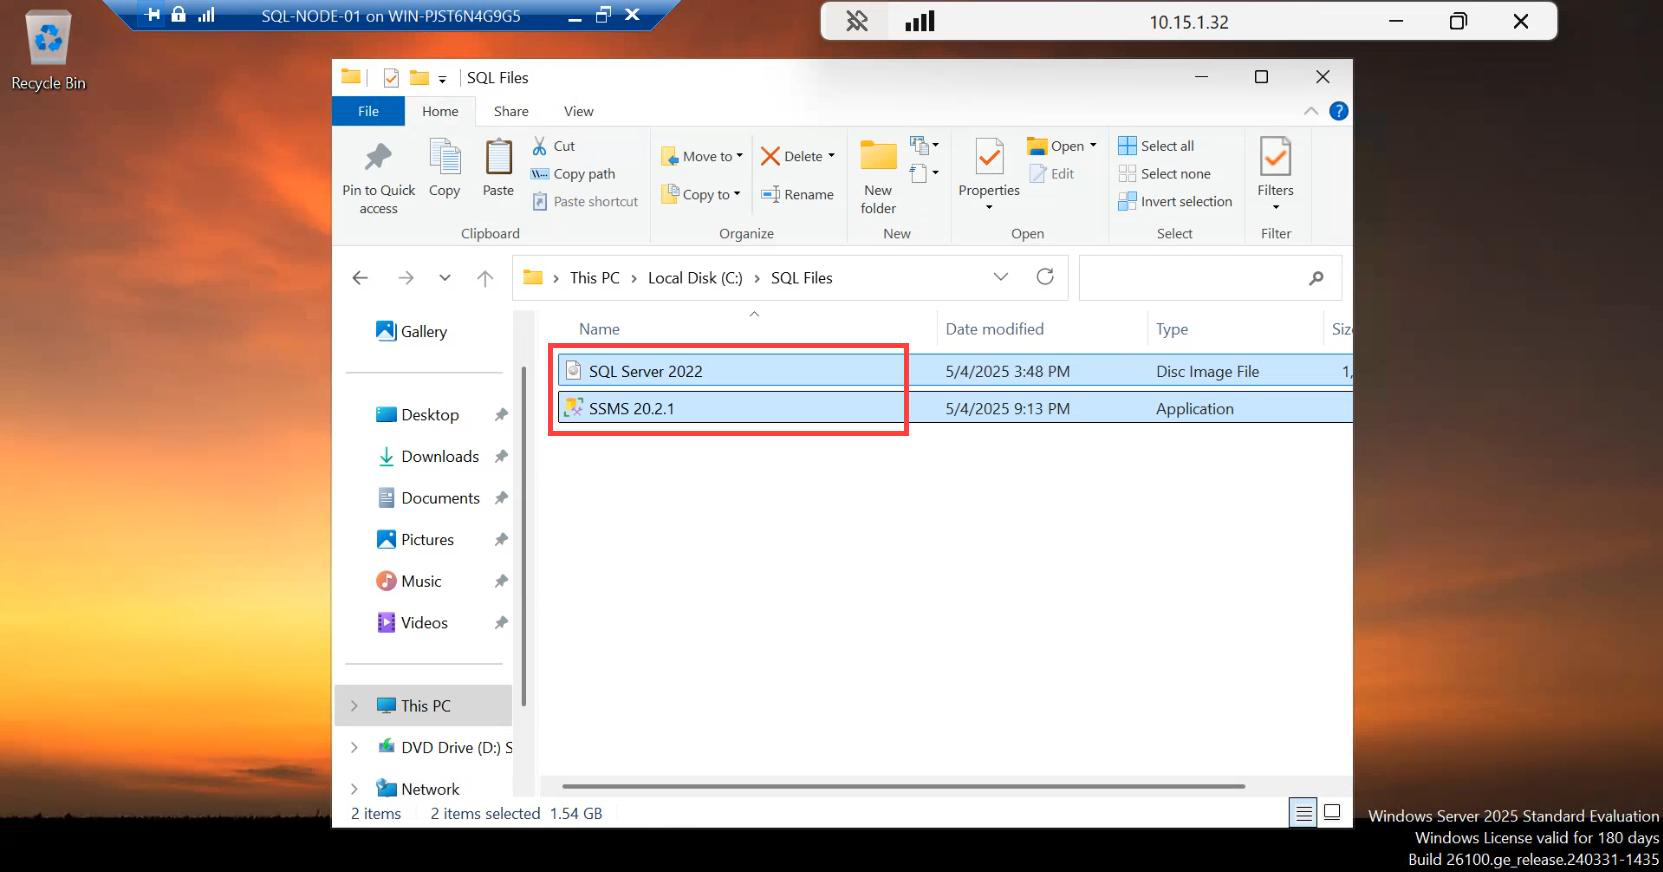
Copy the SQL Server 2022 ISO and the latest SSMS installer to a folder on the VM. Either drag from the Hyper-V host into the VM session, or download fresh from inside the VM.
Create the SQL service account, add it to local admins
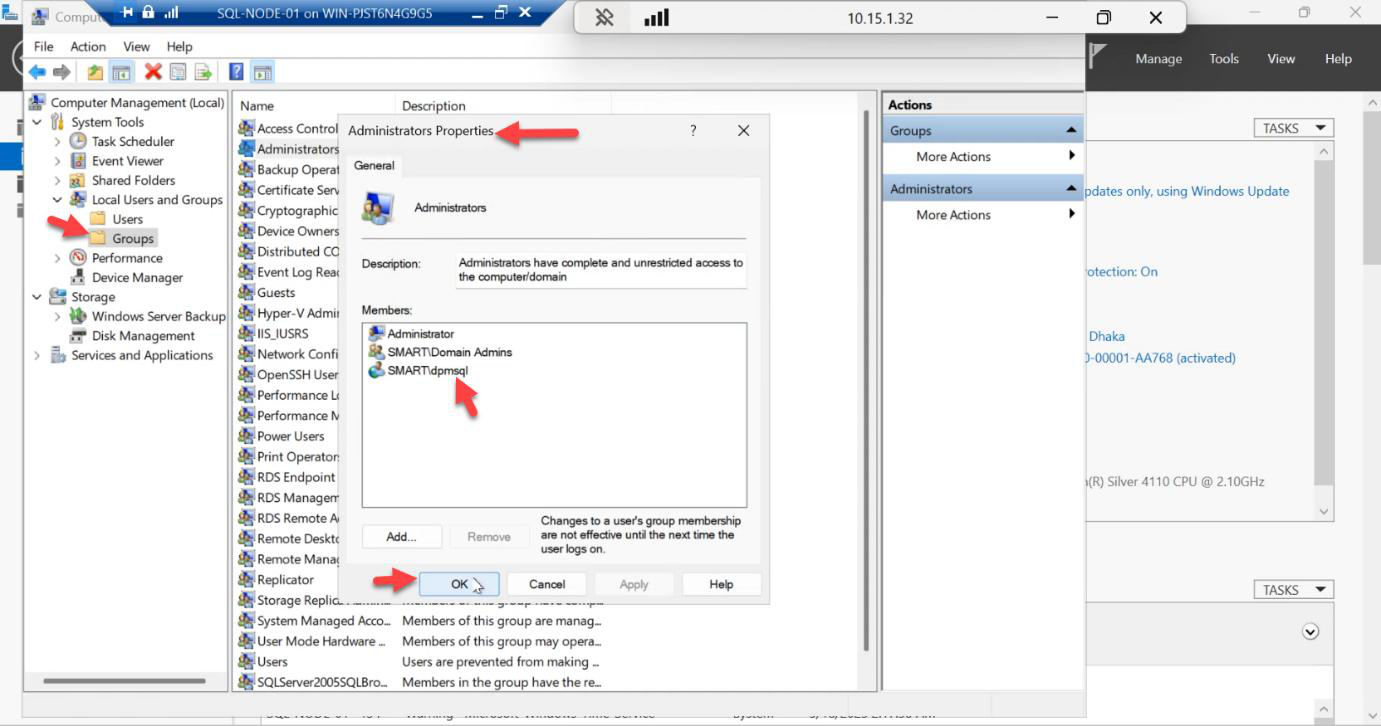
CONTOSO\sql-svc) ahead of time — this account owns SQL Server, Agent, and the cluster role.Open Computer Management > Local Users and Groups > Administrators > Add > the AD account that will run the SQL services (e.g. CONTOSO\sql-svc).
This account is created in AD ahead of time as a regular domain user. It does NOT need Domain Admin. It DOES need to be a local admin on every SQL node, plus the SPN write permission you’ll set later. One account covers SQL Engine, SQL Agent, and the AG cluster role across both nodes.
Sign out and sign back in as the service account
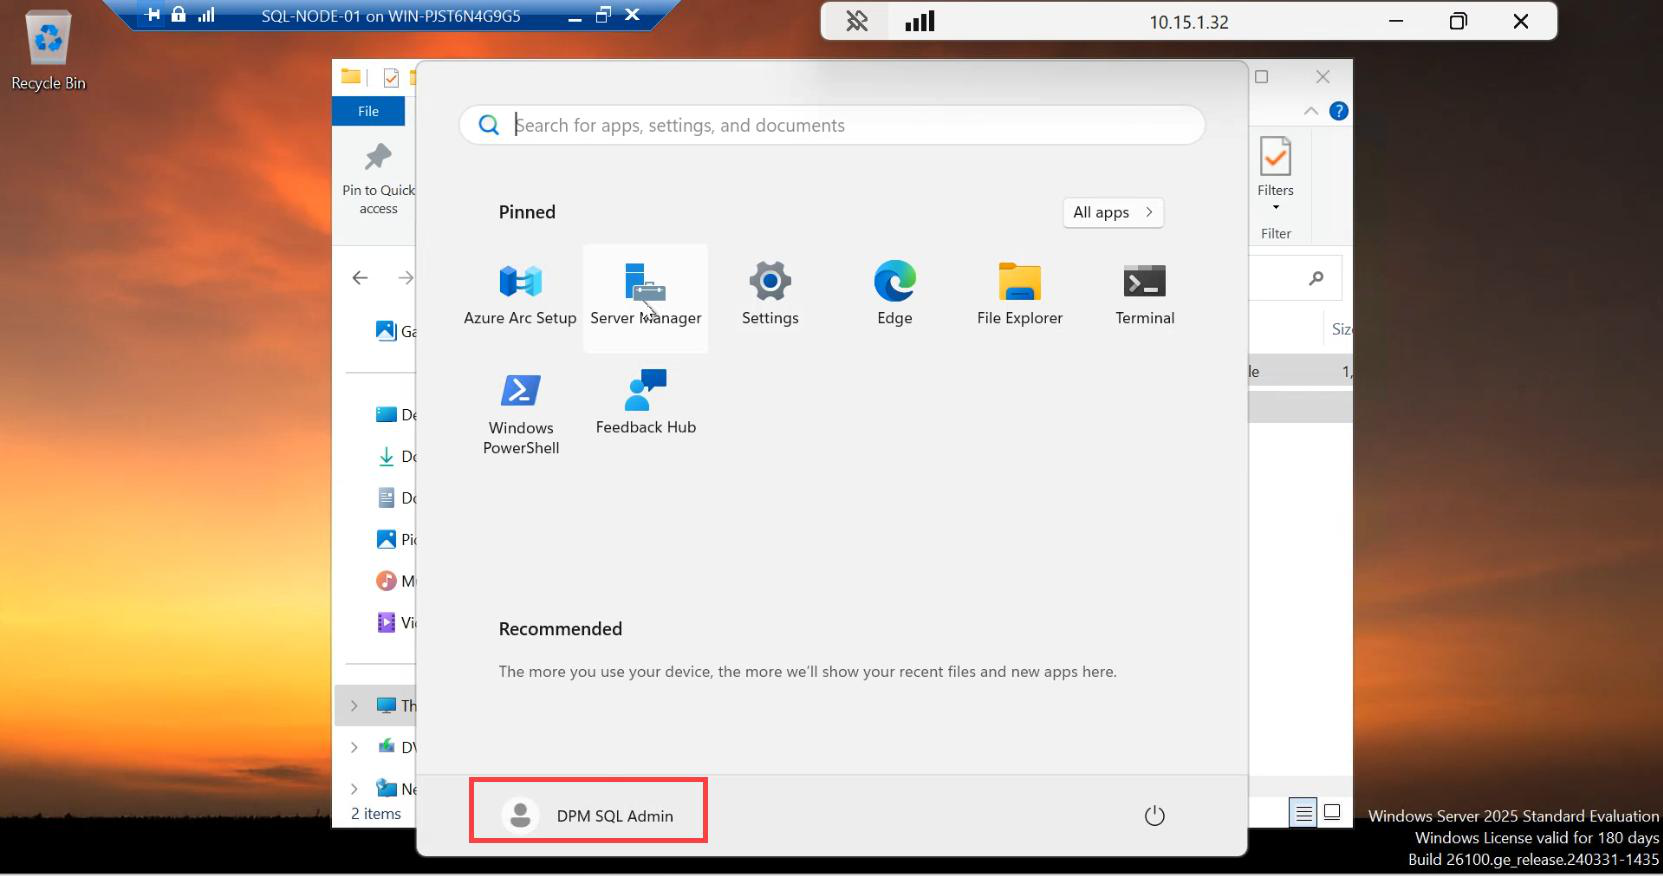
Sign out from the local admin session and log back in as CONTOSO\sql-svc on this VM. Repeat the entire post-install checklist + service-account login on SQL-NODE-02 too. Don’t skip any step — mismatched configuration here surfaces as cryptic errors during AG init in Part 5.
Things that bite people
Dynamic memory ON for SQL VMs
Hyper-V Dynamic Memory expands and contracts the VM’s RAM based on host pressure. SQL Server hates this — it grabs RAM up to its max-server-memory setting and never releases. Set RAM to a fixed allocation in Hyper-V settings.
Identical RAM/vCPU on both nodes
If SQL-NODE-01 has 8 GB and SQL-NODE-02 has 16 GB, the AG works but failover behavior is asymmetric — performance changes when the workload moves to the smaller node. Match exactly.
Internal vSwitch instead of External
Internal vSwitches don’t reach the host’s physical network — you can’t join AD, can’t resolve DNS, can’t talk to the listener from outside. Use External.
Forgot to add SQL service account to local admins
SQL Setup needs admin rights at install time. If you start setup as a non-admin domain user, it stalls on permission errors with vague messages. Always pre-stage the service account into local admins and log in as it before launching SQL setup.
Mismatched OS builds
SQL-NODE-01 on Windows Server 2025, SQL-NODE-02 on 2022 = WSFC validation FAIL in Part 3. Match OS edition and patch level exactly.
What’s next
Part 2 in the SQL Availability Groups pathway: install SQL Server 2022 + SSMS on both nodes, set the service account at install time, configure mixed-mode auth, set TCP/IP, and verify SQL is reachable from each node.