SQL Server is installed on both nodes (Part 2) and the WSFC is up (Part 3). Two more prerequisites before we can build the AG itself:
- Enable the Always On feature on both SQL instances (it’s OFF by default after install)
- Create the database we’re going to put in the AG, set it to FULL recovery, and take a full backup
Both of these happen in this part. Almost everything is on SQL-NODE-01 only — SQL-NODE-02 just needs the Always On enable + restart. The database itself doesn’t need to be created on SQL-NODE-02 manually; SQL ships it over when we add the database to the AG in Part 5.
Enable Always On in SQL Server Configuration Manager
Always On Availability Groups is an opt-in feature. After install, it’s sitting there disabled, waiting for you to flip the bit per instance.
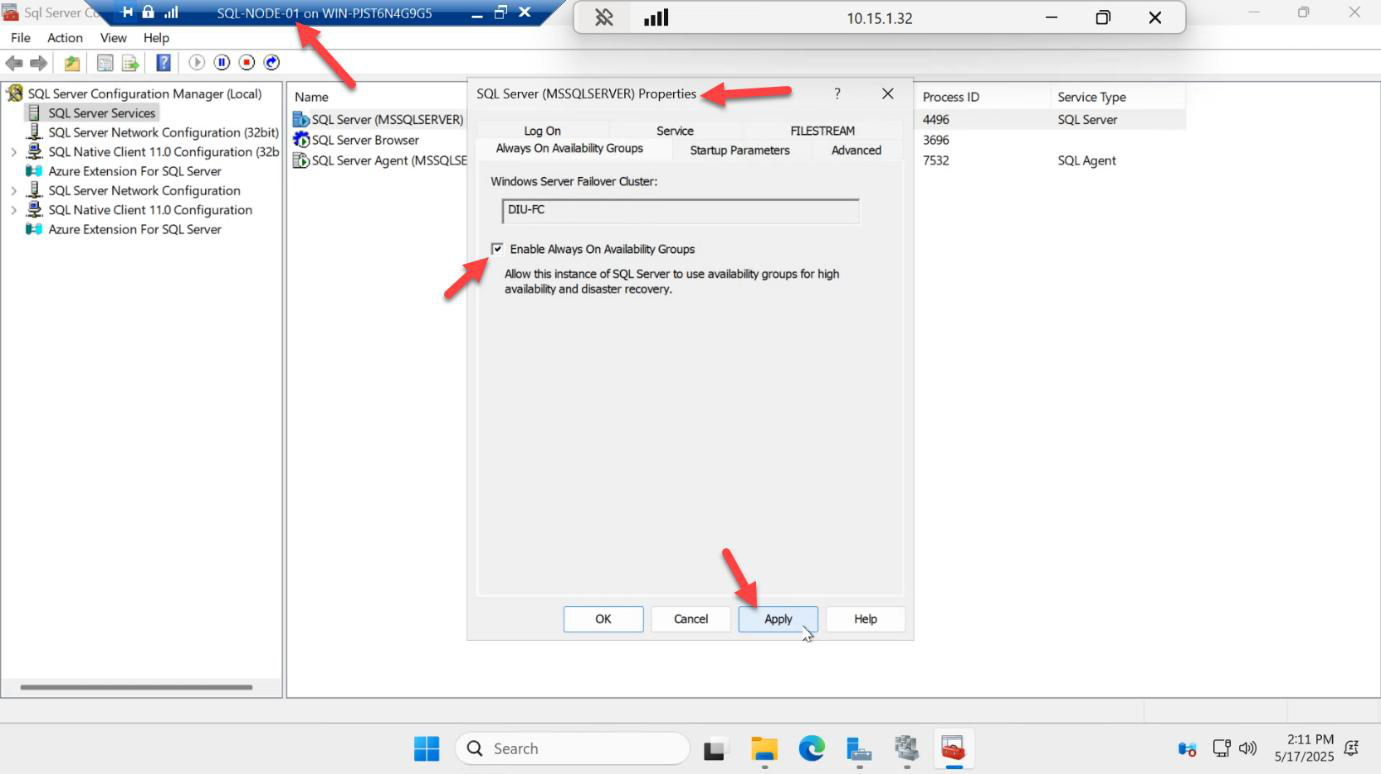
On SQL-NODE-01: Start menu > SQL Server Configuration Manager (or SQLServerManager16.msc) > SQL Server Services > right-click SQL Server (MSSQLSERVER) > Properties > AlwaysOn High Availability tab > tick Enable AlwaysOn Availability Groups > Apply.
You’ll see the WSFC name (SQLCLUSTER01) auto-detected at the top — that’s how SQL Server knows it can use this cluster as the underlying coordination layer. If WSFC isn’t detected here, the cluster wasn’t built correctly in Part 3 — go back and fix it.
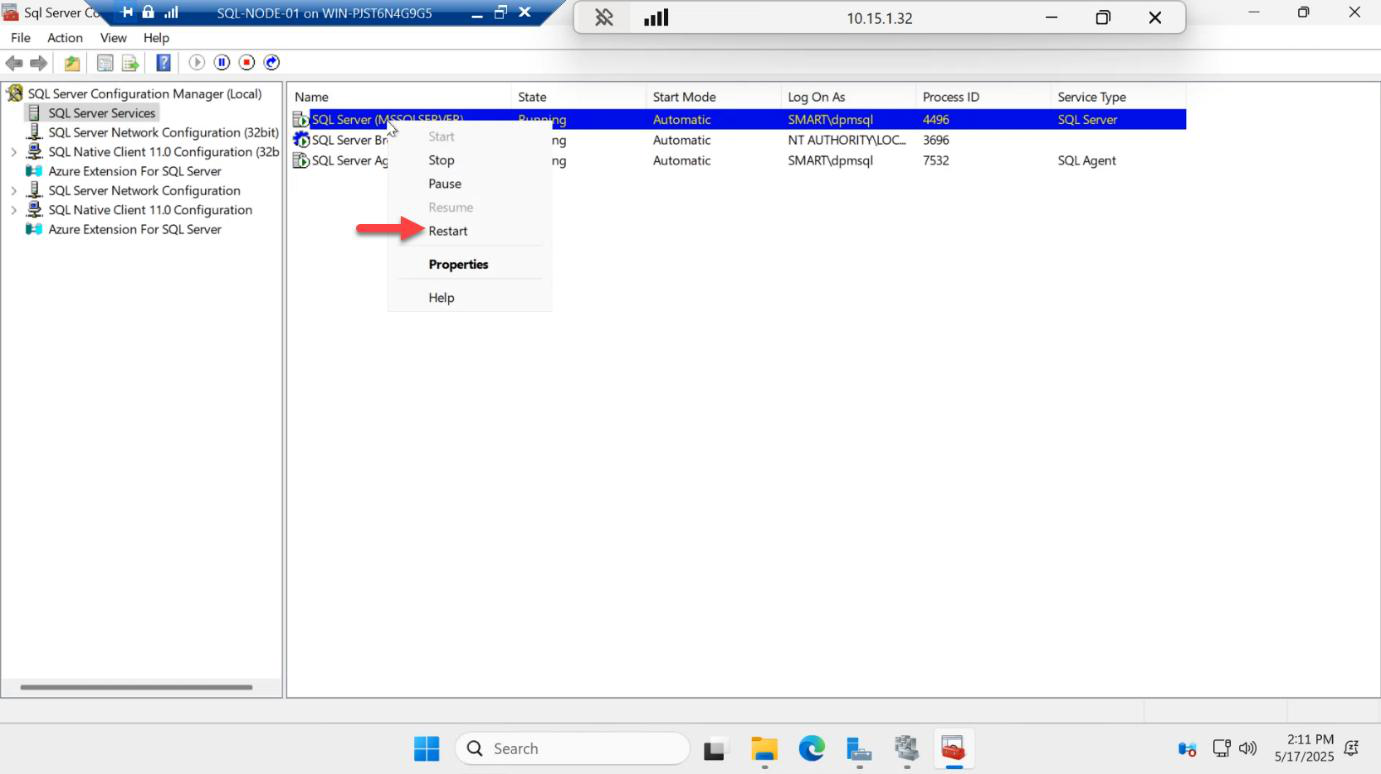
The setting needs a SQL service restart to take effect. Right-click SQL Server (MSSQLSERVER) > Restart.
Repeat on SQL-NODE-02
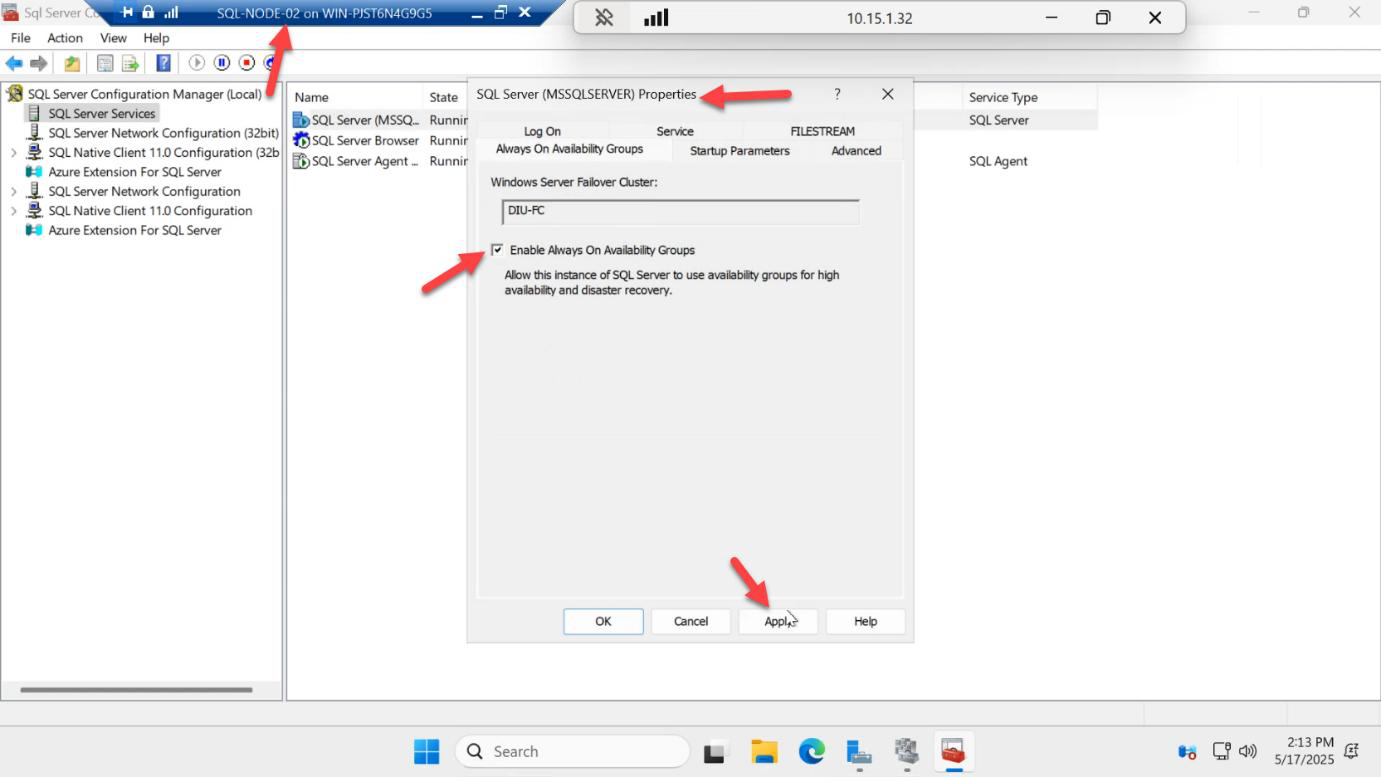
Same flow on SQL-NODE-02: Configuration Manager > tick the AlwaysOn box > Apply.
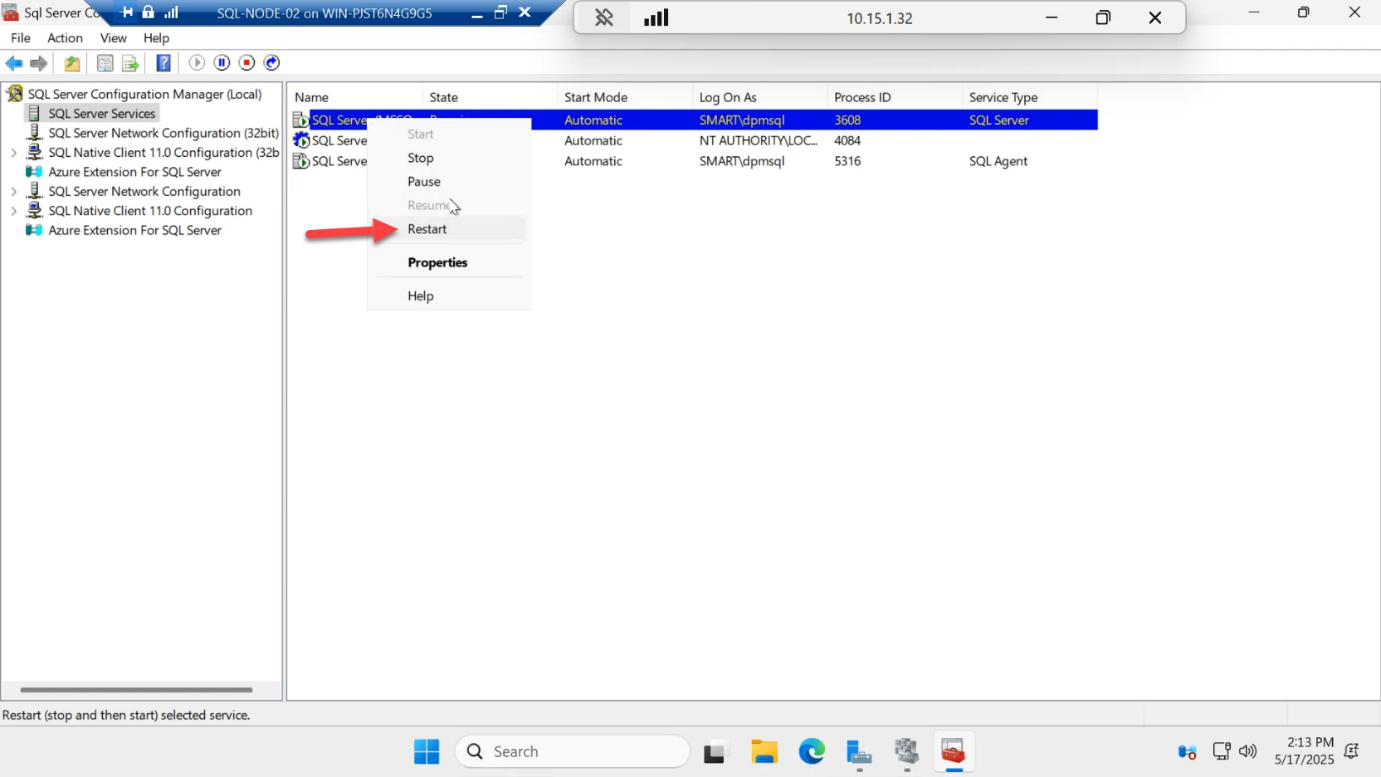
Restart SQL Server on SQL-NODE-02.
Both nodes must have AlwaysOn enabled. If only one has it, the AG wizard in Part 5 will fail to add the secondary replica.
Open SSMS and connect
On SQL-NODE-01, launch SQL Server Management Studio.
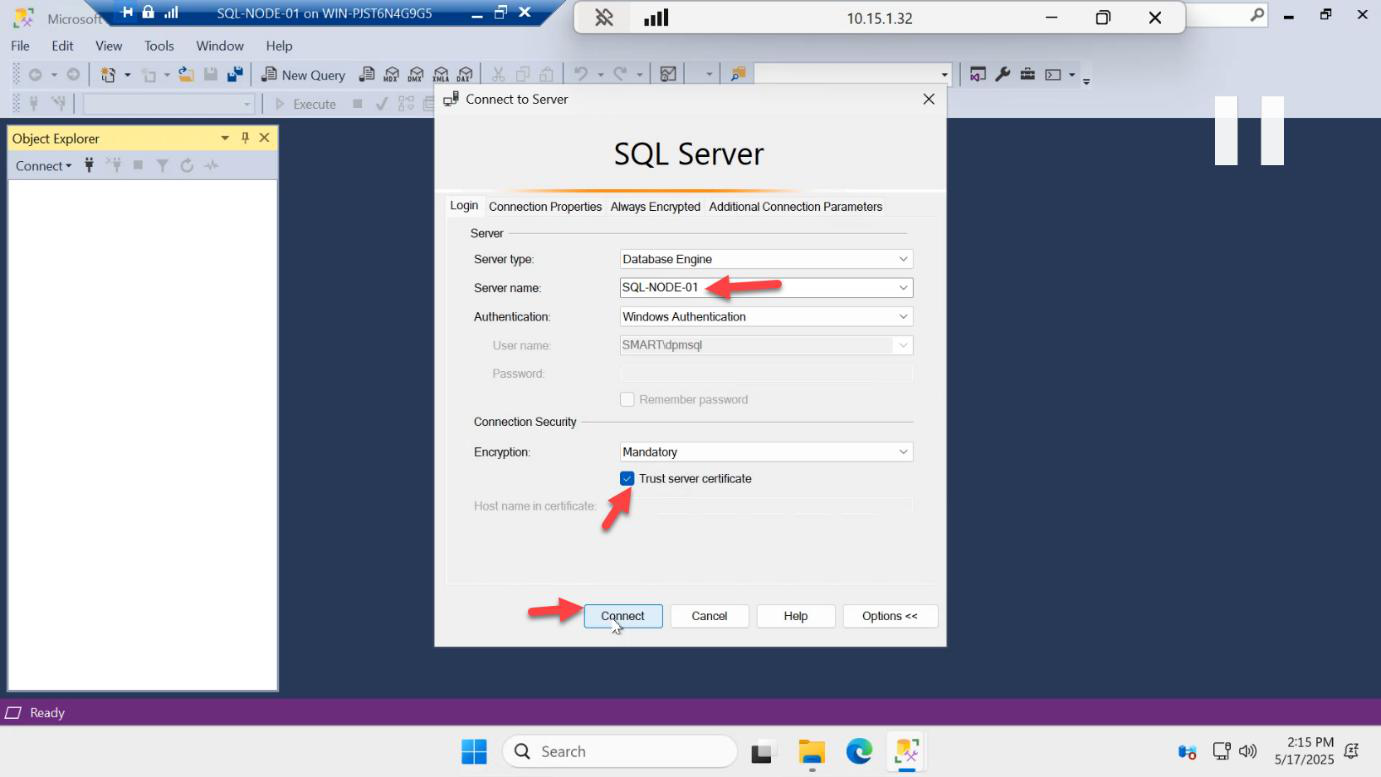
SQL-NODE-01, Windows authentication).Connect to Server: type SQL-NODE-01 as the server name (default instance, no instance suffix needed). Authentication: Windows Authentication. Connect.
Create the demo database
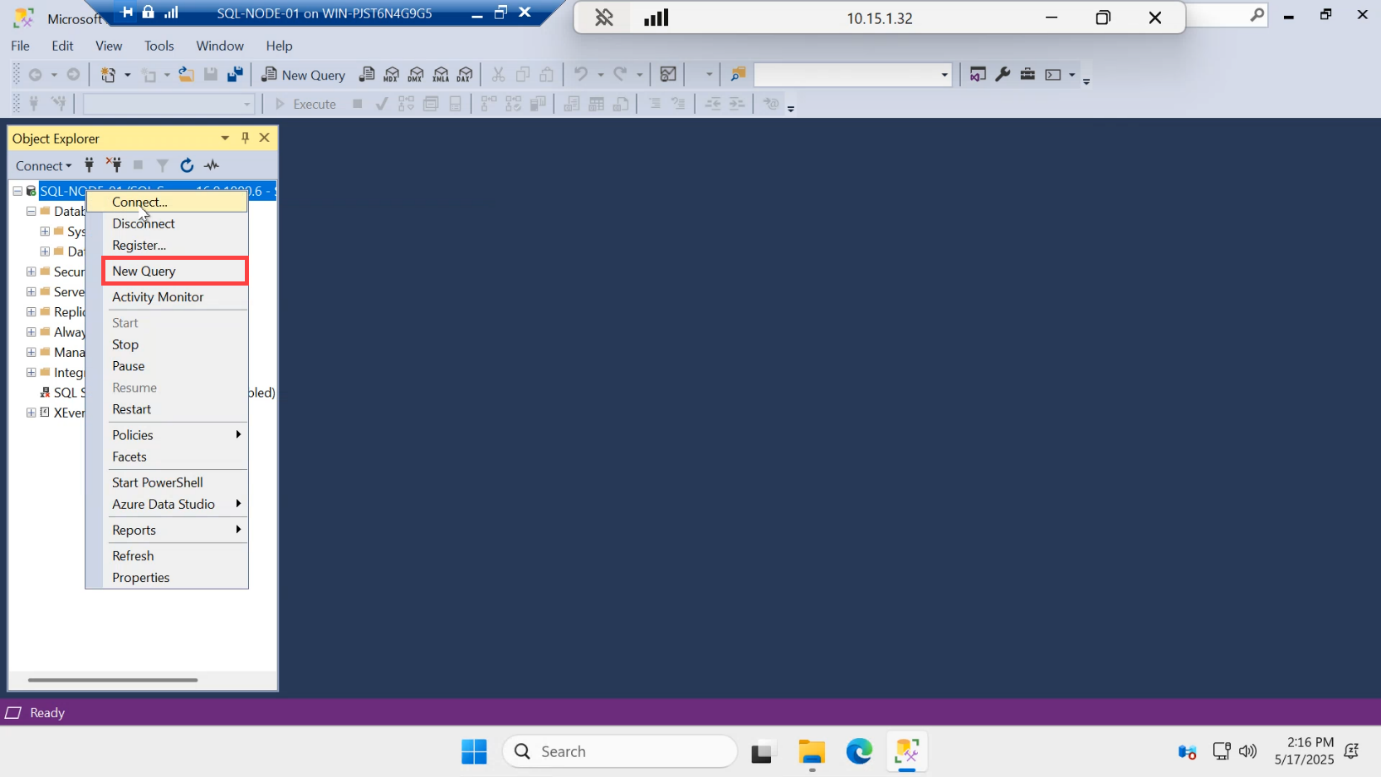
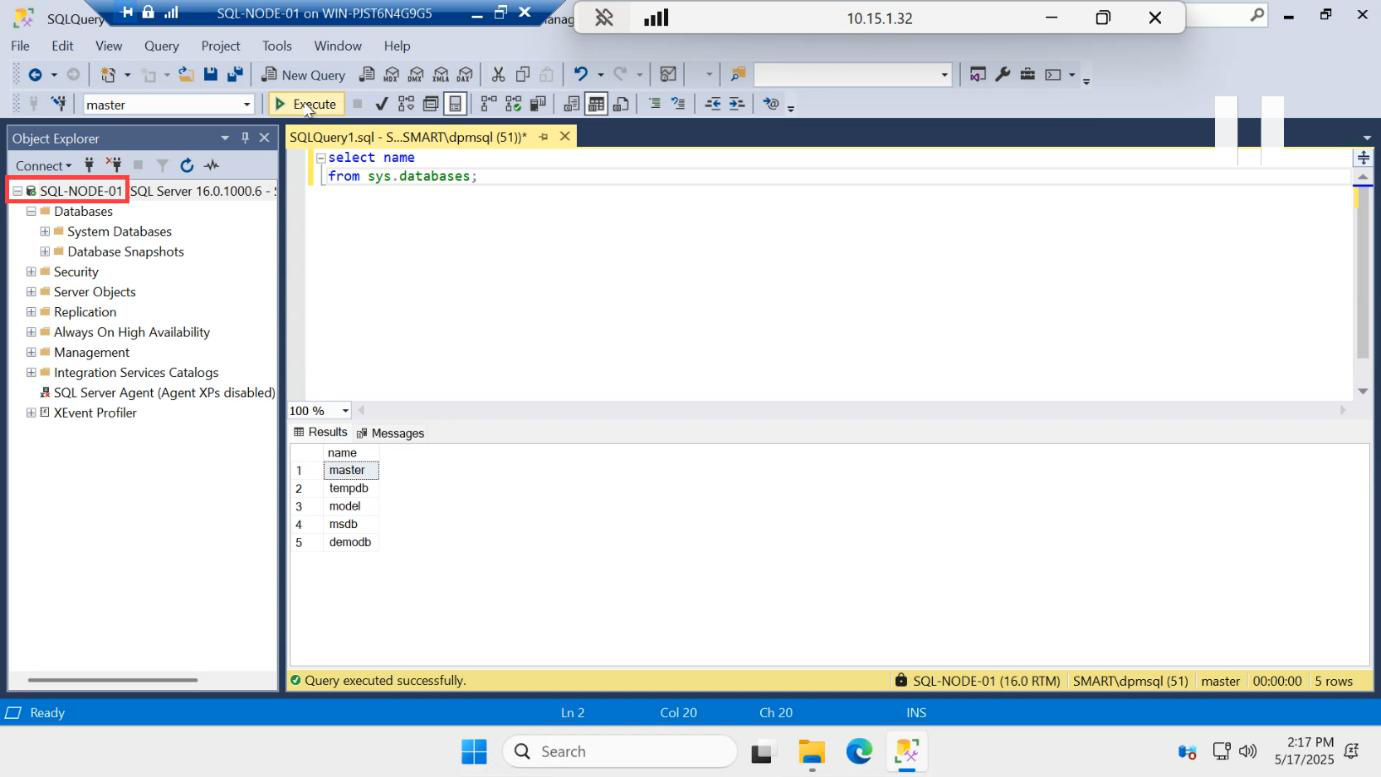
Right-click the SQL-NODE-01 server node in Object Explorer > New Query.
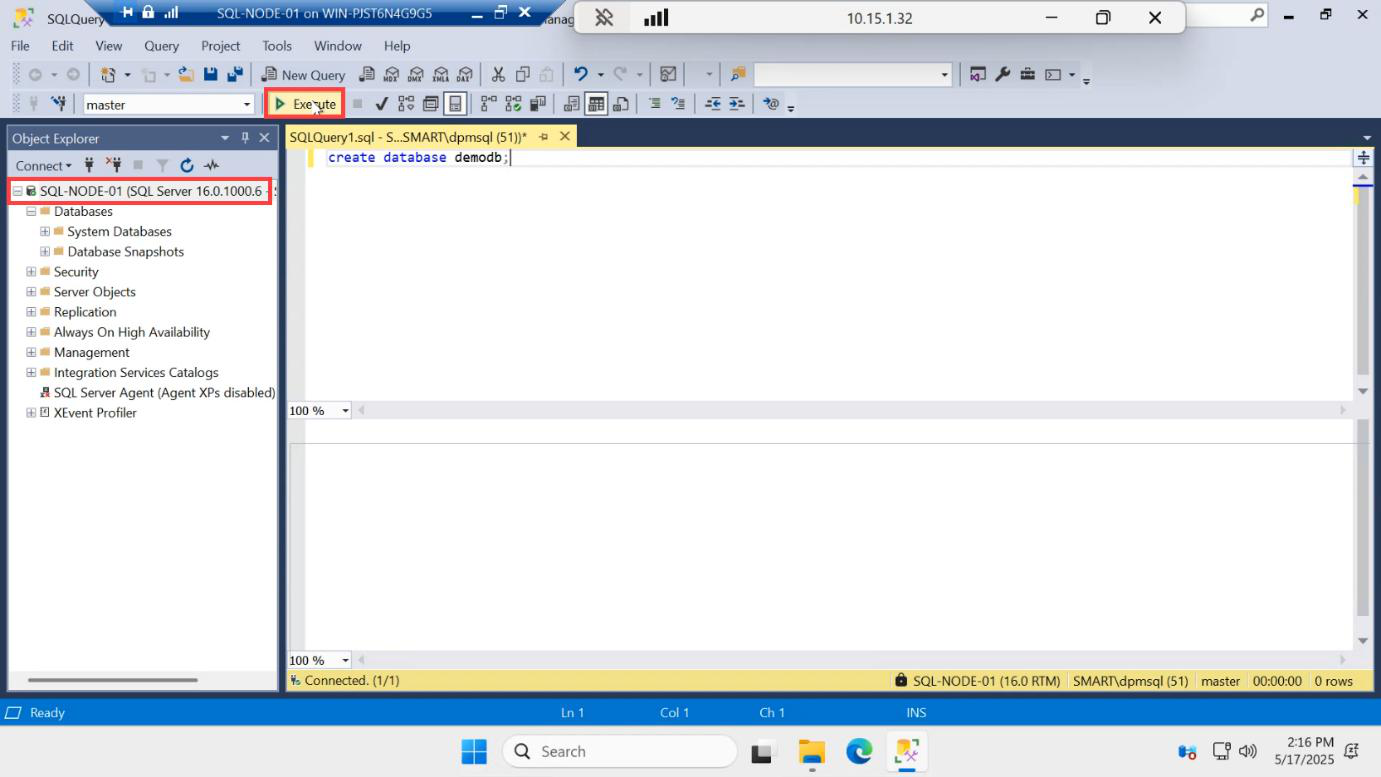
CREATE DATABASE demodb; — this creates the test database that we’ll add to the AG.Run:
CREATE DATABASE demodb;
GO

ALTER DATABASE demodb SET RECOVERY FULL;
GO
The FULL recovery model is non-negotiable for AG. Always On replicates transaction log records between replicas; SIMPLE recovery doesn’t generate the persistent log SQL needs to ship. If your database is in SIMPLE recovery when you try to add it to an AG, the wizard rejects it.
demodb is now visible alongside the system databases.Refresh Databases — demodb is now visible.
Create a table and insert seed data
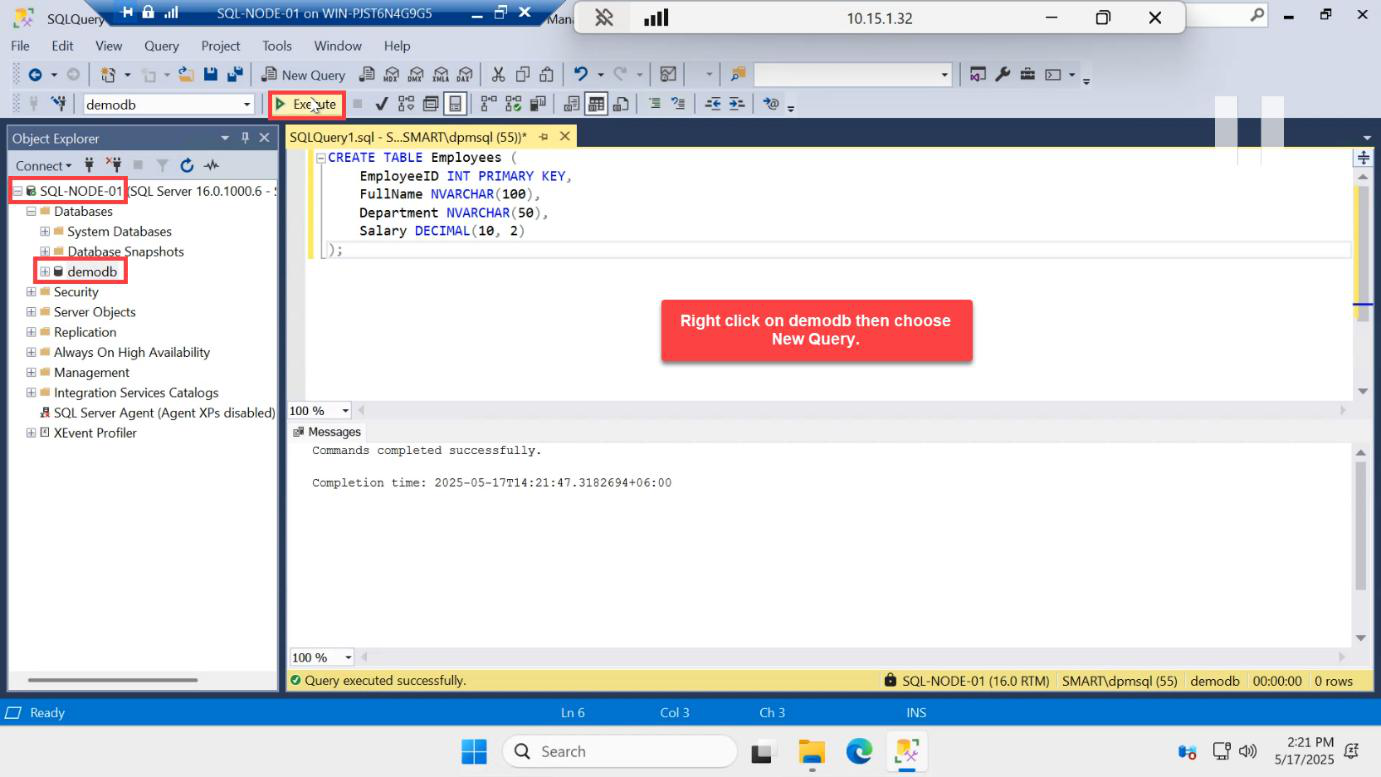
USE demodb;) > New Query > create a table. The exact T-SQL is in the body below.Right-click demodb > New Query. Run:
USE demodb;
GO

CREATE TABLE dbo.Employees (
    id   INT          PRIMARY KEY,
    name VARCHAR(50)  NOT NULL,
    role VARCHAR(50)  NULL
);
GO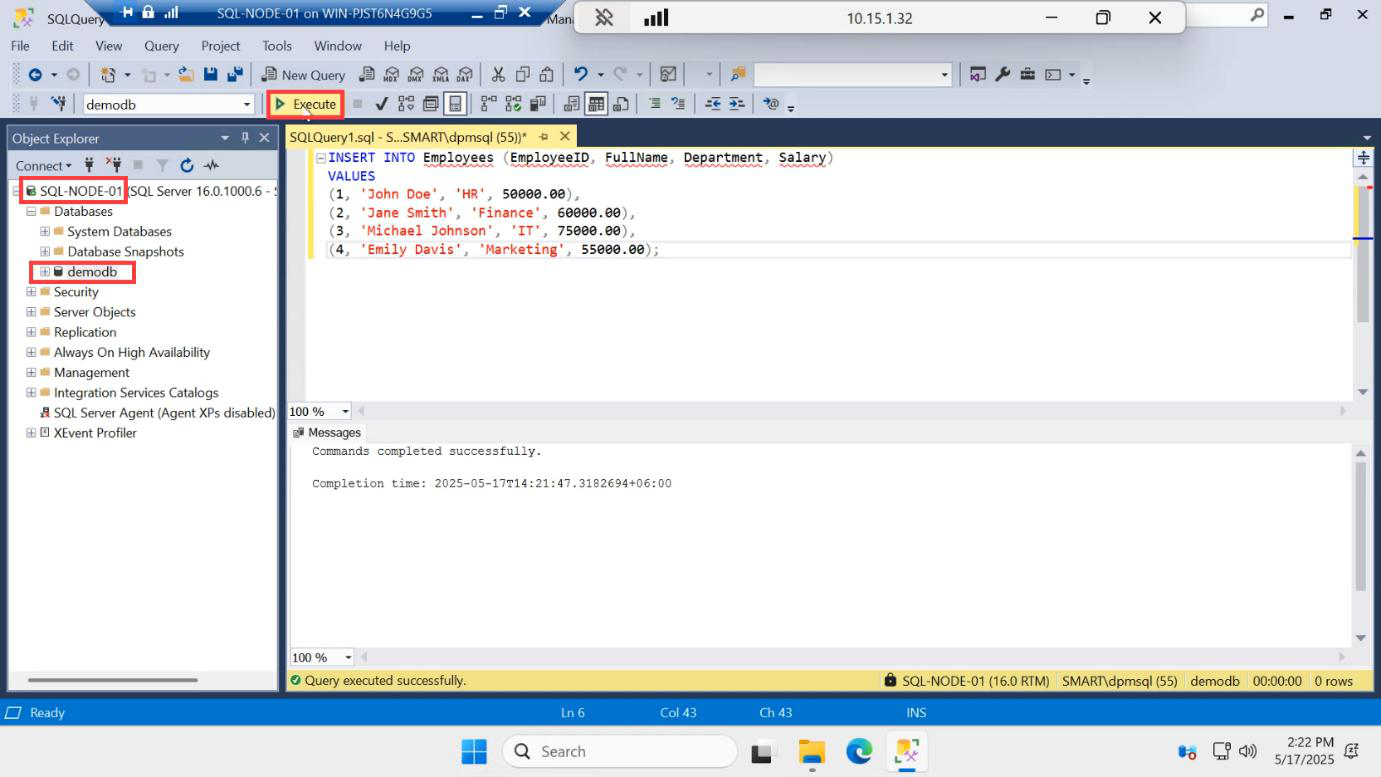
Insert some test rows so we can verify replication later:
INSERT INTO dbo.Employees (id, name, role) VALUES
    (1, 'Alice',   'DBA'),
    (2, 'Bob',     'SysAdmin'),
    (3, 'Charlie', 'Developer');
GO
Verify:
SELECT * FROM dbo.Employees;You should see 3 rows.
Take a full backup — required before AG join
SQL Server requires a database to have at least one full backup before it can be added to an AG. The reason: when SQL seeds the database to the secondary replica, it needs a recoverable starting point. No full backup = no AG.
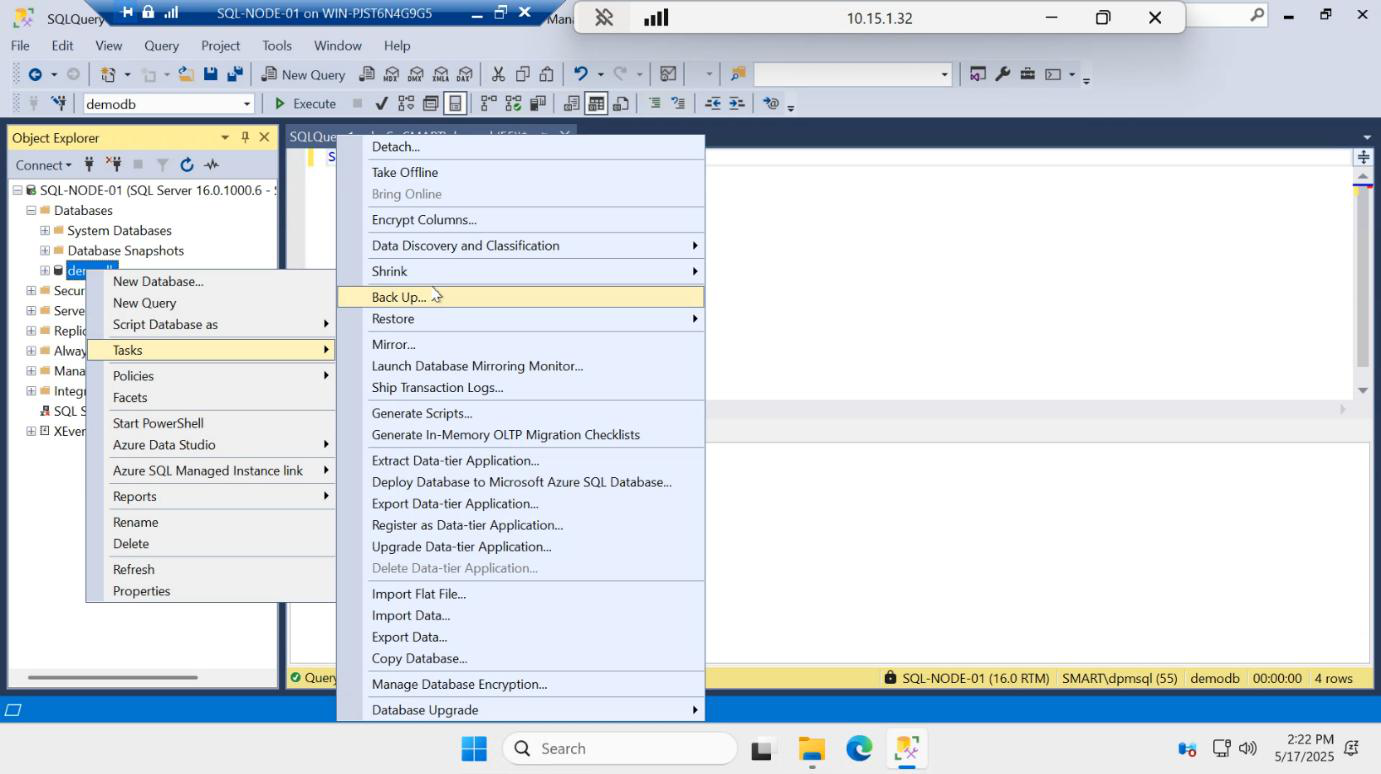
Right-click demodb > Tasks > Back Up…
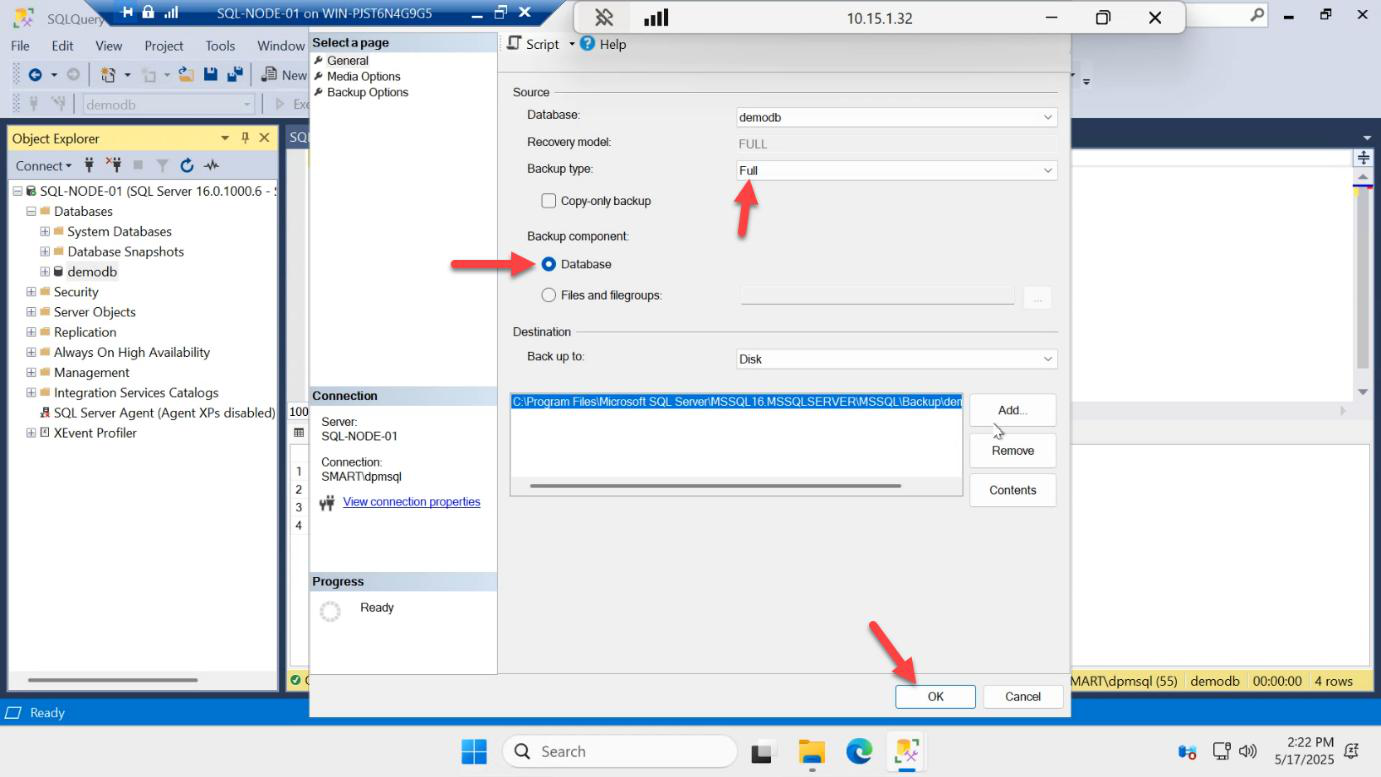
C:\Backups\demodb.bak. OK. Confirms backup succeeded. Now you’re ready for Part 5.Backup type: Full. Destination: a path like C:\Backups\demodb.bak (create the folder first if needed). OK.
You’ll see “BACKUP DATABASE successfully processed.” The .bak file lands at the path you specified.
You don’t need to do anything on SQL-NODE-02 in this part. No database creation, no backup. The AG wizard will handle seeding to SQL-NODE-02 in the next step.
Things that bite people
SIMPLE recovery model
If demodb is in SIMPLE recovery, the AG wizard greys it out. Always switch to FULL recovery before taking the full backup — if you backup-then-switch, the recovery chain starts from a non-FULL backup which the AG won’t accept.
No full backup taken
Same wizard greying. Take a full backup AFTER setting FULL recovery, before opening the AG wizard.
Forgot to enable AlwaysOn on SQL-NODE-02
The AG creation succeeds with just the primary, but adding SQL-NODE-02 as a replica fails with The local replica of availability group is not in a state that could process this command. Go back, enable AlwaysOn on SQL-NODE-02, restart SQL, retry.
Forgot to restart SQL after enabling AlwaysOn
Apply doesn’t mean live — SQL Server picks up the setting on next startup. Symptom: AG wizard says “Always On not enabled” even though Configuration Manager shows the box ticked. Restart SQL service.
Created the database on SQL-NODE-02 too
Don’t. AG init will fail because there’s already a same-named database on the secondary. Drop it from SQL-NODE-02 and let the AG wizard handle the seed.
Database name collision with demodb
If a leftover demodb exists from a previous attempt, drop it first: DROP DATABASE demodb; Then re-create cleanly.
What’s next
Part 5 in the SQL Availability Groups pathway: open the New Availability Group Wizard in SSMS, name the AG, add demodb, add SQL-NODE-02 as a synchronous secondary replica, and create the listener VNN that applications will connect to.