You have a VM running on VMware ESXi. You want it on Hyper-V instead. Maybe the org is consolidating onto Microsoft hypervisor for licensing reasons. Maybe you’re building a hybrid setup. Maybe you just want one specific workload on the same host as your other Hyper-V VMs. The simplest path is Microsoft Virtual Machine Converter (MVMC) — an old but still-functional Microsoft tool that converts ESXi VMDK disks to Hyper-V VHDX format. This post walks the end-to-end recipe: export from ESXi, convert with MVMC PowerShell, attach to a new Hyper-V VM, boot and verify.
What MVMC actually does (and what it doesn’t)
MVMC is a disk-format converter, not a wholesale VM migrator. It takes a .vmdk file and produces a .vhdx file. Everything else — creating the VM shell, picking the firmware mode, configuring networking — you do manually in Hyper-V Manager.
The conversion is non-destructive on the source side: your .vmdk file stays untouched; a new .vhdx is written alongside it. This is useful for verification — if the converted disk doesn’t boot for some reason, you still have the original to retry from.
Important: MVMC is deprecated. Microsoft hasn’t actively developed it since around 2017. It still works on Windows Server 2019/2022/2025, but you won’t get support if it breaks. For modern production migrations, alternatives include:
- Veeam VM Converter (free, more polished, handles VMs in bulk)
- StarWind V2V Converter (free, supports more source formats)
- VMware-side export to OVF, then import via Hyper-V’s built-in OVF support (limited to specific OVF profiles)
- Just rebuild the workload on Hyper-V from scratch — for stateless apps, often faster than fiddling with conversions
That said, MVMC is free, available, and works. For one-off conversions of VMs that aren’t mission-critical, it’s the path of least resistance.
Prerequisites
- Access to the ESXi host (web client or vCenter).
- A Windows machine with MVMC installed. Download from the Microsoft Download Center — the installer is a small MSI. The Windows machine doesn’t need to be the future Hyper-V host; you can convert on a workstation and deploy elsewhere.
- The Hyper-V host where the VM will run, with enough free disk for the converted .vhdx (and during conversion, free space on the conversion host equal to the .vmdk size).
- Administrator rights on both the ESXi side (to export) and the conversion/Hyper-V Windows side (to install MVMC, run PowerShell as admin, create VMs).
Time budget: 5–10 minutes of human time per VM, plus disk-conversion time which scales linearly with disk size (~3 min per 100 GB on local SATA, much faster on NVMe).
Phase 1 — export the VMDK from ESXi
Log into the ESXi host’s web client (https://<esxi-host>/ui). Find the VM you want to migrate.
Step 1.1 — power off the VM
The VM MUST be powered off before export. ESXi technically allows export of running VMs via snapshot, but the disk state captured is point-in-time-during-snapshot, not committed-to-disk — you end up with a .vmdk that boots but with the guest OS having to do crash recovery on first start. Just power off cleanly.
Right-click VM > Power > Shut Down Guest OS (uses VMware Tools to ACPI-shutdown the guest, similar to Hyper-V’s Shut Down). Wait for status: Powered Off.
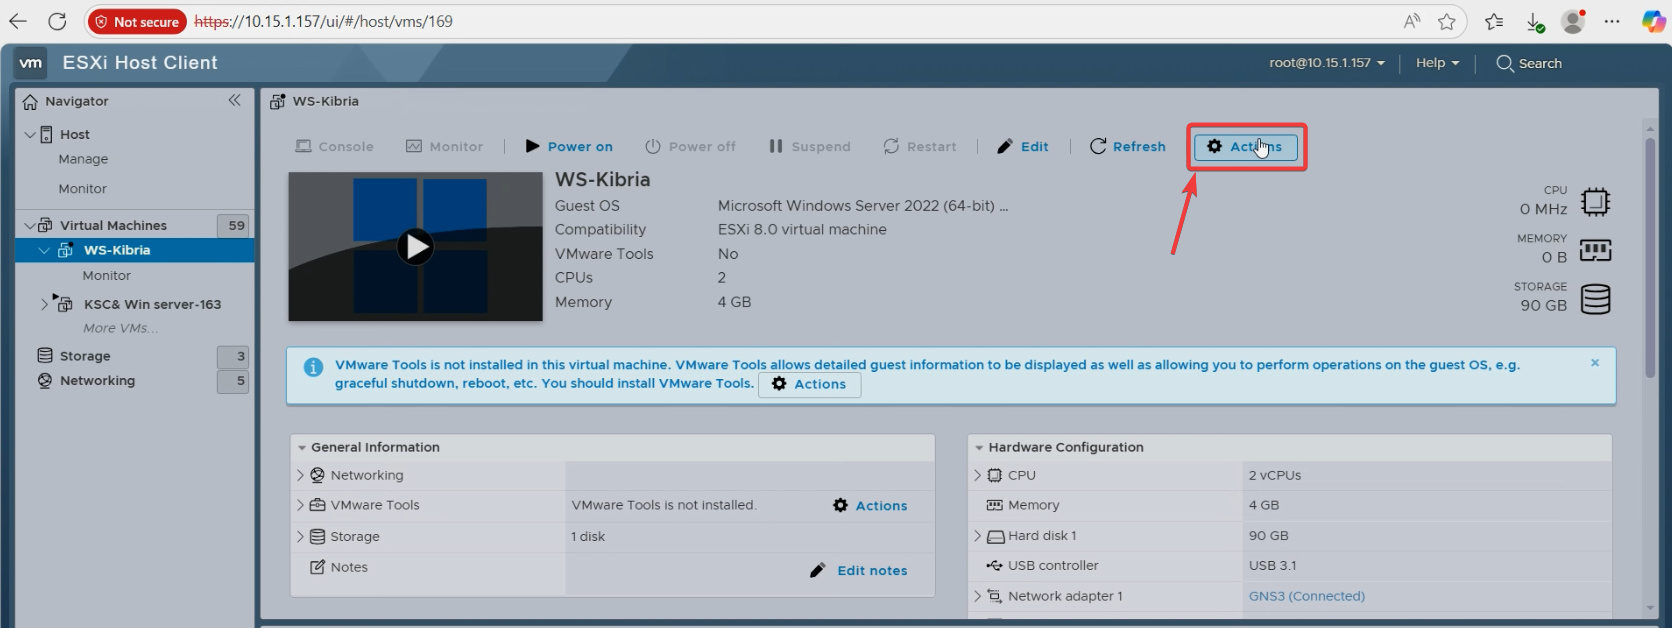
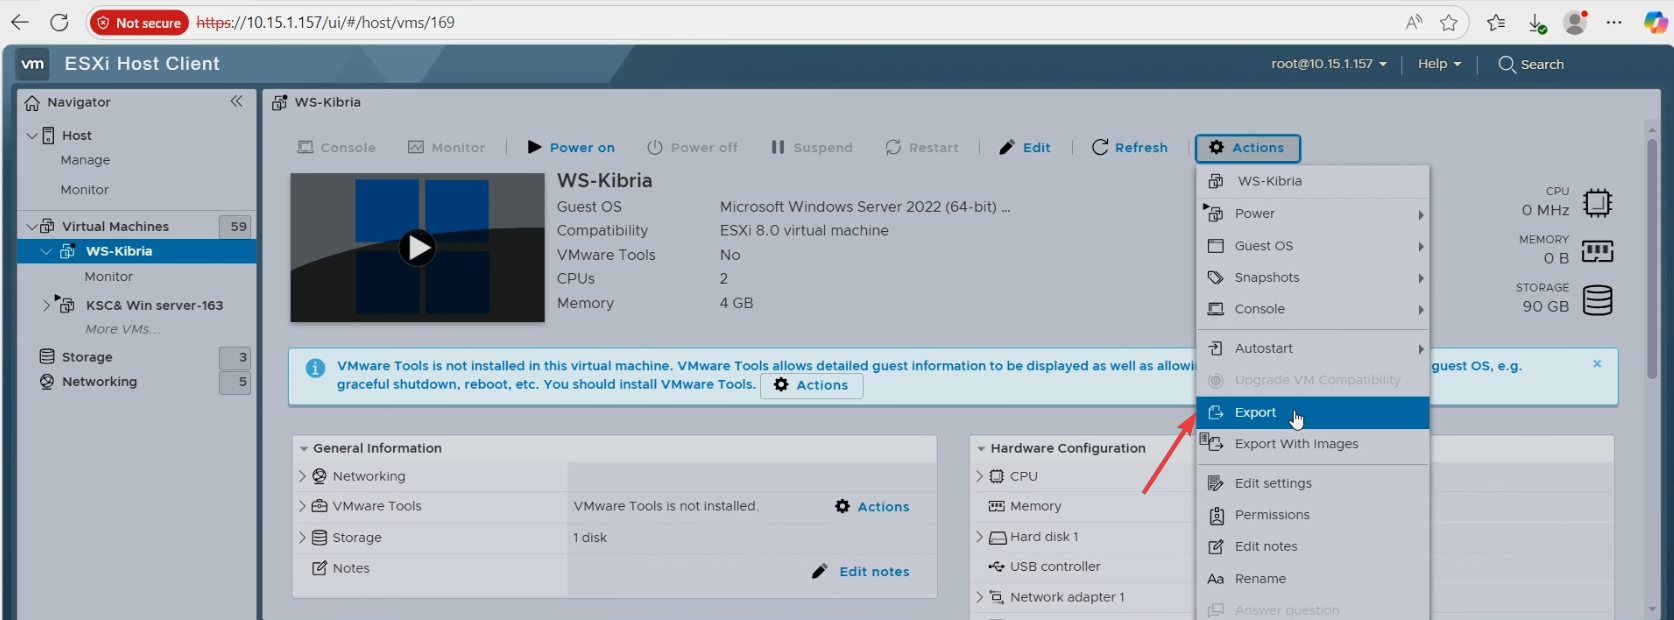
Step 1.2 — trigger the export
Right-click VM > Actions > Export.
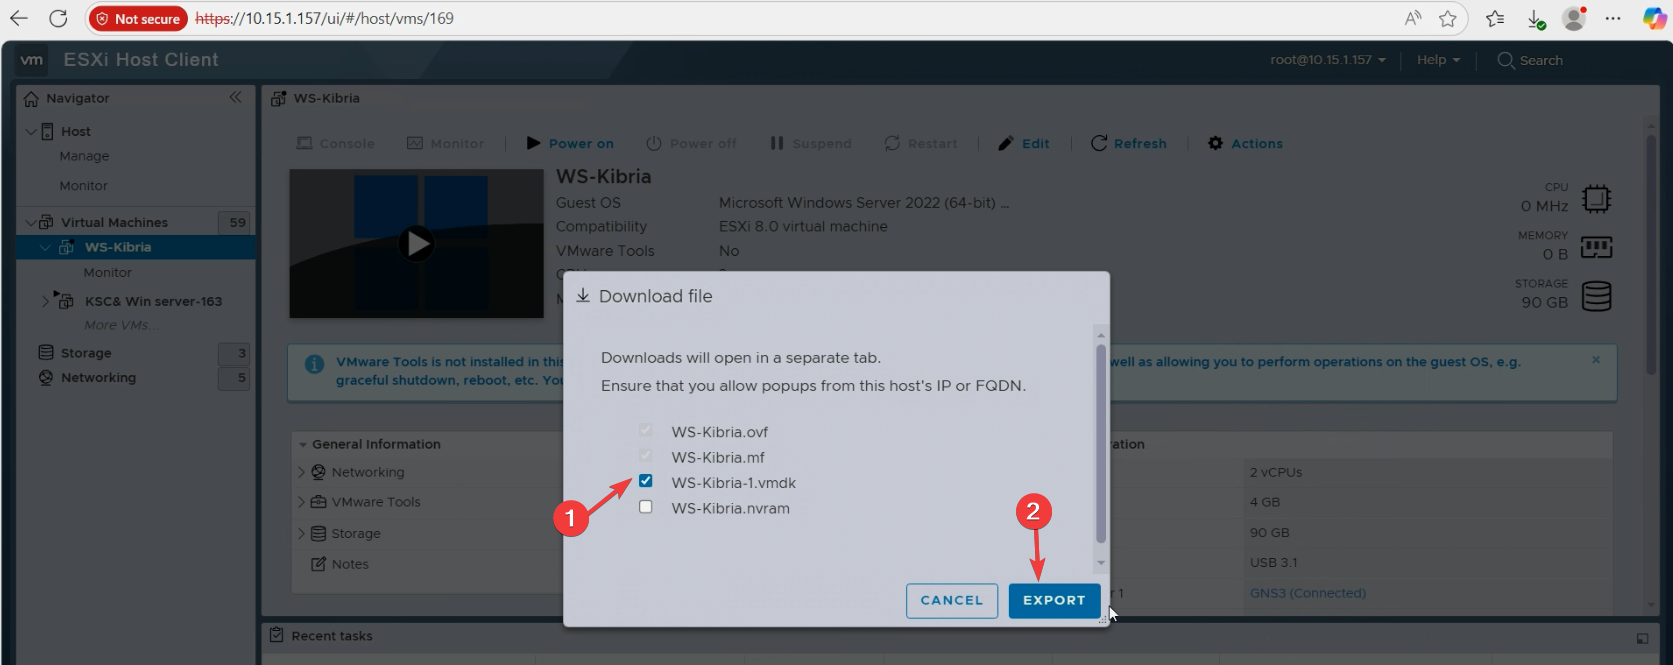
vmkfstools instead to avoid browser timeouts.The browser opens an export dialog listing the VM’s files (.vmdk for the disk, .ovf for metadata, possibly others). Tick the .vmdk and the .ovf. Click Export.
The browser starts downloading. For multi-gigabyte VMs, this can take a while. Browser-based exports are fragile — a flaky network or browser timeout means the download truncates and you have to start over. For VMs >50 GB, prefer the ESXi shell:
cd /vmfs/volumes/datastore-name/vm-name/
ls *.vmdk    # find the disk file
# copy via SCP or attached storage
Either way, you end up with a .vmdk file on a Windows machine that has MVMC installed.
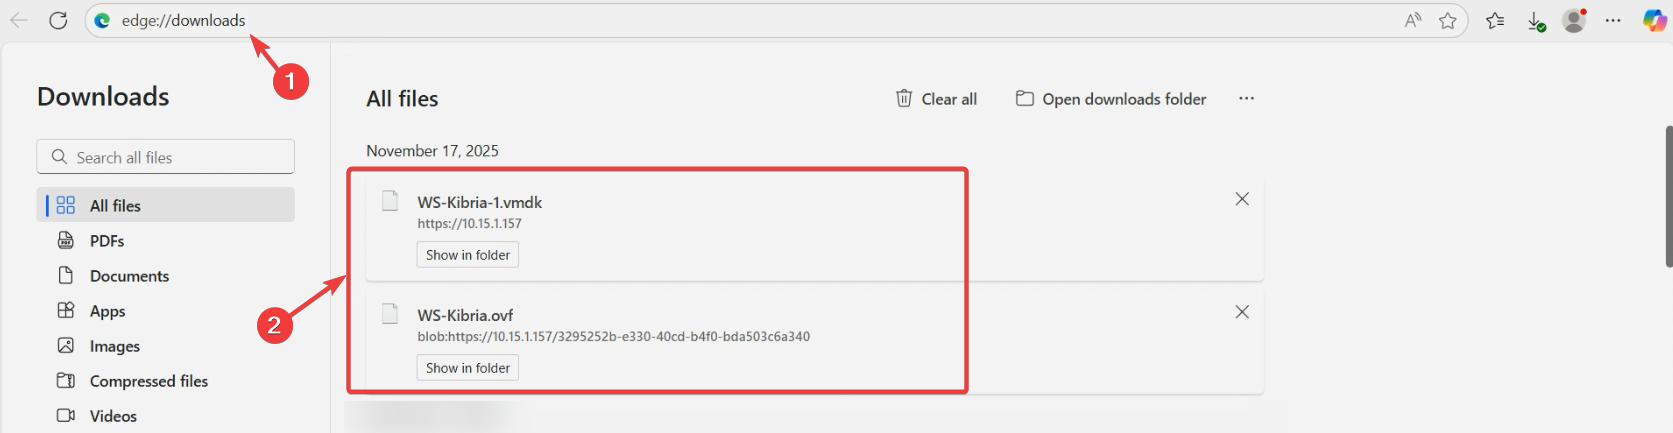
Confirm the file size on disk matches the size shown in ESXi for the source disk. A short download produces a corrupt .vmdk that converts but won’t boot.
Phase 2 — convert .vmdk to .vhdx with MVMC PowerShell
Open PowerShell as Administrator on the conversion host. Two cmdlets:
Step 2.1 — load the MVMC module
Import-Module 'C:\Program Files\Microsoft Virtual Machine Converter\MvmcCmdlet.psd1'The default install path is C:\Program Files\Microsoft Virtual Machine Converter\. If you installed elsewhere, adjust. After this loads, the MVMC cmdlets are available in your session (Get-Command -Module Mvmc… lists them).
Step 2.2 — convert the disk
ConvertTo-MvmcVirtualHardDisk `
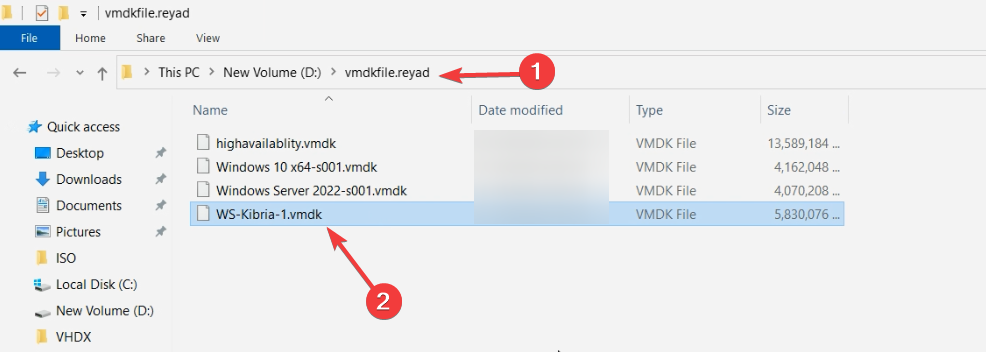
-SourceLiteralPath "D:\vmdkfile\WS-Source-01.vmdk" `
-VhdType FixedHardDisk `
-VhdFormat VHDX `
-Destination "D:\convert\usingcommand\ws-kibria.vhdx"Parameters:
- SourceLiteralPath — full path to the .vmdk file you exported.
- VhdType — FixedHardDisk (pre-allocates full size, predictable performance) or DynamicHardDisk (grows on demand, saves upfront space). For production, Fixed.
- VhdFormat — VHDX (modern, recommended) or VHD (legacy, 2 TB cap). Pick VHDX unless you specifically need VHD.
- Destination — where to write the new file. Folder must exist; the .vhdx file will be created at this exact path.
The cmdlet runs synchronously — PowerShell blocks until conversion completes. No progress bar, no percentage. For a 100 GB Fixed VHDX, expect 3–5 minutes on local SATA. For 1 TB, ~30 minutes. Coffee break.
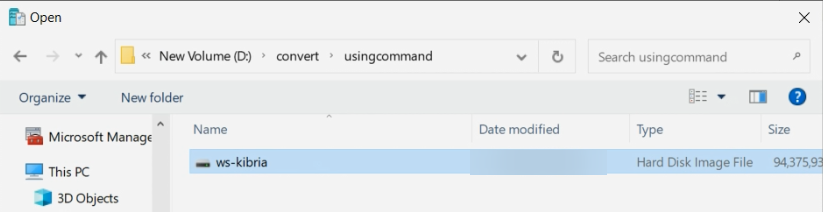
When the cmdlet returns control, navigate to the destination folder and verify the .vhdx file exists at the expected size.
Phase 3 — attach the .vhdx to a new Hyper-V VM
Copy the .vhdx file to the Hyper-V host (or skip the copy if you ran the conversion on the Hyper-V host directly). Open Hyper-V Manager.
Step 3.1 — new VM wizard
Action > New > Virtual Machine. The wizard opens. Click through:
- Name and Location: name the new VM (typically same as the source).
- Generation: CRITICAL CHOICE — Generation 1 for a BIOS source VM (most older VMs); Generation 2 for a UEFI source VM (modern VMs). If you pick wrong, the VM creates fine but the guest OS won’t boot. To check: in vSphere or ESXi, look at the source VM’s firmware setting (BIOS vs EFI). Match in Hyper-V.
- Memory: match the source VM’s RAM allocation.
- Networking: pick a virtual switch for the VM’s network adapter.
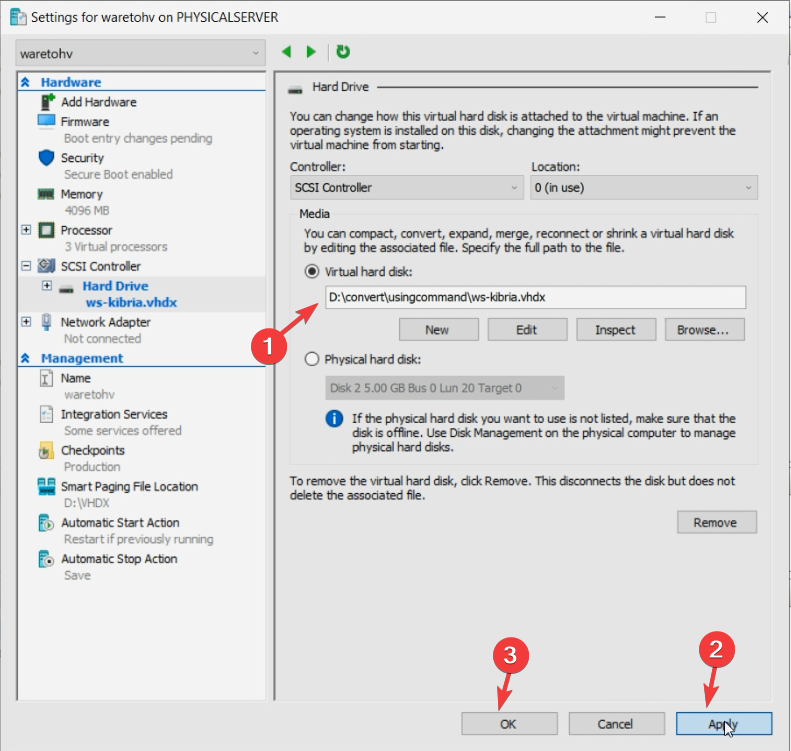
- Connect Virtual Hard Disk: pick Use an existing virtual hard disk. Browse to the converted .vhdx.
Review the Summary and click Finish. The VM is created with the converted .vhdx attached.
Step 3.2 — match CPU count (optional but recommended)
By default, the wizard creates the VM with 1 vCPU. For workload parity, match the source VM’s vCPU count: VM Settings > Processor > set Number of virtual processors.
Phase 4 — boot and verify

Right-click the new VM > Start. Then right-click > Connect to open the console.
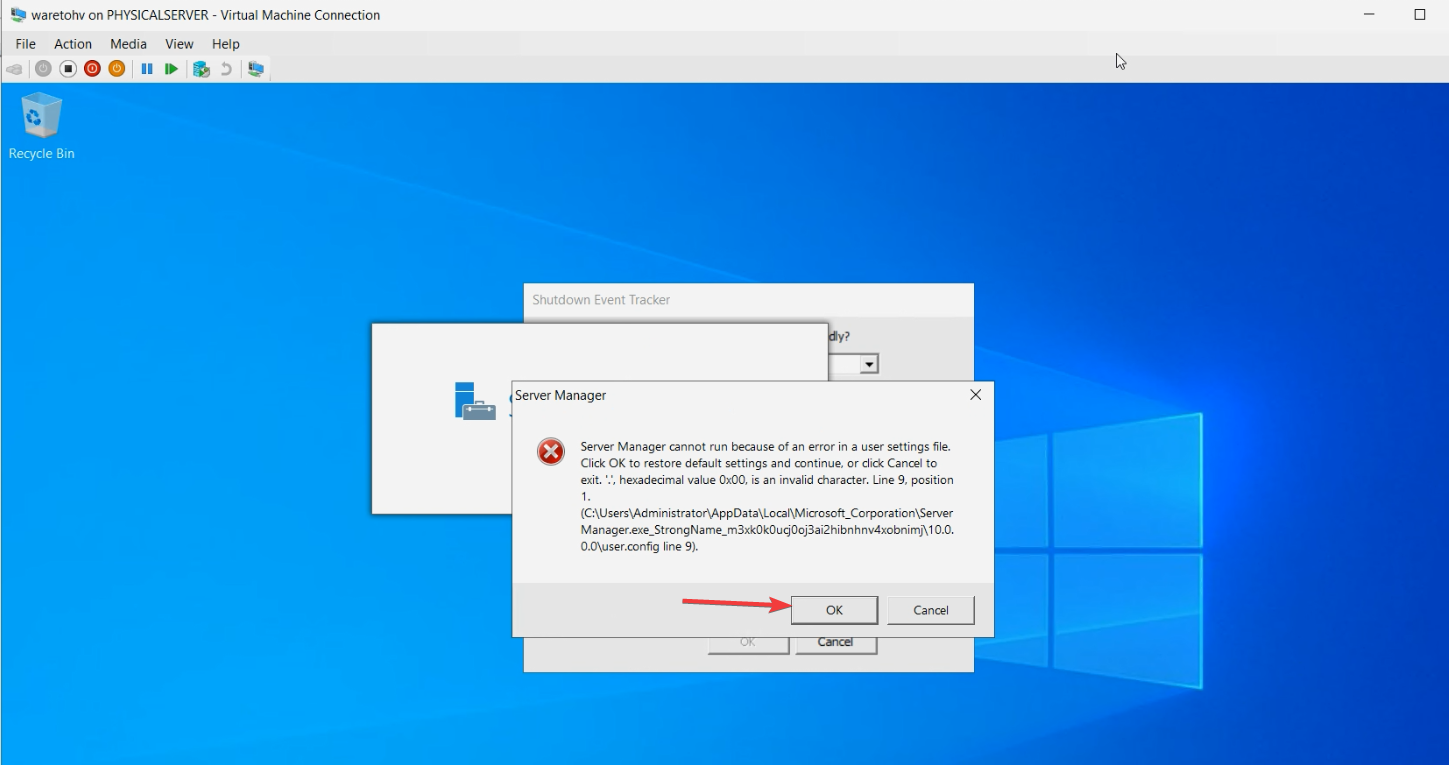
First boot may take longer than usual because the guest OS is detecting new (Hyper-V) virtualised hardware where it previously had VMware-virtualised hardware. You may see “preparing devices” or “installing drivers” messages on first boot — let it complete.
If the boot loops or fails:
- Most likely: Generation mismatch (BIOS vs UEFI). Delete the new VM (NOT the .vhdx file), recreate with the correct Generation.
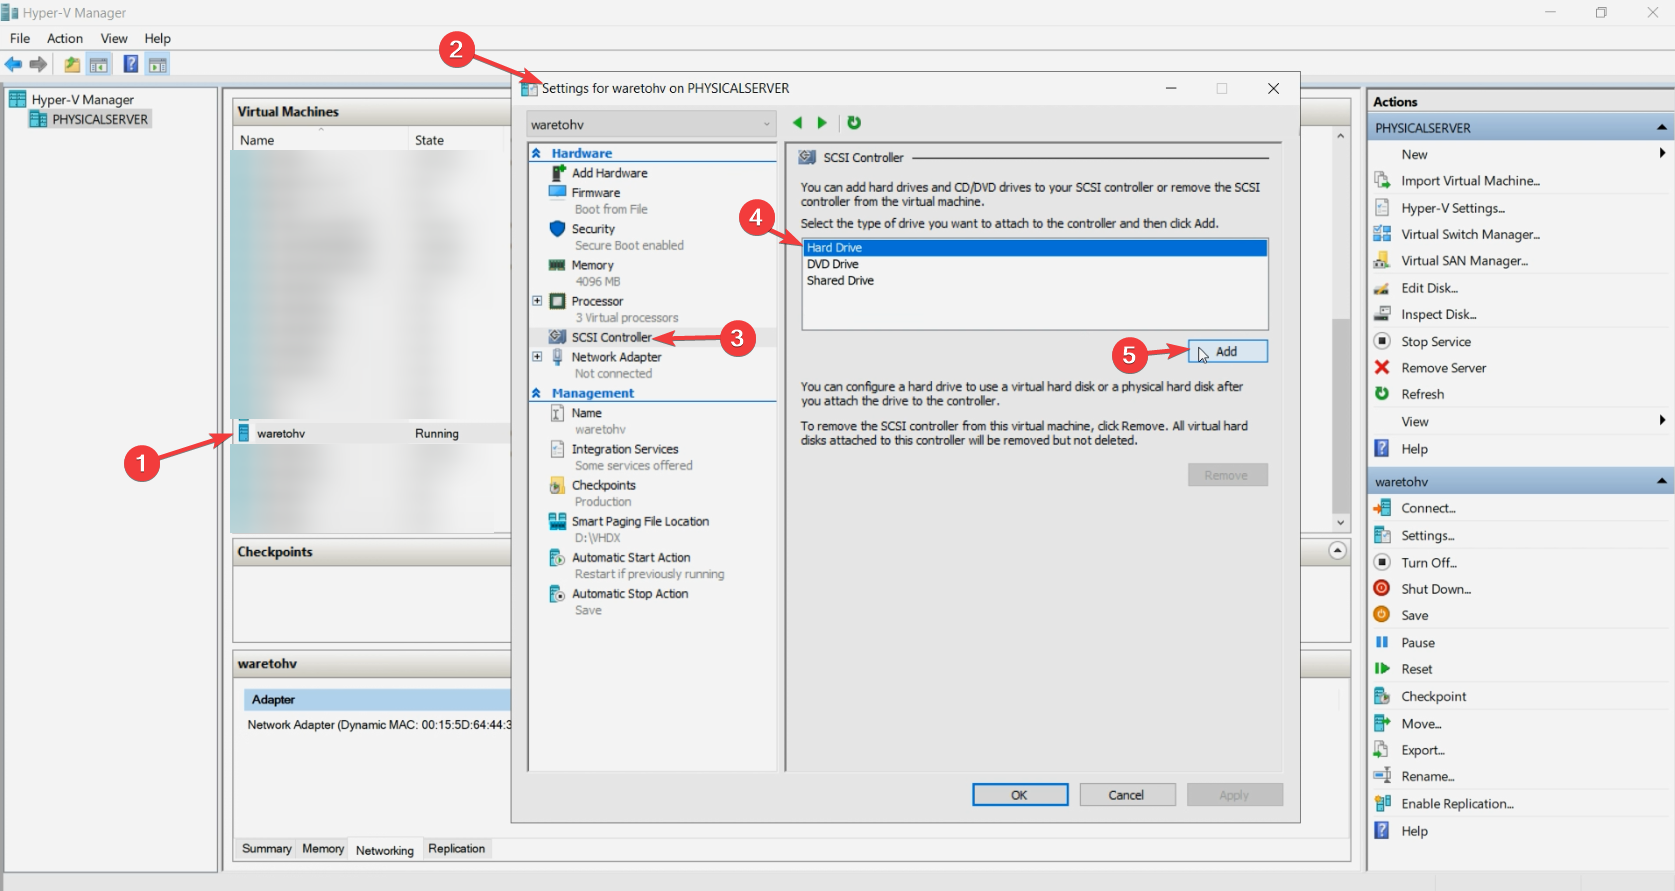
- Less likely: Boot loader can’t find the disk. Check that the .vhdx is attached to the right controller (IDE for Gen 1 boot disks, SCSI for Gen 2).
- Rare: Disk corruption from a truncated VMDK download. Re-export and re-convert.
Log in and verify
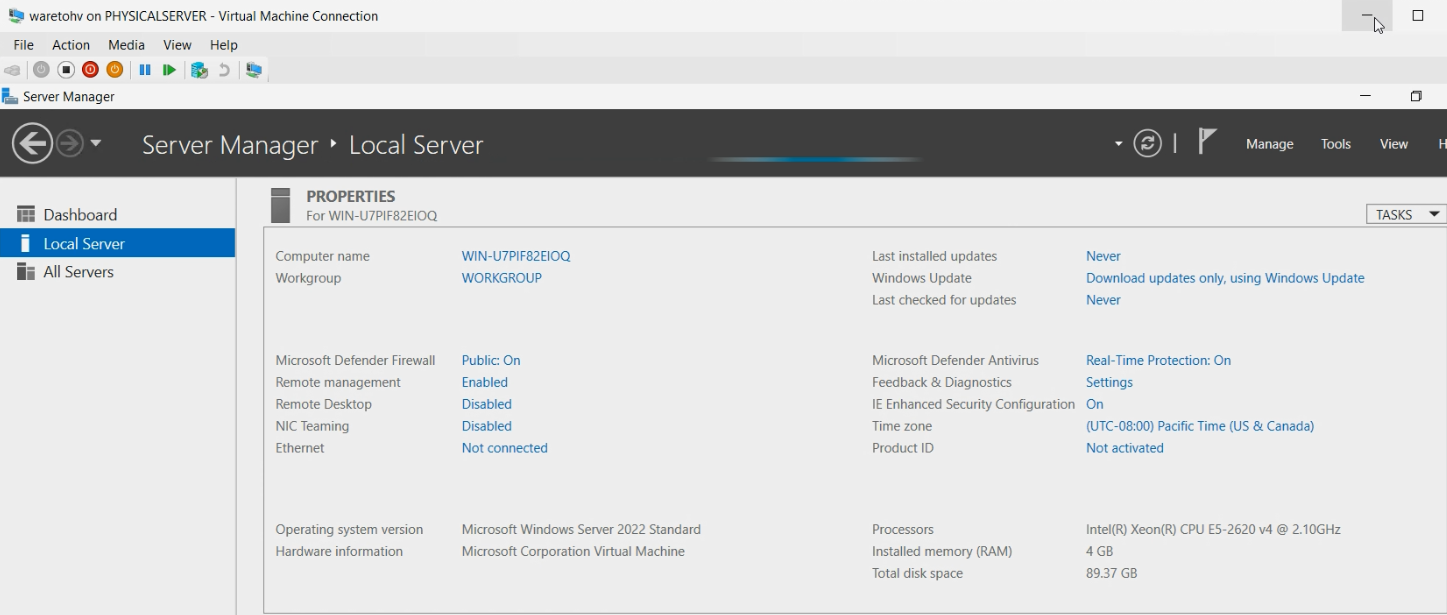
Use the same credentials that worked on the original VMware VM — the conversion preserved the OS user database. Verify:
- Apps you care about start and run.
- Network connectivity works (the new VM has a different MAC address; this matters if any app or licensing system was MAC-bound).
- Hyper-V Integration Services are running (Windows usually auto-installs; for older Windows or Linux, install manually).
- VMware Tools (if installed in the source guest) is uninstalled or at least disabled — it’s no longer relevant and can cause boot delays.
Things that bite people
Generation mismatch
Default Hyper-V wizard offers Generation 1; you click through without thinking; the source VM was actually UEFI; the .vhdx contains a GPT-partitioned UEFI-bootable disk; the Gen 1 VM tries to boot in BIOS mode and fails. This is the #1 first-boot failure mode. Always check the source VM’s firmware mode in vSphere/ESXi BEFORE creating the Hyper-V VM.
Guest OS doesn’t recognise its own disks
Especially for Linux guests, the disk path identifiers (/dev/sda vs /dev/vda) change between hypervisors. Linux guests usually handle this OK because most distros use UUIDs in /etc/fstab, but old/custom configs that hard-code device paths break on first boot. Solution: edit fstab via a rescue boot if needed.
Storage controllers
VMware presents disks via LSI Logic SAS or PVSCSI; Hyper-V Gen 1 uses IDE for boot + SCSI for data; Gen 2 uses SCSI for everything. The guest’s storage drivers may need to load on first boot. Modern Windows handles this transparently; older Windows (2008 R2 and earlier) sometimes needs a driver injection via DISM before booting.
Networking has a different MAC
The Hyper-V VM gets a fresh MAC address. Software with MAC-based licensing (rare but exists) or apps that hard-code expected MACs need to be re-licensed or reconfigured. To preserve the source MAC: VM Settings > Network Adapter > Advanced Features > Static MAC address > enter the source VM’s MAC.
VMware Tools is still installed
The conversion preserves the guest OS exactly, including VMware Tools. On Hyper-V it has nothing to do. It usually installs fine but consumes resources and may cause weird console behaviour. Uninstall via the guest’s Add/Remove Programs after first boot, then install Hyper-V Integration Services (Windows usually has them built in; ensure they’re running via Get-Service vmic*).
Conversion is slow because of source disk format
If the source .vmdk is in “sparse” format (multiple per-extent files), MVMC reads and stitches them together — slower than reading a single thick-provisioned .vmdk. To speed up: in vSphere, convert the source disk to thick-provisioned BEFORE export (Storage vMotion to a different datastore with thick-provisioned format).
MVMC fails with “Source disk format not supported”
Some newer VMware disk types (especially “SE Sparse” used for VMware View linked clones) aren’t supported by MVMC. Convert to a standard format on the VMware side first via Storage vMotion or vmkfstools.
Output VHDX is bigger than expected
If you specified VhdType FixedHardDisk, the output is the SOURCE’S maximum size, not the in-use size. A 100 GB VMDK with 30 GB in use produces a 100 GB VHDX. To reclaim space, use DynamicHardDisk instead, OR convert to fixed first then compact via Hyper-V’s Edit Disk wizard.
Where this fits
VMware-to-Hyper-V migration is a one-off operation per VM — you do it once per workload during a platform consolidation. For broader Hyper-V context including VM creation, replica, live migration, and storage operations, see the Hyper-V Virtualization pathway. For the related case of converting between Hyper-V’s own VHD and VHDX formats (when you have a VHD-format file already on Hyper-V and need VHDX), see the VHD-to-VHDX conversion post.