Sometimes the right policy is just block — not “require MFA,” not “require compliant device,” but a hard no. Common scenarios: an IP range tied to a known-malicious VPN, a country you have no business in, a competitor’s office network. Conditional Access can take any IP range or geographic region you define and refuse all sign-ins from it — for one user, a group, or your whole tenant.
This guide blocks a single IP for a single test user (the safe way to learn the mechanics), then explains the Block always wins rule that surprises people the first time they read sign-in logs after multiple CA policies overlap.
Phase 1 — define the named location
You can’t reference an IP in a policy unless it’s a named location first. Named locations are reusable buckets — create one named location, reference it in many policies.
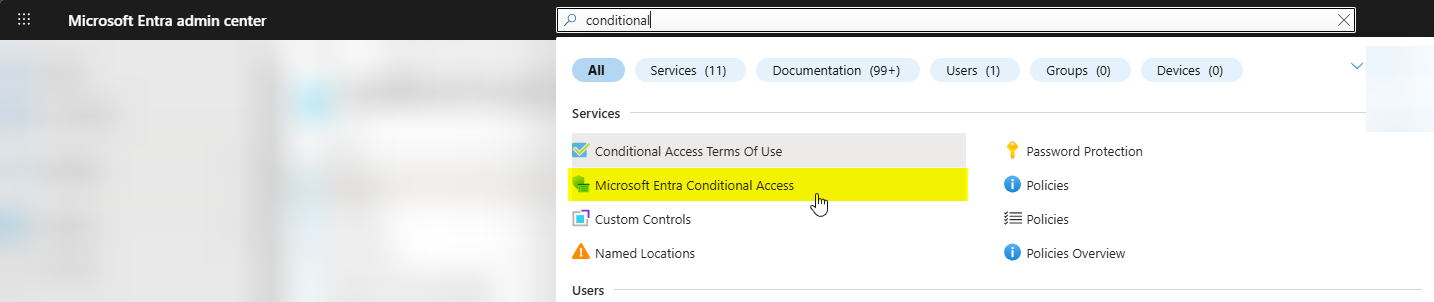
Entra admin centre > Protection > Conditional Access > Named locations (under Manage).
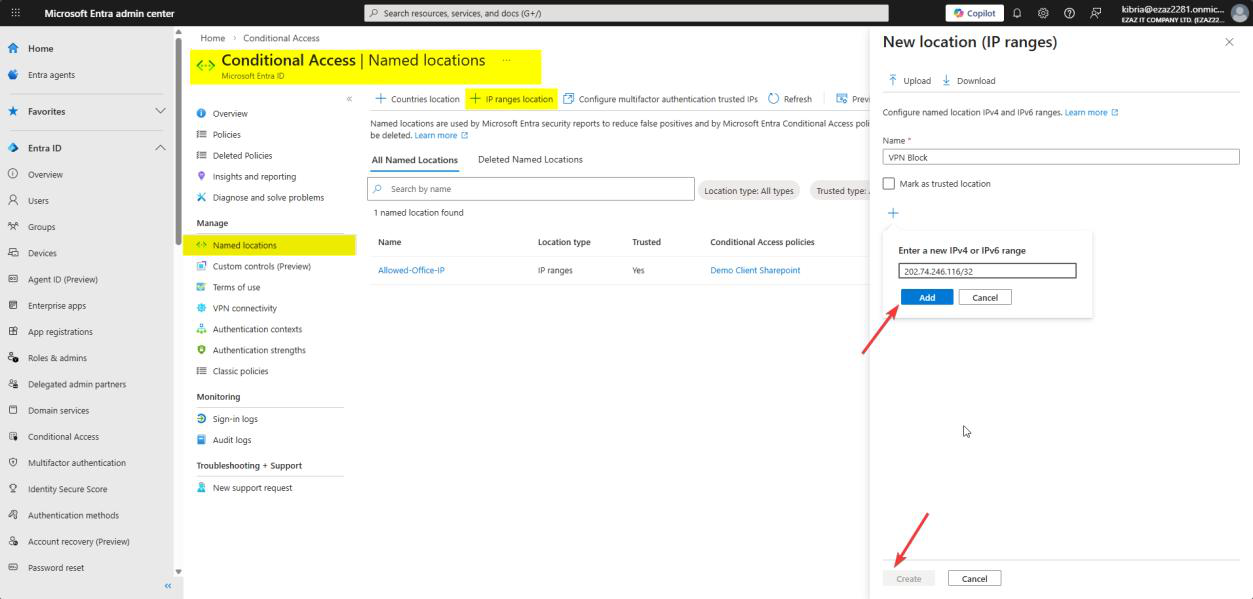
Blocked VPN IP), enter the public IP / CIDR, Create.+ IP ranges location. Name it something self-documenting like Blocked VPN IP or Hostile_Range_Q2_2026. Click + and enter the public IP / CIDR you want to block. Create.
Notes:
- Single IP: enter
203.0.113.7/32— the /32 means “this exact IP, nothing else” - Range:
198.51.100.0/24= 256 addresses (198.51.100.0 to 198.51.100.255) - Mark as trusted? No — that’s for IPs you trust (corporate offices), the opposite of what we’re doing here
- For country/region blocks, choose Countries location instead and pick from the list
Phase 2 — build the block policy
Conditional Access dashboard > Policies > + Create new policy. Name it VPN Block (or whatever describes the intent).
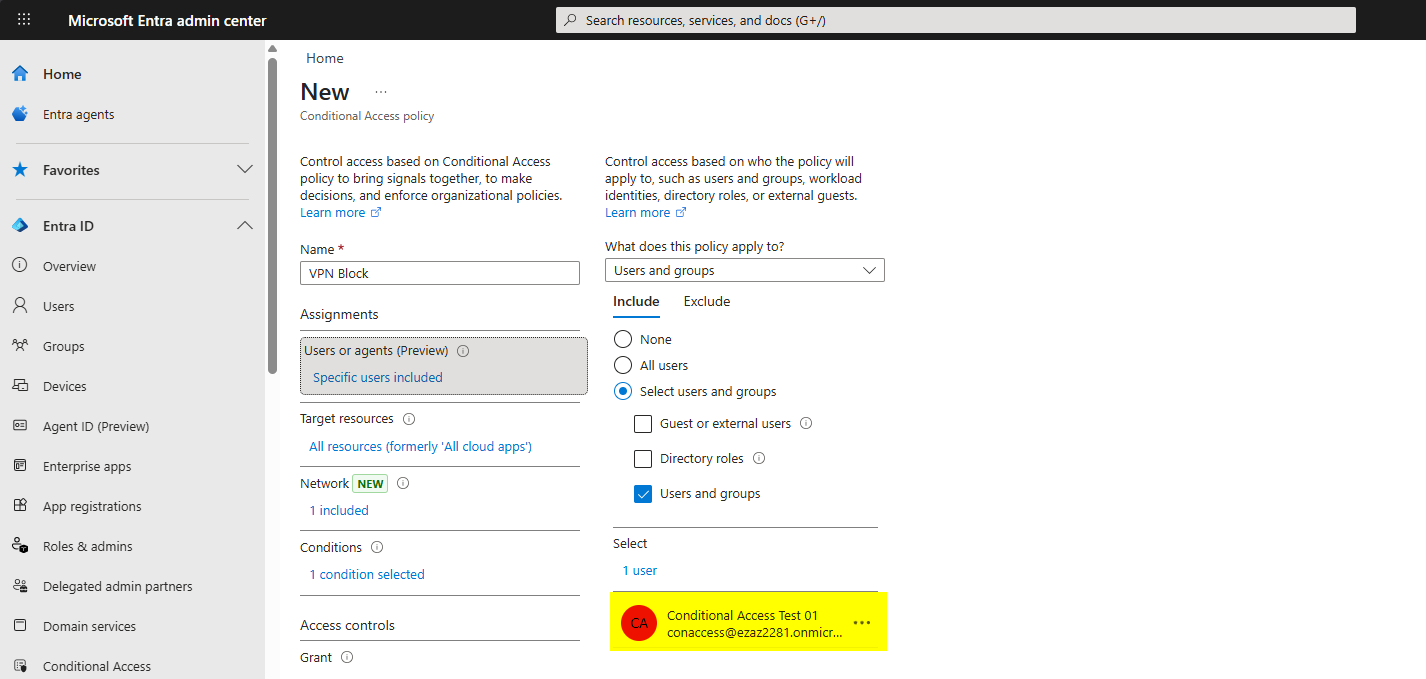
Users > Include > Users and groups > pick the test user (conaccess@…).
For production, target a group instead of a user — group membership is easier to audit and less brittle than baking individual users into policies.
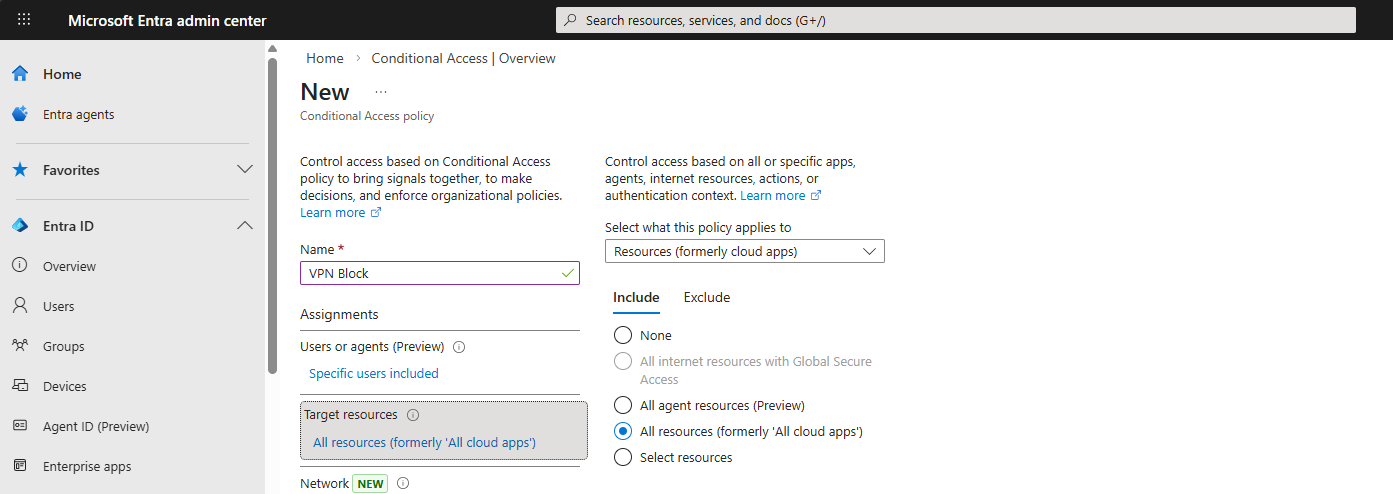
Target resources > All cloud apps.
Same reasoning as the MFA-for-admins policy — if you’re blocking a hostile IP, you want the door shut on every Microsoft surface, not just one or two apps. Specific-app blocks leave attacker pivot paths.
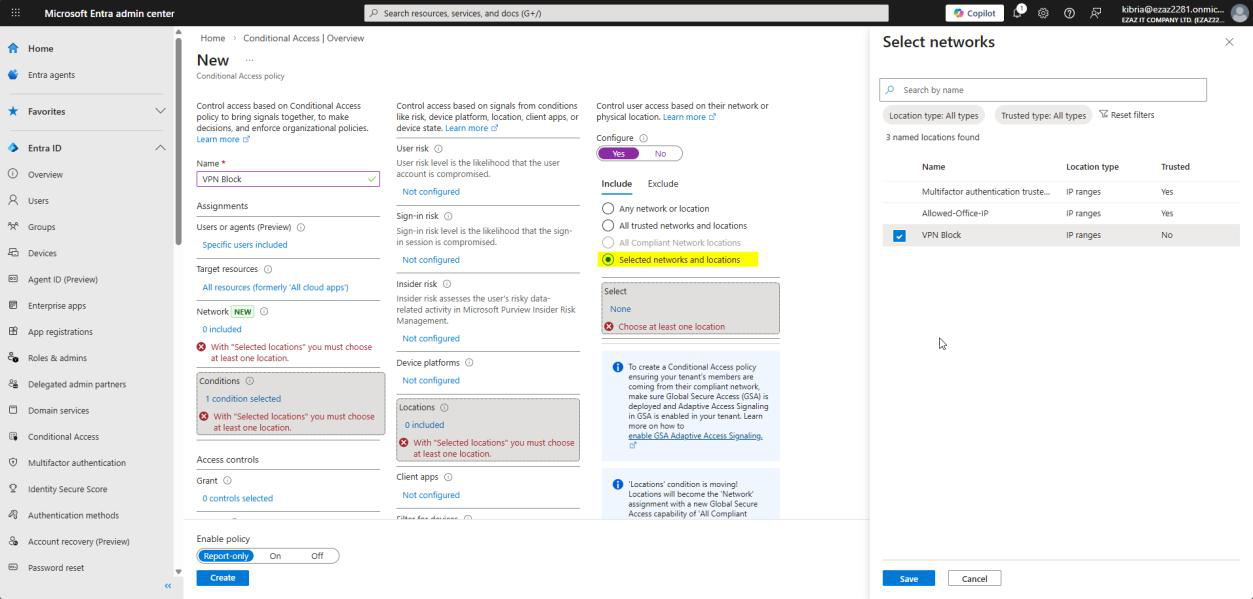
Conditions > Locations:
- Configure: Yes
- Include tab > Selected locations
- Pick the named location from Phase 1 > Select
The Exclude tab lets you carve out exceptions (e.g. include “All trusted locations” but exclude one specific office). Not needed here.
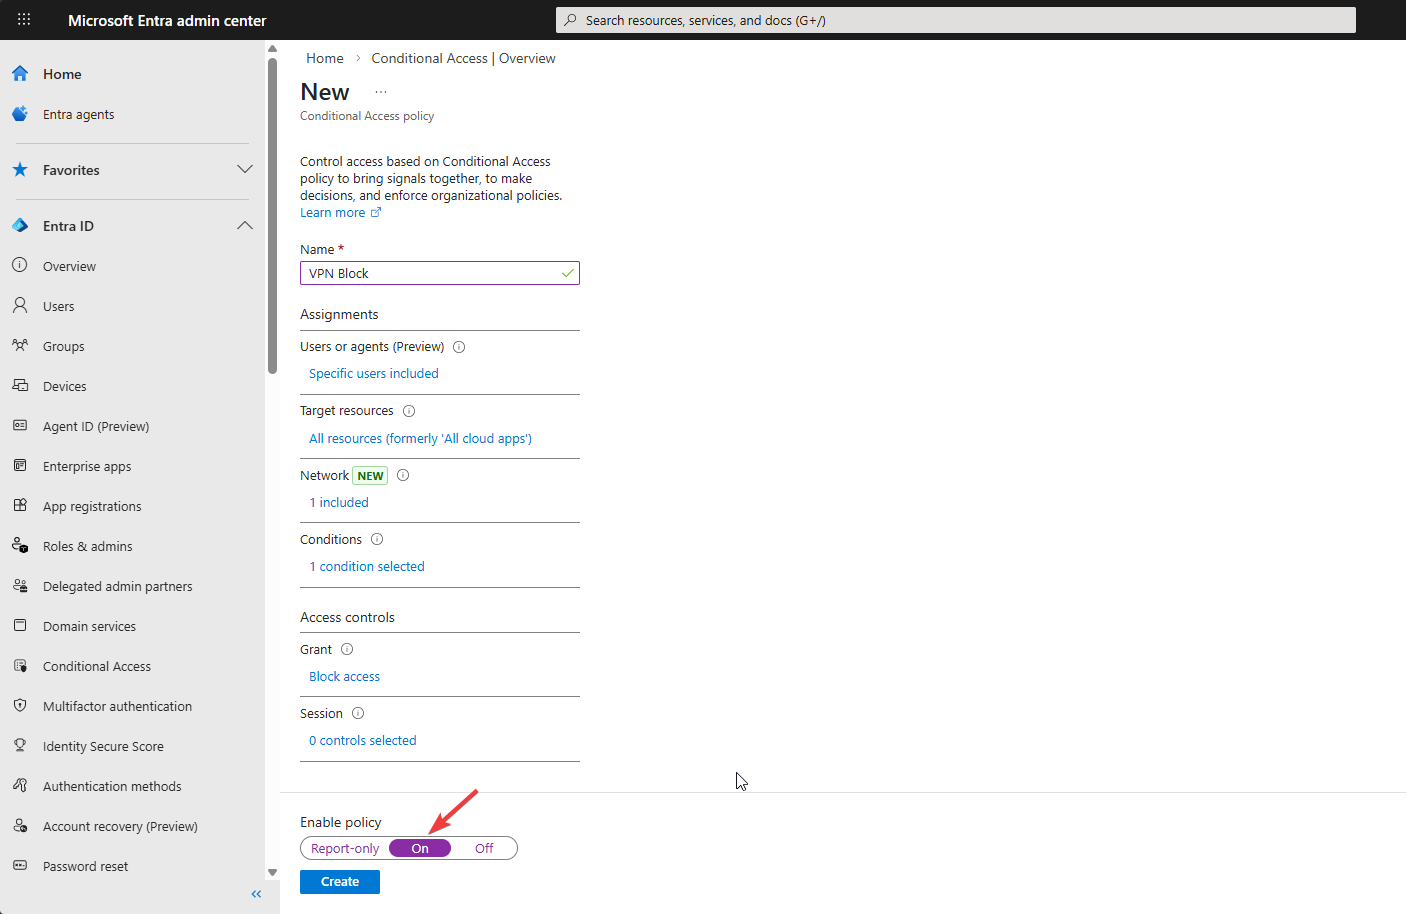
Grant > Block access > Select. Session: leave blank (no session = nothing to control). Enable policy: On > Create.
Phase 3 — test the block
Route the test machine through the blocked IP — usually means connecting to a VPN endpoint that exits at that IP, or testing from a machine on that subnet. Confirm with https://api.ipify.org/ that your public IP is now the blocked one.
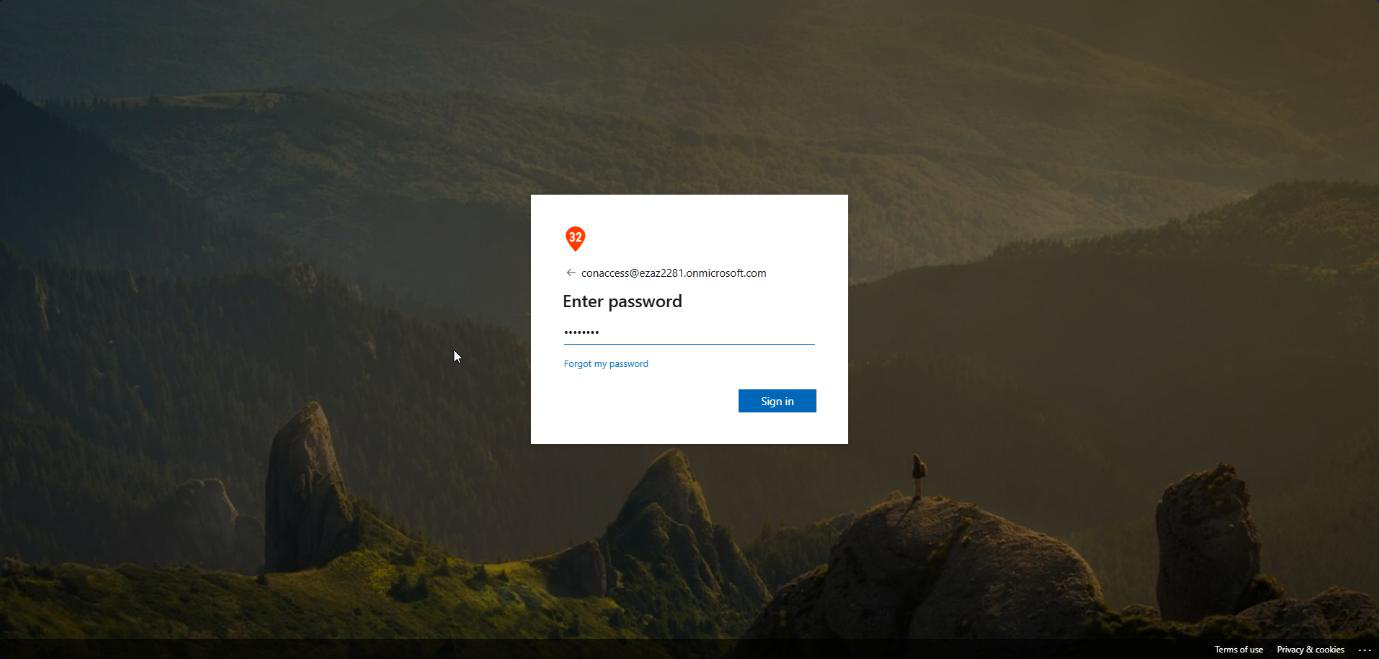
myaccount.microsoft.com, type the username and password.Open an InPrivate / Incognito browser > myaccount.microsoft.com > type the username and password > Sign in.
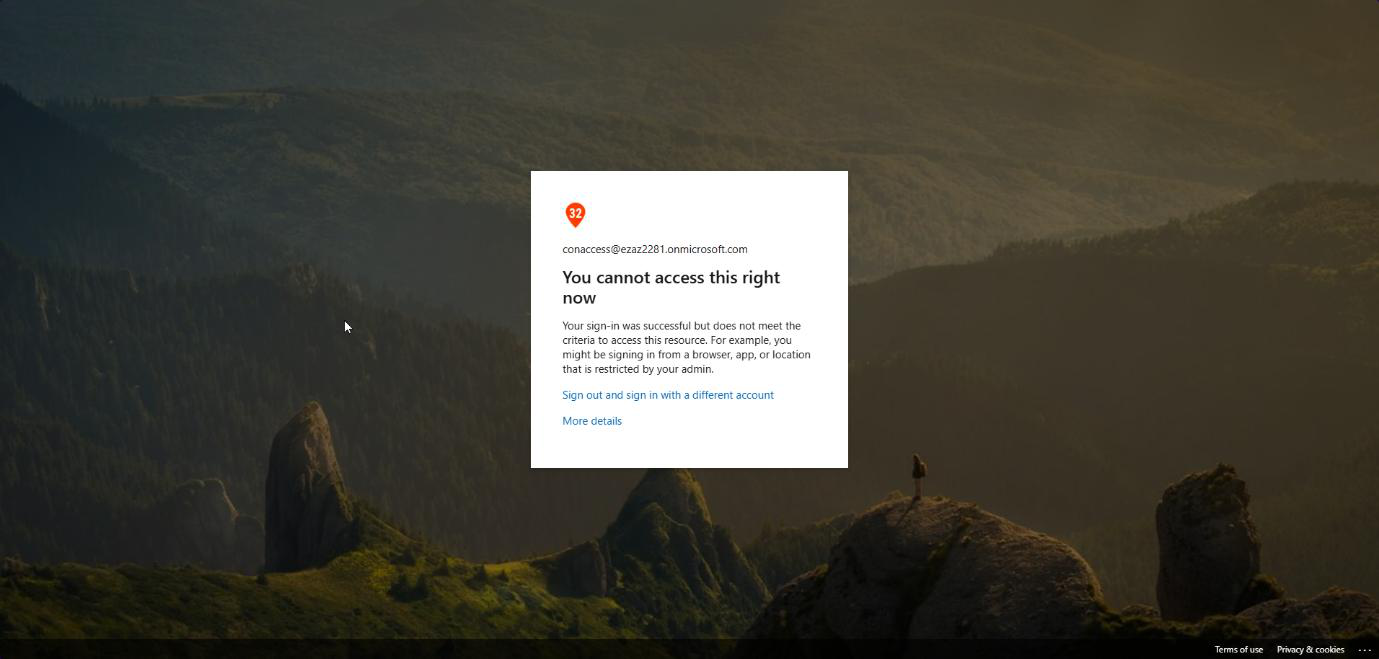
Hit a wall: “You cannot access this right now. Your sign-in was successful but does not meet the criteria to access this resource.”
Note the wording: sign-in was successful — the password was correct. The block happened at the access grant step, after authentication but before the user gets into anything. Important distinction for log analysis.
Phase 4 — read the sign-in logs (and the Block-always-wins surprise)
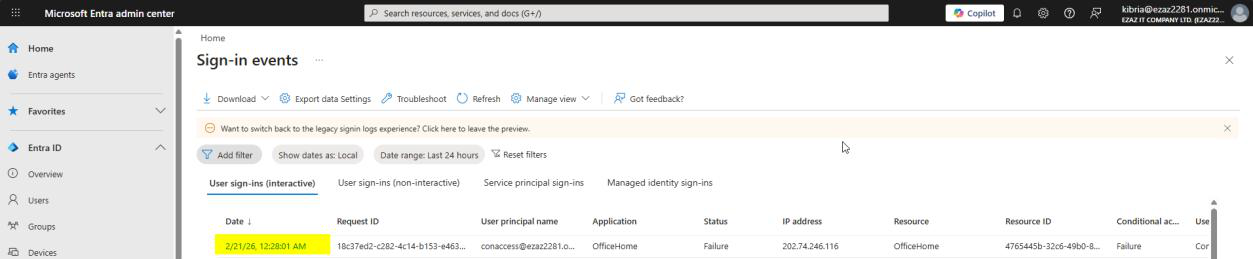
Monitoring & health > Sign-in logs > click the failed entry. Allow 2–5 min for ingest delay.
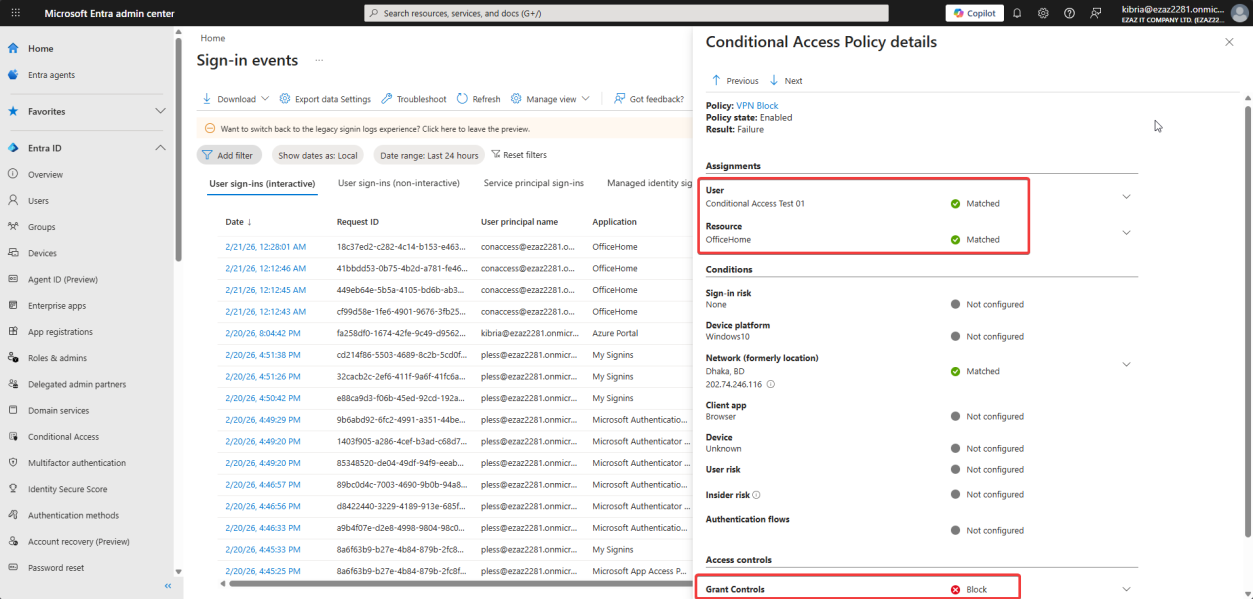
Conditional Access tab > click VPN Block. User and Resource Matched, Grant Control = Block. Policy worked exactly as designed.
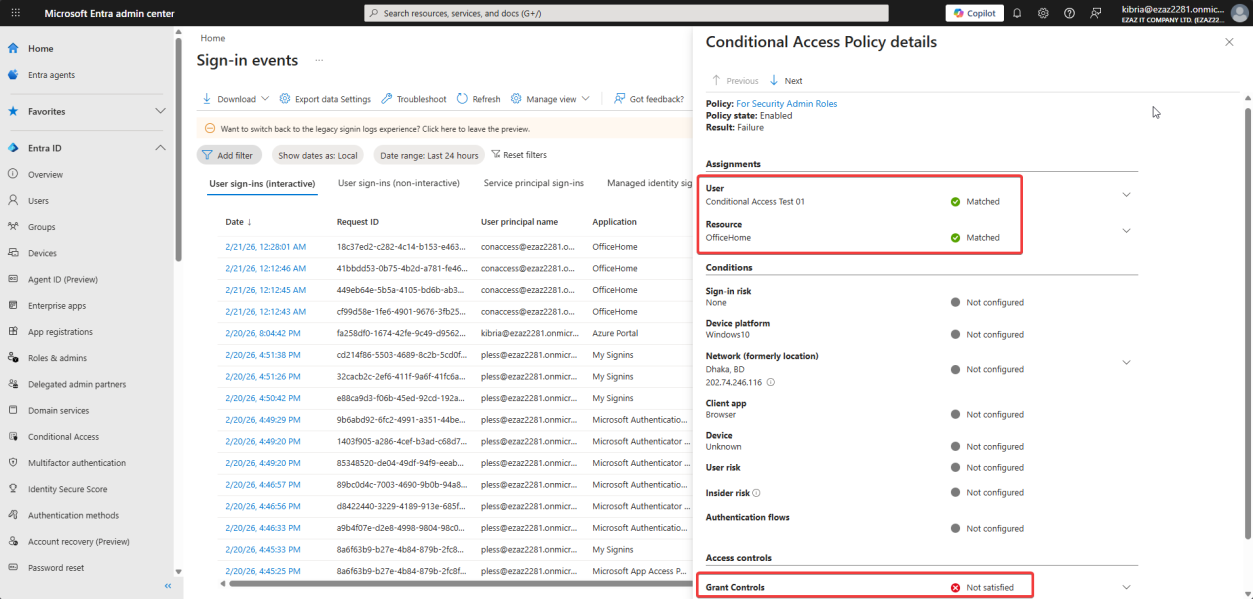
Now click your other CA policy (the MFA-for-admins one from Part 7). It shows Not Satisfied.
This is not a bug. It looks like a bug the first time you see it. It’s actually the Block always wins rule.
The Block-always-wins rule, explained
When a sign-in attempt arrives, Entra evaluates every CA policy that applies to the user / app / conditions. In our test:
- Policy A (MFA for admin roles) applies — user is in Security Admin role — would require MFA
- Policy B (VPN Block) applies — user is at the blocked IP — would block
The moment Entra sees any Block result, it stops evaluating, denies the sign-in, and writes the result. The MFA policy never got a chance to fire its prompt — so technically the MFA requirement was not satisfied. The log accurately reports both: Block fired (Block), MFA never asked (Not Satisfied). Working as intended.
Practical implication: don’t panic when you see “Not Satisfied” alongside “Block” in the same sign-in. It’s the system saying “I didn’t bother because the answer was already no.”
Things that bite people
Blocked yourself
You define a named location with your own office IP, you target your own admin account, you click Create — and now you can’t sign in to fix the policy. This is why break-glass exclusions matter for every CA policy that affects an admin account. Always exclude an emergency-access account that lives outside your normal admin group, with credentials stored offline. Test the break-glass account quarterly so you know it works.
IP blocked but user still gets in — check the IP path
The user’s “public IP” is whatever exits to the internet. If they’re behind a corporate proxy / NAT / VPN that exits at a different address than what you blocked, the policy won’t fire. Always confirm the actual seen IP using the Sign-in log → Basic Info tab (look at the IP address column).
Country block too aggressive
Country location buckets cover everyone routed through that country’s IPs — including legitimate travelers, mobile carriers that route through unexpected countries, and VPN exit nodes. Don’t country-block without an Exclude carve-out for “All trusted locations” or for specific user groups (e.g. exclude your sales team who travel internationally).
Forgot Conditions > Locations
Building a policy named “VPN Block” but forgetting to actually configure the Locations condition produces a policy that blocks the user from everywhere. Always sanity-check by reading the policy summary on the Conditional Access dashboard — under Conditions it should explicitly say “Locations: Selected locations / Blocked VPN IP”.
Block policy + Report-only mode
If the policy is set to Report-only, the block does NOT actually block — it just logs what would have happened. Useful for testing, dangerous if you forget to flip it to On for production.
What’s next
You now have MFA enforcement, IP blocking, and the audit visibility from Part 6. The next post in the Entra ID Security pathway moves into Privileged Identity Management (PIM) — how to make admin role assignments time-bound and approval-gated so that nobody walks around with permanent Global Admin.