Systems Admin

Two-Node Hyper-V Failover Cluster Part 2 of 15: Create the iSCSI VM (SAN Emulator)

Architecture is in your head from Part 1. Now we build VMs. The iSCSI VM is first because the cluster nodes need shared storage to be cluster-able — and that storage comes from this VM. Spec: Gen2, 4 GB RAM, 4 vCPU, 40 GB OS disk. Standard Windows Server 2022 install. No domain join (the SAN sits outside the cluster).

Why we build the SAN VM first

Working backwards from the goal: cluster nodes need shared storage. Shared storage comes from the SAN. The SAN doesn’t care about the cluster. So building the SAN first means we can attach it to the nodes once they exist, rather than reconfiguring everything later.

In production this VM is replaced by a real SAN appliance — NetApp, Pure Storage, Dell EMC, HPE 3PAR, etc. The iSCSI Target Server role on Windows is functionally equivalent for learning, just much slower.

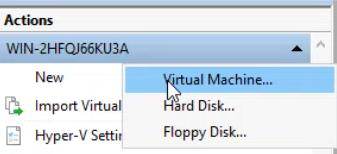
Step 1 — create the VM

Hyper-V Manager on the physical lab host showing the inventory of existing VMs (Domain Controller is the only VM at this stage), the starting point before adding the iSCSI VM
Starting state on the physical lab host. Only the DC VM exists. We’re about to add VM #2: the iSCSI SAN emulator.
Hyper-V Manager Action menu with New > Virtual Machine highlighted, the entry point for the New Virtual Machine wizard” /><figcaption>Hyper-V Manager > Action > New > Virtual Machine.</figcaption></figure>
<p>Hyper-V Manager > Action > New > Virtual Machine.</p>
<figure class=New Virtual Machine Wizard Before You Begin step with the introduction text and Next button, the standard preamble before configuration begins
Before You Begin — just Next.

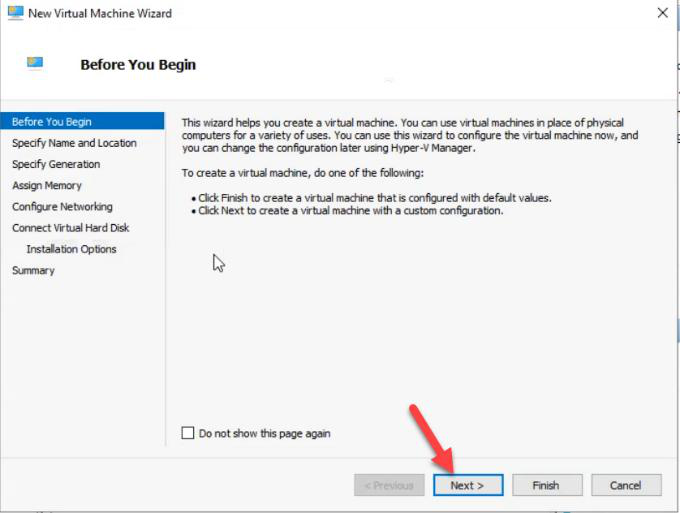
Before You Begin — Next.

Specify Name and Location step with the VM name set to iSCSI which describes its role as the SAN emulator for the cluster
Name: 
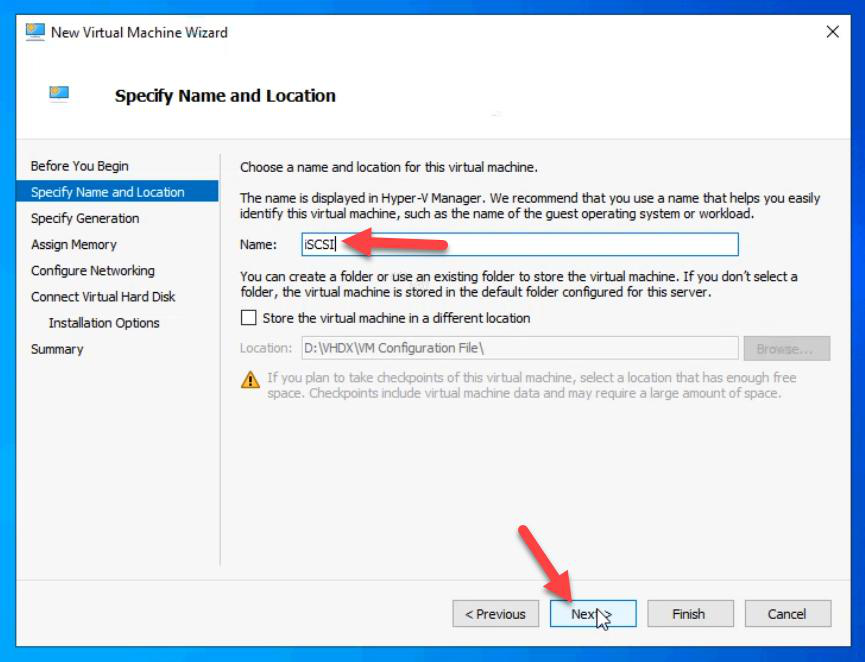
iSCSI. Default location is fine for lab.

Name: iSCSI. Default location works for lab; in production use a dedicated VM storage path.

Step 2 — choose Generation 2

Specify Generation step with Generation 2 selected (UEFI, Secure Boot capable) which is the modern default for Windows Server 2022 installations
Generation: 2. UEFI + Secure Boot. Modern firmware. Don’t pick Gen1 for new Windows Server 2022 installs.

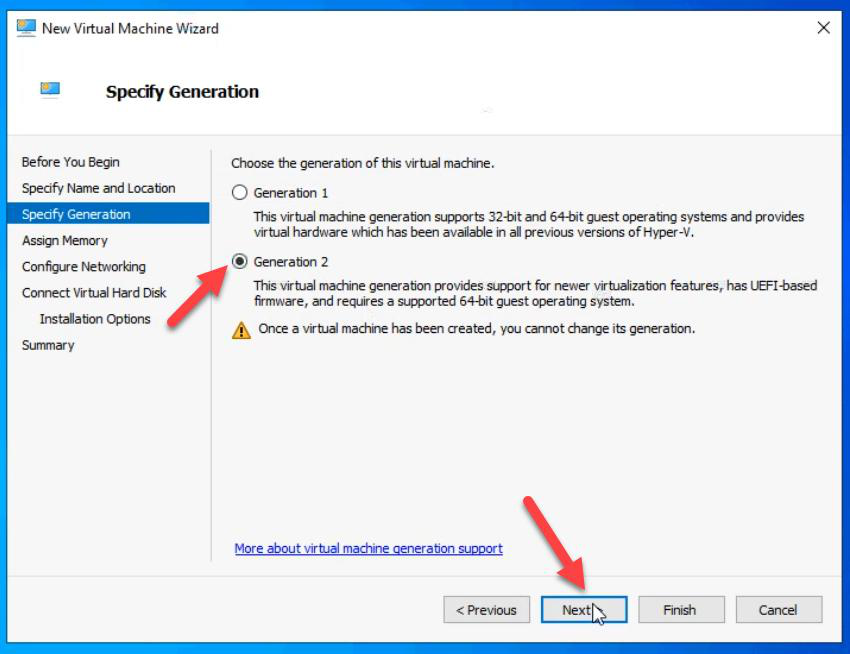
Gen2 is the modern default. UEFI boot, Secure Boot capable, better disk performance (no IDE emulation), supports vTPM. Pick Gen1 only if you NEED legacy BIOS or Pre-Win-2012 OS support — not the case here.

Step 3 — memory and networking

Assign Memory step with 4096 MB (4 GB) allocated as static memory for the iSCSI VM, sufficient for the iSCSI Target role plus OS overhead
Memory: 4 GB. Static (do not check Dynamic Memory for cluster-related VMs — iSCSI workload is steady, dynamic just adds overhead).

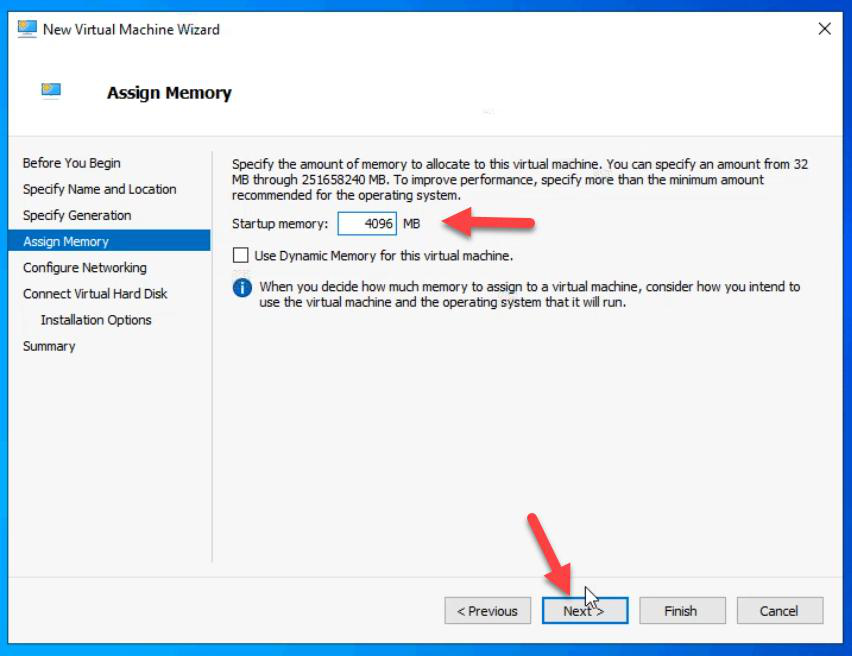
Memory: 4 GB. Static — do NOT tick Dynamic Memory for cluster-related VMs. iSCSI workload is steady; dynamic memory adds overhead and can cause subtle latency variance.

Configure Networking step with the External virtual switch selected so the VM can join the lab LAN before private storage and heartbeat switches are added later
Networking: External vSwitch. We’ll add Storage and Heartbeat vSwitches in Part 6.

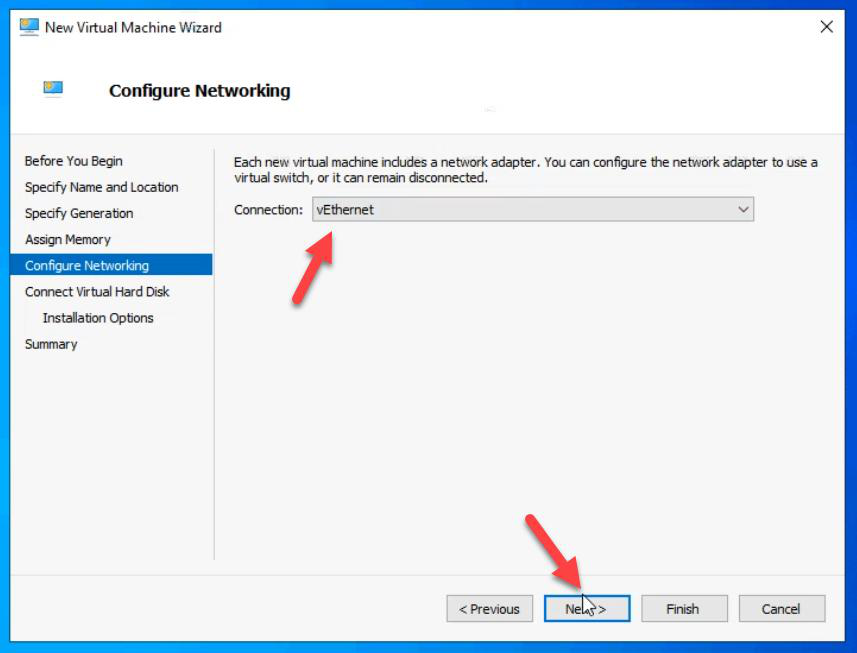
Network: External vSwitch (the one that connects to your LAN). We’ll add Storage and Heartbeat vSwitches in Part 6.

Step 4 — OS disk

Connect Virtual Hard Disk step creating a new 40 GB VHDX for the operating system, sized for OS only since data disks come later
VHDX: 40 GB. OS only. Data LUNs come from a separate disk attached in Part 5.

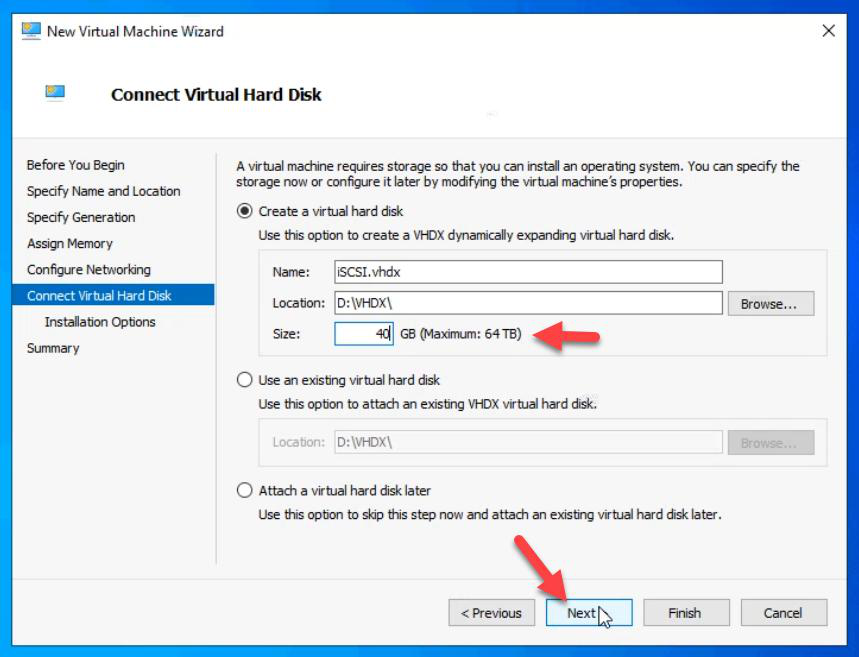
VHDX: 40 GB. OS only. The data disk for serving as a SAN gets attached in Part 5 as a separate VHDX.

Step 5 — OS install

Installation Options step with Install an operating system from a bootable image file selected and a Windows Server 2022 ISO browsed to as the source
Boot from ISO: Windows Server 2022 ISO.

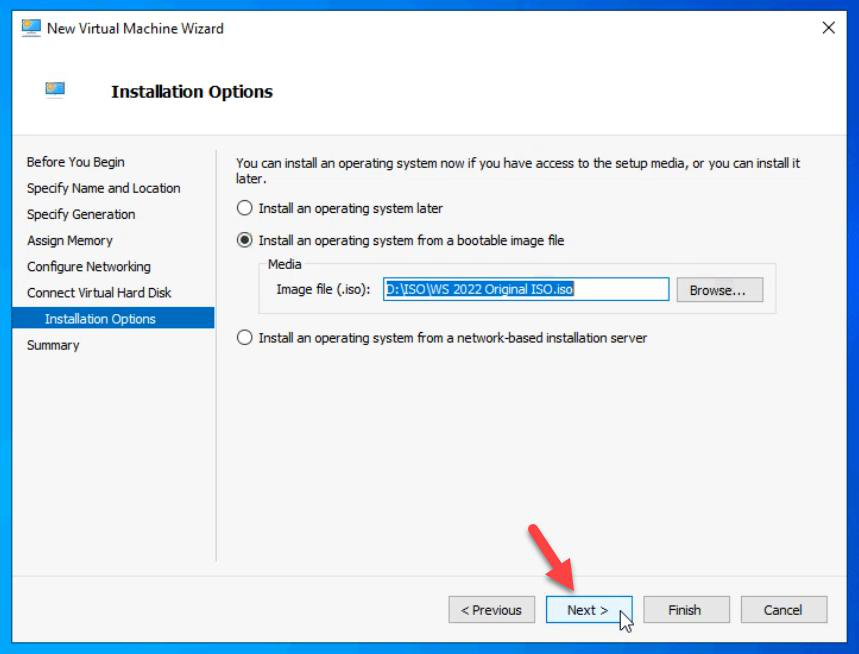
Boot from ISO: Windows Server 2022.
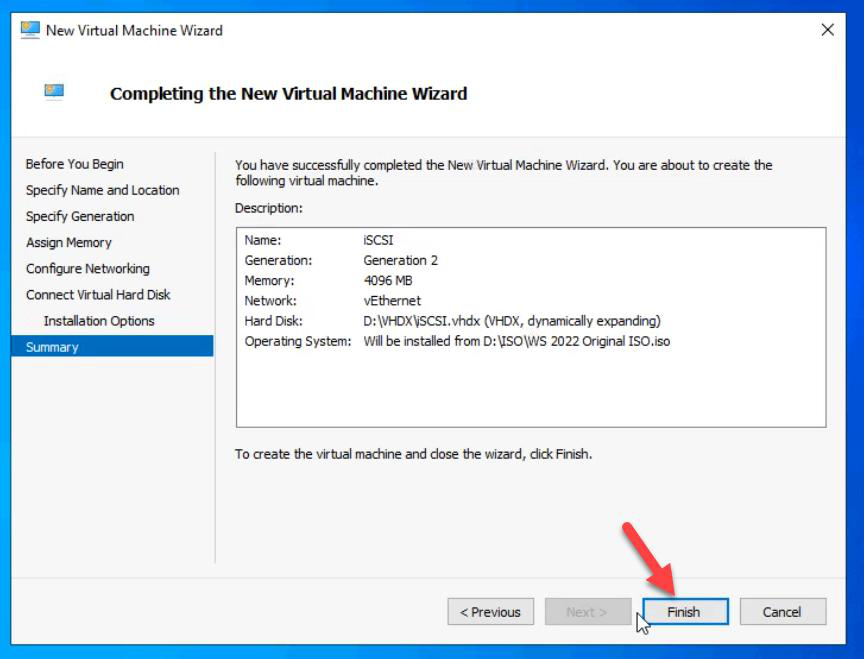
Completing the New Virtual Machine Wizard summary screen showing all selected options ready to commit with Finish
Review summary, Finish.

Review and Finish.

VM Settings dialog Processor pane with Number of virtual processors set to 4 vCPUs, the post-create tweak that gives the VM enough compute to handle iSCSI Target workload
Post-create: edit VM settings > Processor > 4 vCPUs. Default is 1, that’s not enough for iSCSI workload.

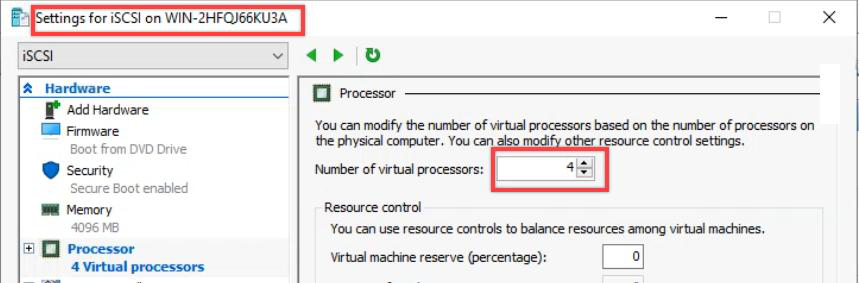
After create: VM Settings > Processor > 4 vCPUs. Default is 1, which isn’t enough.

Hyper-V Manager right-click context menu on the new VM showing Connect to open the VM console
Right-click VM > Connect.

Connect to the VM.

VM Connection window showing the press any key to boot from CD prompt during the OS install boot, where you press Spacebar to boot from the attached ISO
Boot. Press Spacebar when prompted to boot from CD — otherwise it boots from empty disk.

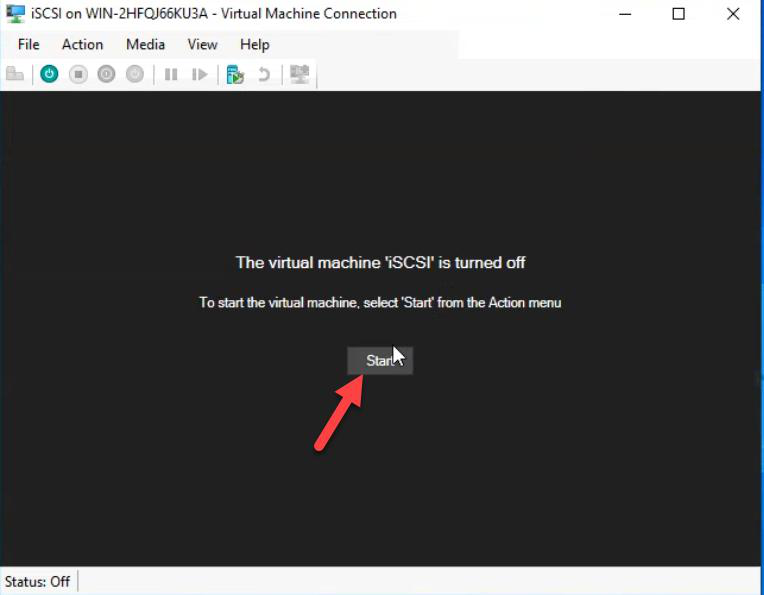
Press Spacebar when you see “Press any key to boot from CD”. Otherwise the VM boots from the empty disk and waits forever.

Windows Setup language and region selection screen with the standard locale options ready for Next
Windows Setup. Locale.
Windows Setup Install Now button screen, the entry to the actual installation flow
Install Now.
Windows Setup edition selection with Windows Server 2022 Standard (Desktop Experience) chosen for ease of use in this lab
Edition: Standard with Desktop Experience. (Datacenter has different licensing implications; Server Core works but harder to configure visually.)
Windows Setup licence agreement page with I accept the licence terms ticked ready to proceed
Accept licence.

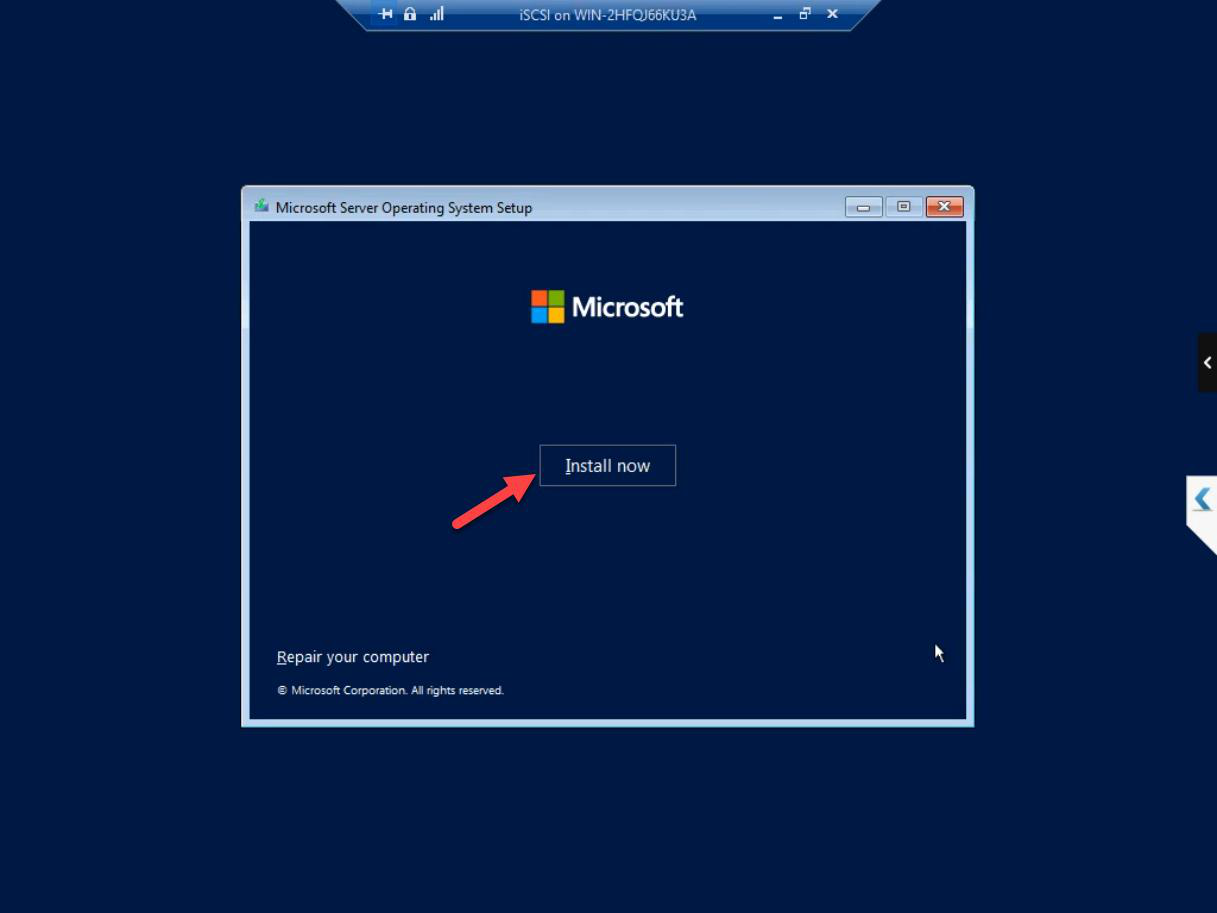
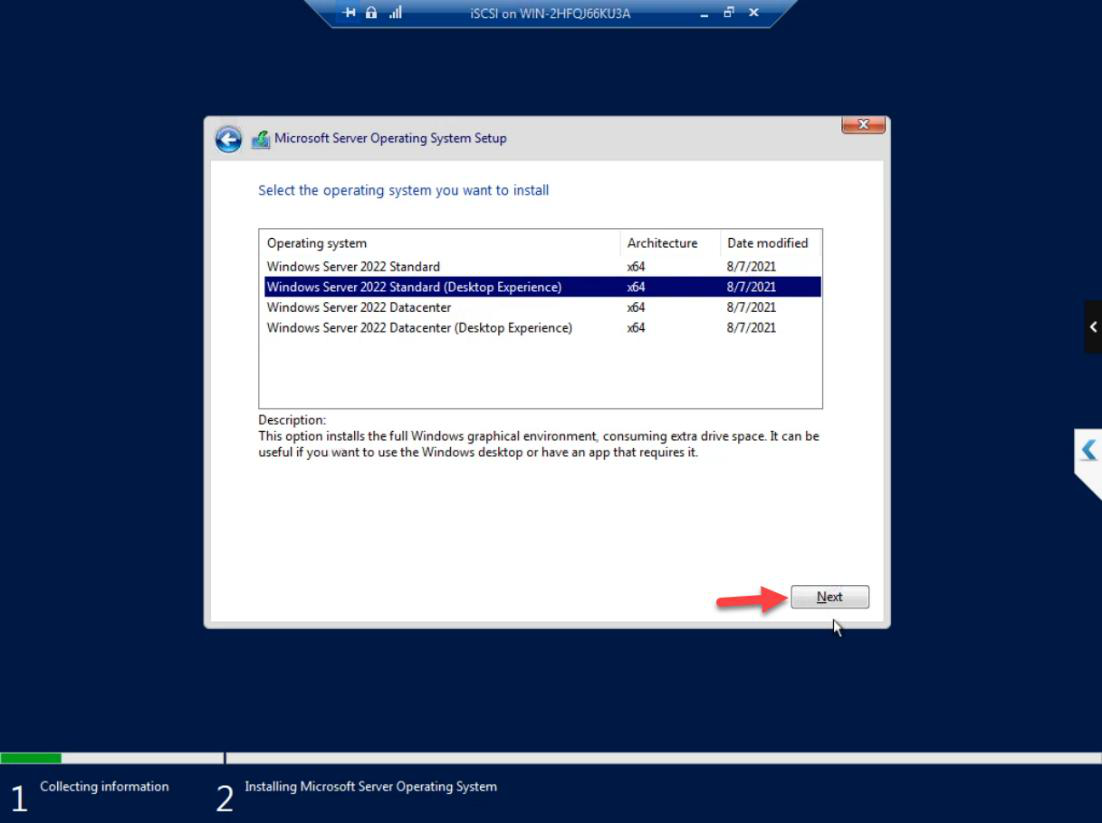
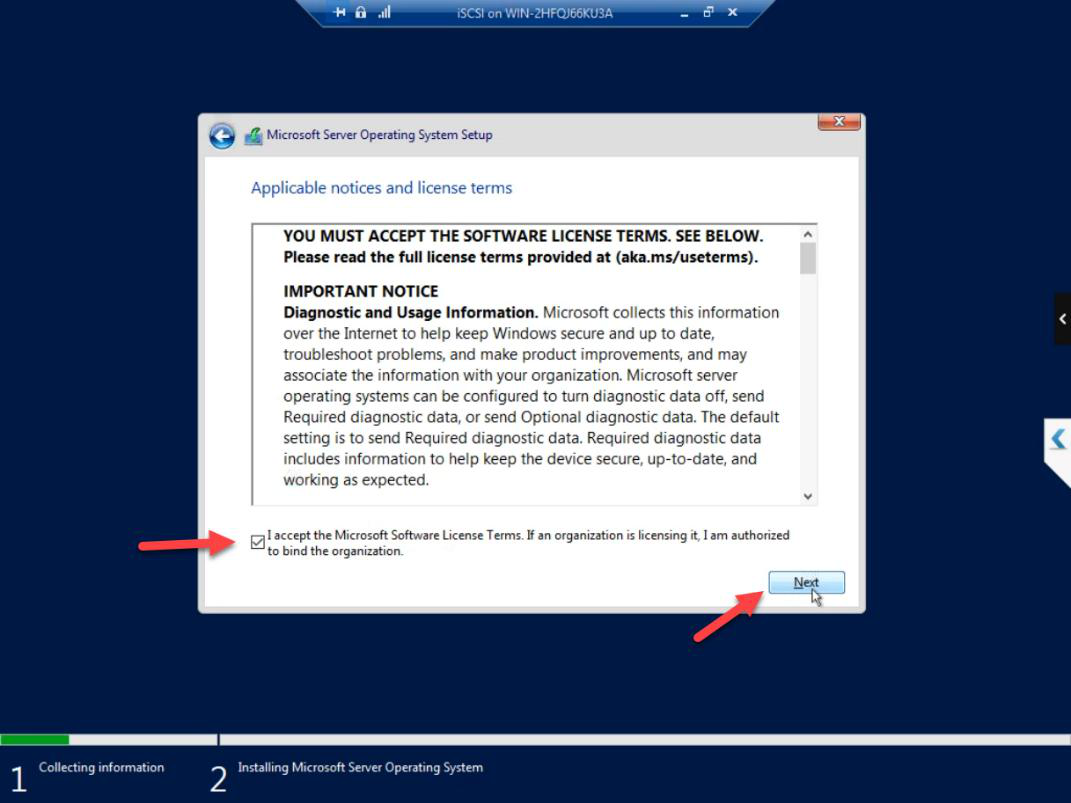
Standard Windows Server install: locale, Install Now, edition (Standard with Desktop Experience), licence accepted.

Installation Type step with Custom: Install Windows only (advanced) selected which is the only option that creates a fresh installation rather than upgrading
Custom: Install Windows only. (Upgrade option only relevant for OS upgrades.)

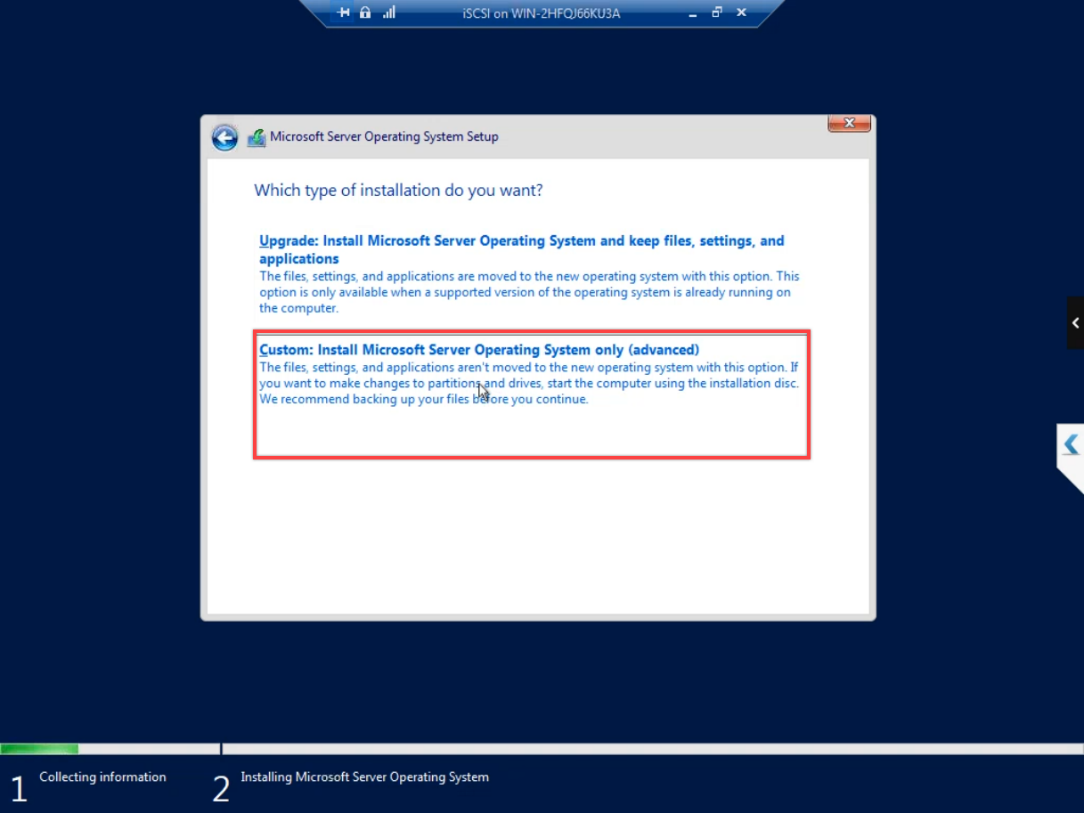
Custom: Install Windows only. (Upgrade is for OS upgrades, not new installs.)

Drive partitioning step with the unallocated 40 GB shown and the New button being clicked to create the partition table
New > Apply > OK to create partitions on the 40 GB disk.
Drive partitioning result showing the System partition and Primary partition created and ready, with the Primary partition selected for installation
Partition created. Next.

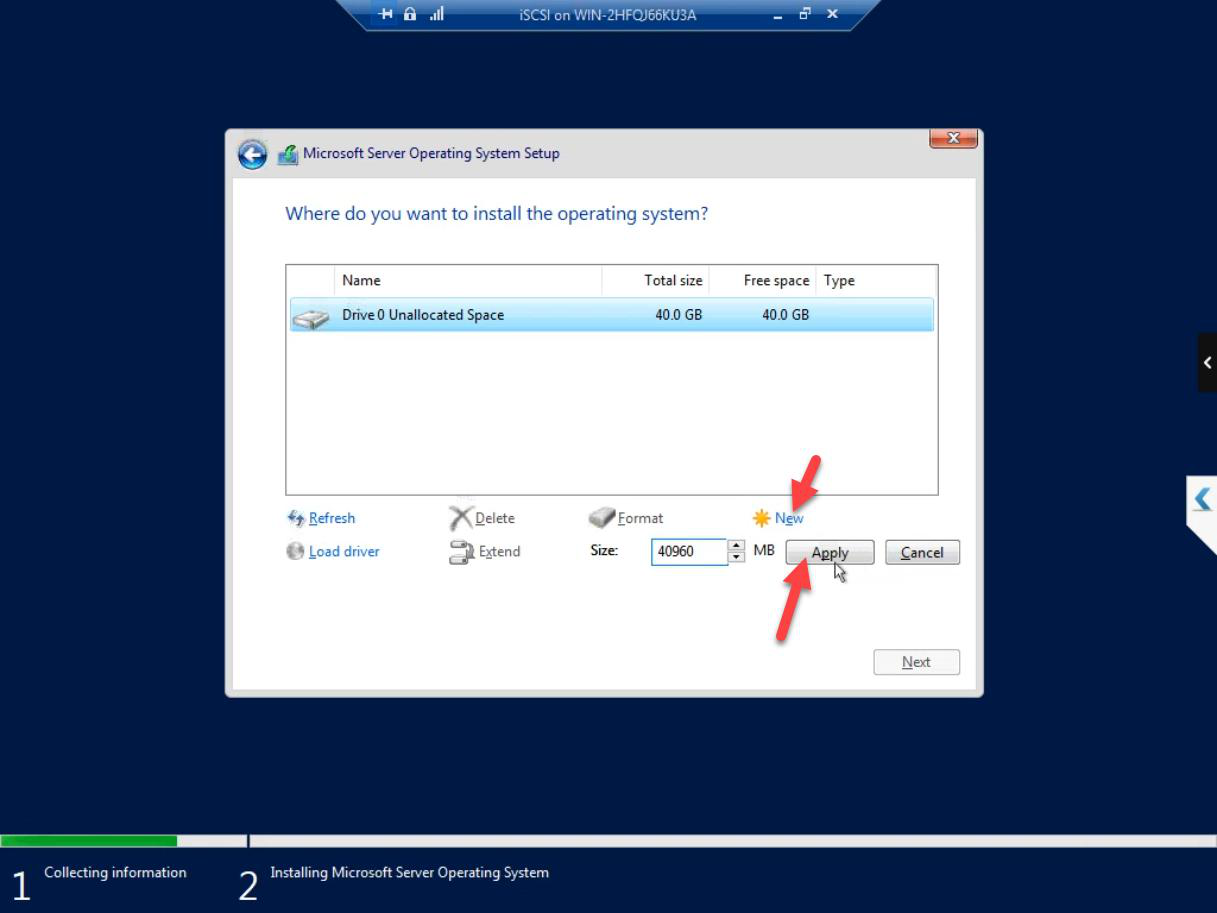
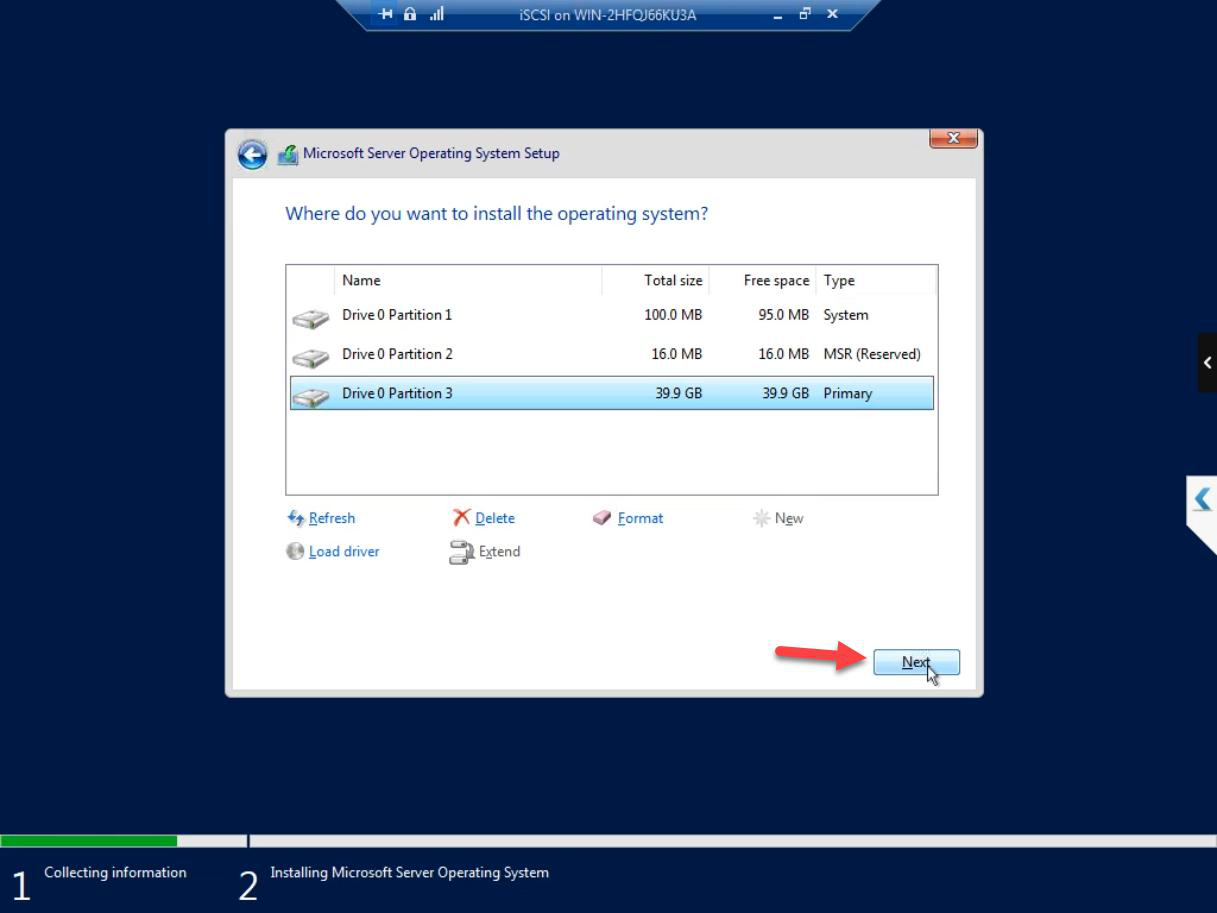
New > Apply > OK to create the partition. Then Next on the resulting partition.

Windows installation in progress with the standard progress bar showing files being copied and features being installed
Install runs. ~10-15 minutes. VM reboots automatically.

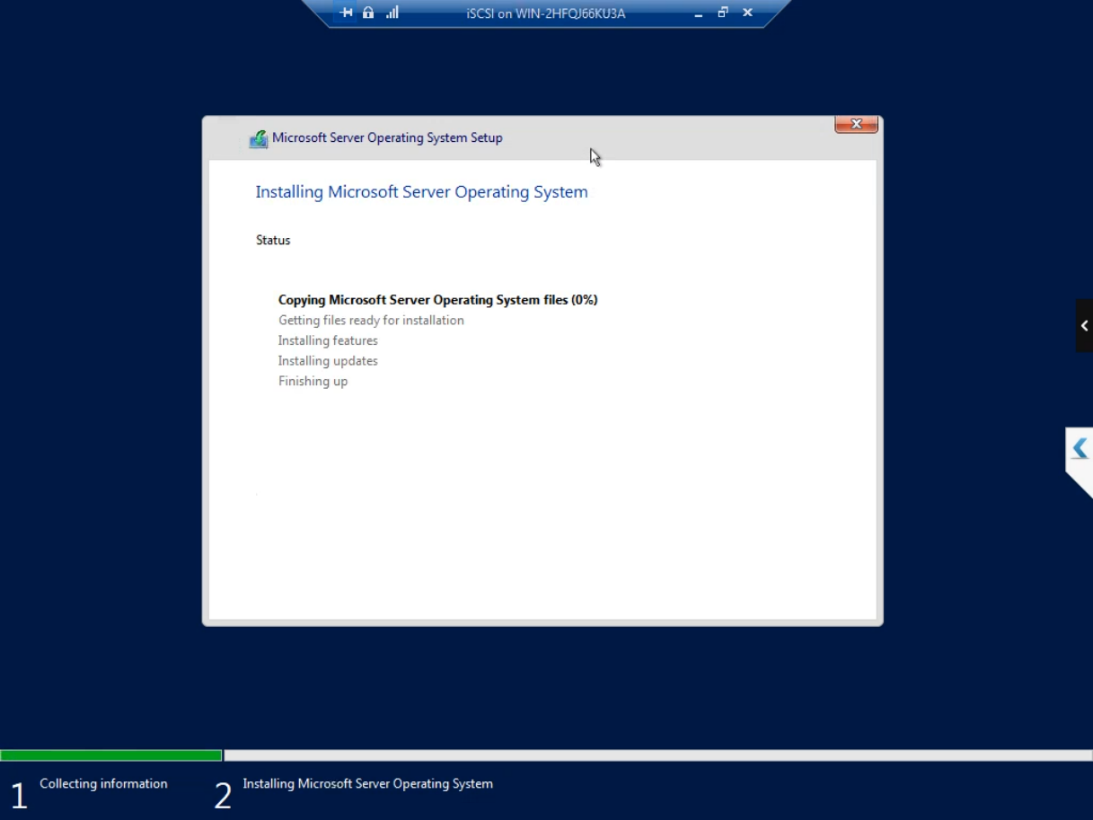
Install runs. ~10-15 min including a couple of automatic reboots.

Customize Settings step after install reboot with the Administrator password being set to a strong value as required by Windows
After reboot: set Administrator password. Use a strong one — this account has full control of the SAN.

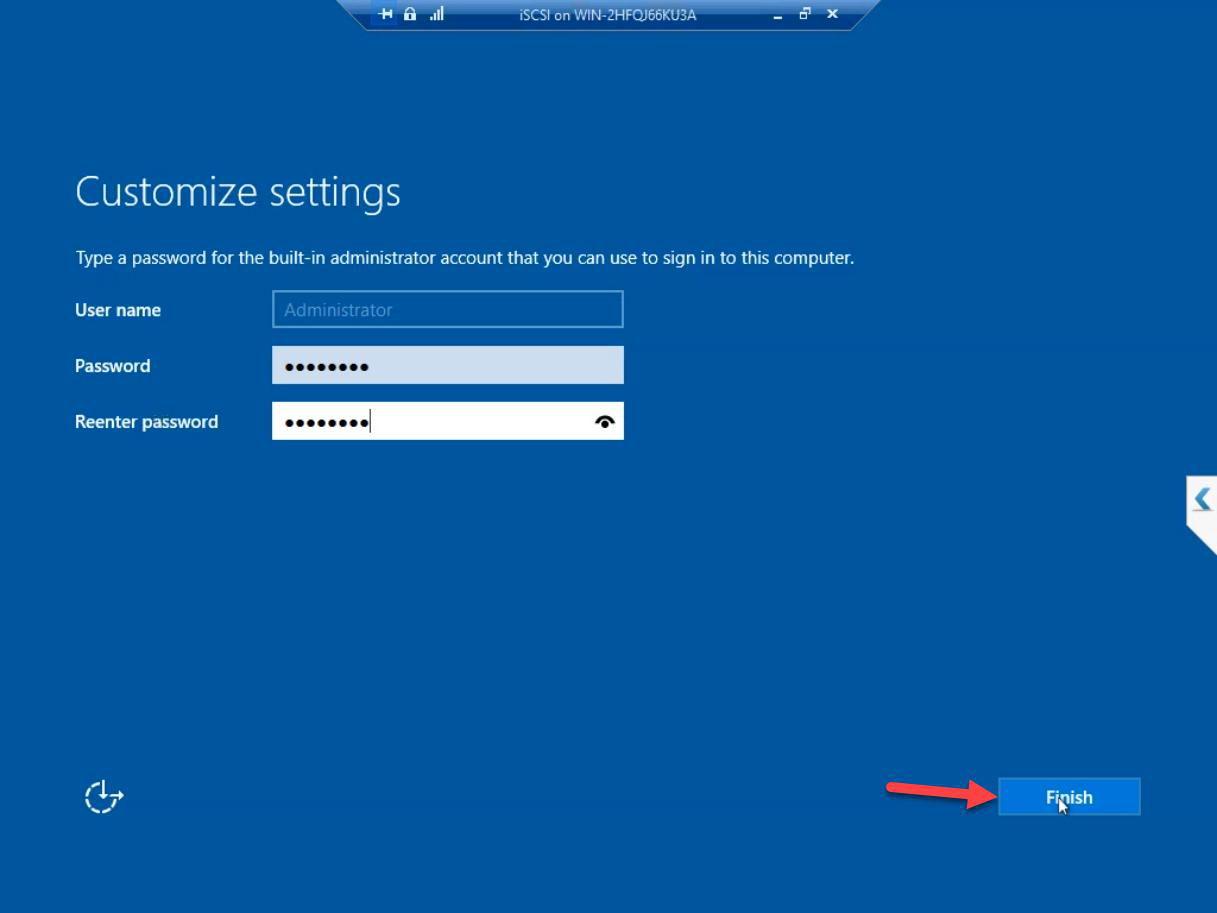
Set the Administrator password. Strong — this account controls the entire SAN. Don’t use the same password as your domain admin (the SAN should have a separate identity).

Windows login screen with the Administrator account credentials being entered for the first sign-in
First sign-in.
Windows Server desktop with Server Manager auto-launched, the iSCSI VM is now ready to be configured as the SAN in upcoming parts
iSCSI VM is now a working Windows Server 2022 install. Part 3 builds Node-01 and Node-02 the same way.

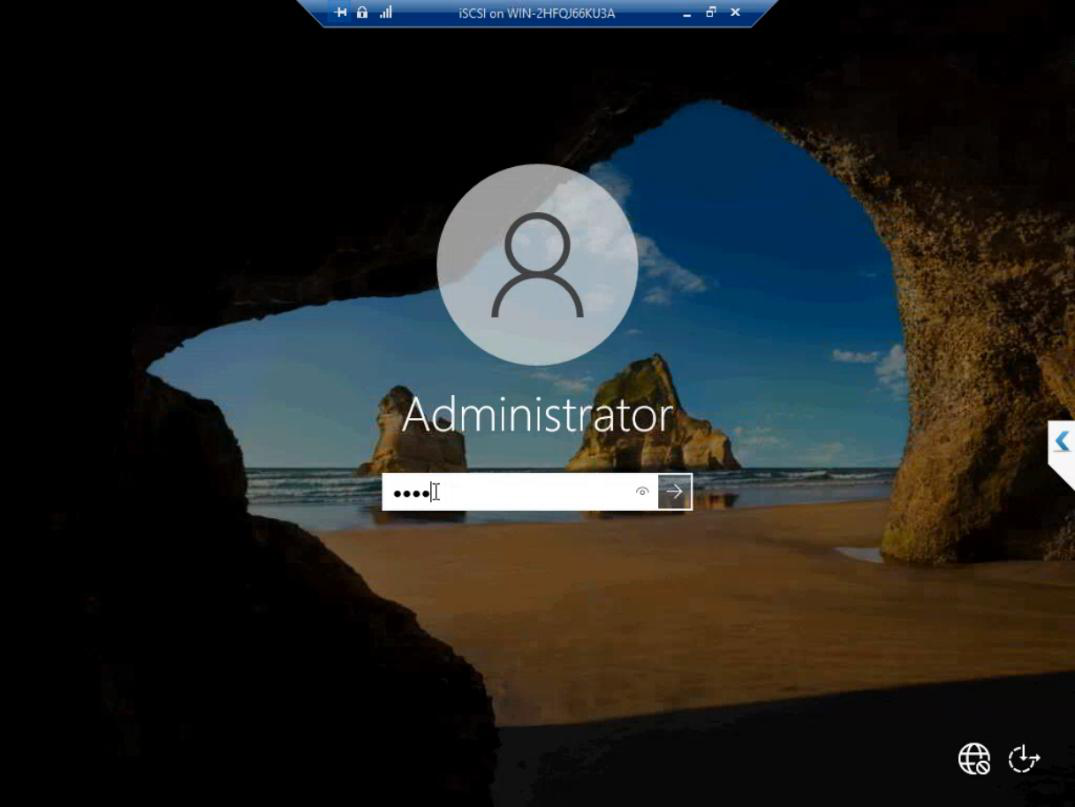
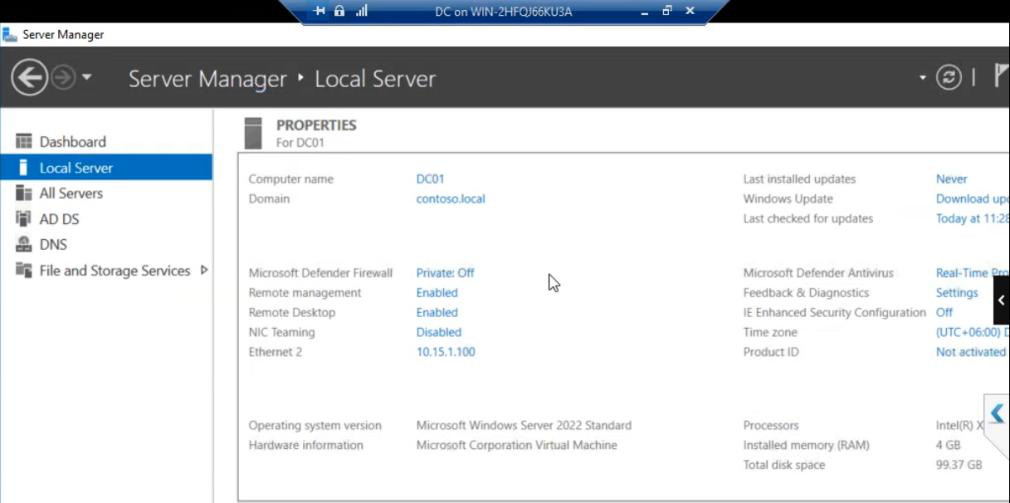
First sign-in. Server Manager auto-launches. The iSCSI VM is now a working Windows Server install.

What we’re NOT doing in this part

  • Domain join — the iSCSI VM stays in workgroup. The SAN is a separate admin context. If you join the domain, a Domain Admin compromise reaches the SAN too.
  • Adding the iSCSI Target role — that’s Part 7.
  • Network IPs — we’ll set the storage subnet IP in Part 6 after the Storage vSwitch exists.
  • Adding the data disk — Part 5 adds a separate VHDX for the SAN’s storage pool.

Things that bite people in this part

Picked Gen1 by accident

You can’t convert Gen1 to Gen2. If you picked wrong, delete and recreate. Easier than converting.

Dynamic Memory enabled

Default checkbox state can vary by Hyper-V version. Always uncheck for cluster-relevant VMs.

vCPU forgotten

Default 1 vCPU is the most common post-install regret. Bump to 4 immediately.

ISO not bootable

Some Win Server ISOs from sketchy mirrors don’t boot Gen2 properly. Use the official MS download.

Storage path runs out of space

If your physical host’s VM storage is on a small SSD, four lab VMs (DC + iSCSI + 2 cluster nodes) at 40 GB each is 160 GB plus data disks. Plan disk capacity ahead.

What’s next

Part 3 builds Node-01 and Node-02 — same Hyper-V pattern, but with Hyper-V role + Failover Clustering installed inside (nested virt). See the full series at Hyper-V Failover Clustering pathway.

Leave a Reply