Cluster created with quorum. Now three cleanup tasks: rename the generic Cluster Network names, add the Data disk to Cluster Shared Volumes (CSV) so multiple nodes can access it concurrently, and install the Hyper-V role on both cluster nodes (with nested virtualisation enabled if the nodes are themselves VMs in your lab).
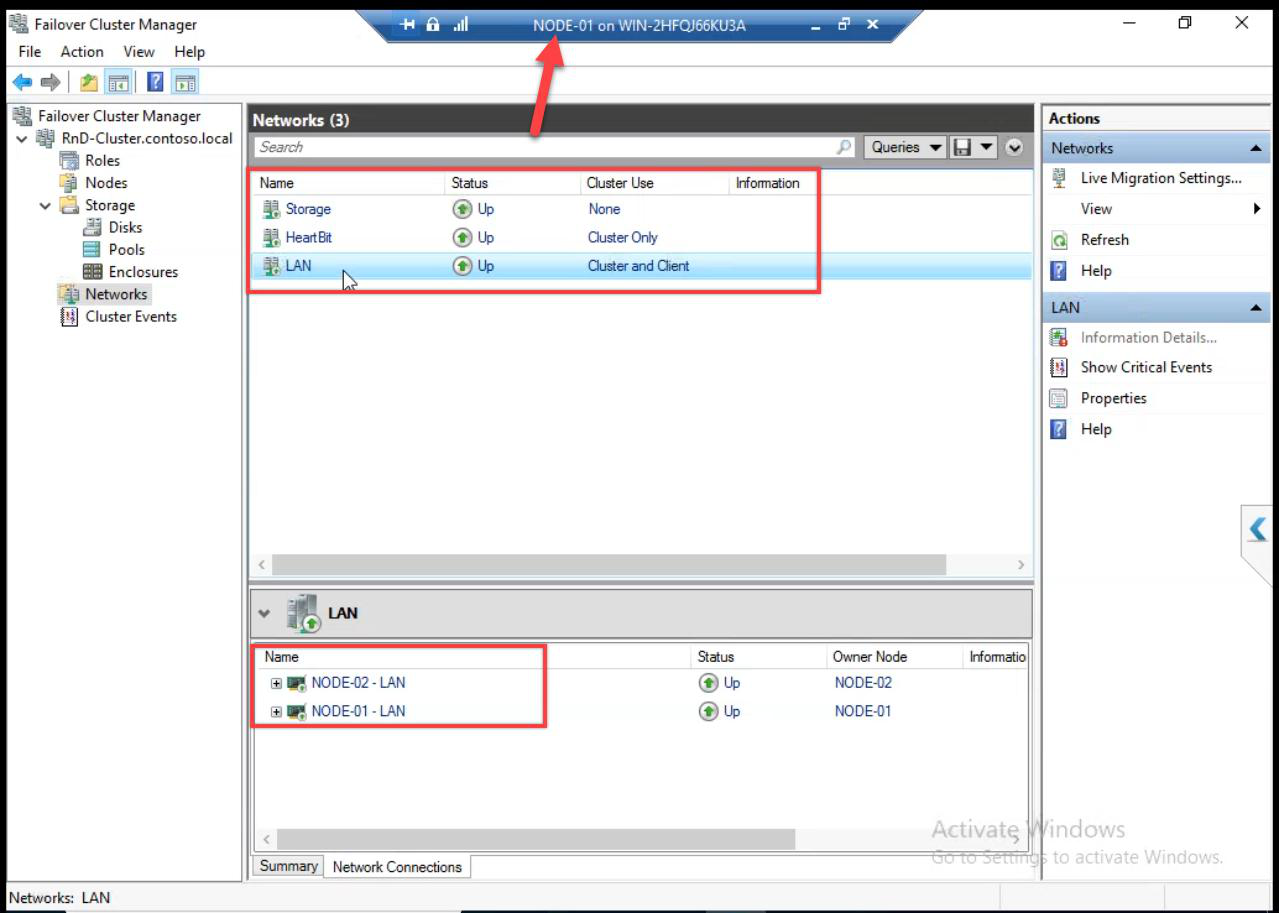
Step 1 — rename Cluster Networks
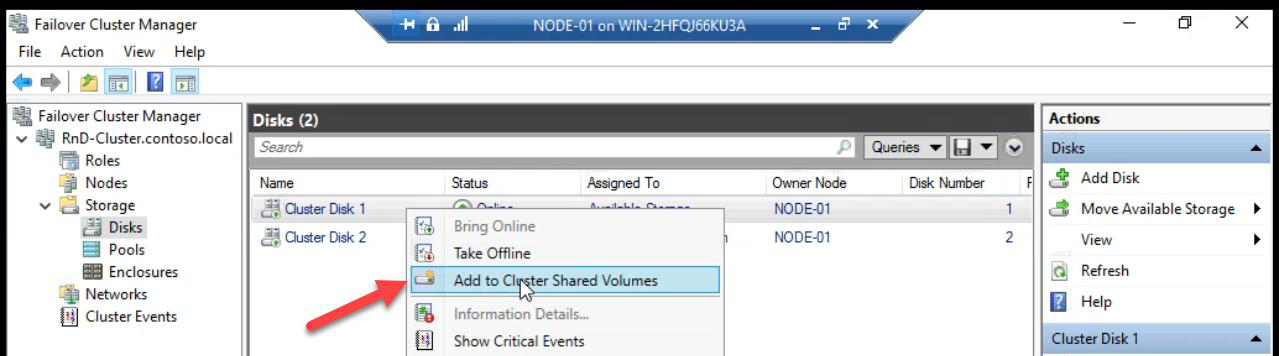

C:\ClusterStorage\Volume1 on every node. Both nodes can access concurrently.After CSV: the disk path becomes C:\ClusterStorage\Volume1 on every cluster node. Both nodes can read/write this path simultaneously — that’s the whole point of CSV.
CSV vs classic cluster disk
| Aspect | Classic Cluster Disk | CSV |
|---|---|---|
| Concurrent access | One node at a time | All nodes simultaneously |
| Failover | Unmount + remount on new node | No remount — just re-route metadata |
| VM live migration | Slow (storage-attached) | Fast (no storage move) |
| Path on each node | Drive letter (e.g. D:) | C:\ClusterStorage\Volume1 |
| Use for VMs | Possible but suboptimal | Required for HA VMs |
Always use CSV for VM storage in a cluster.
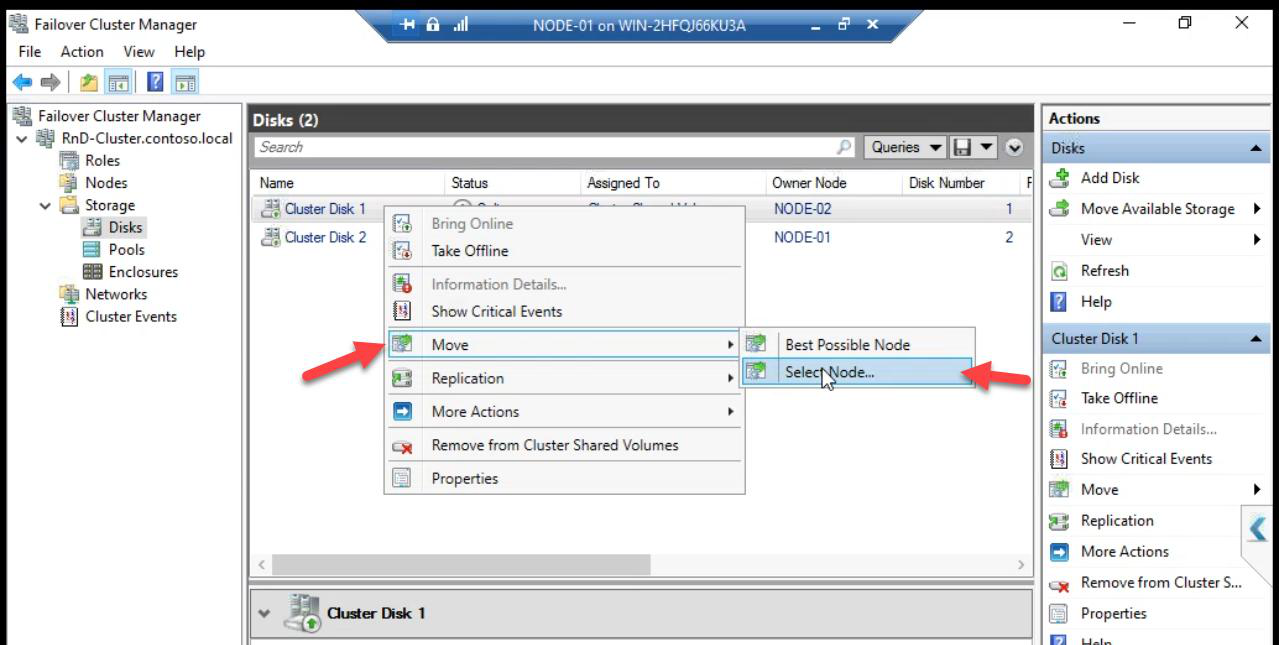
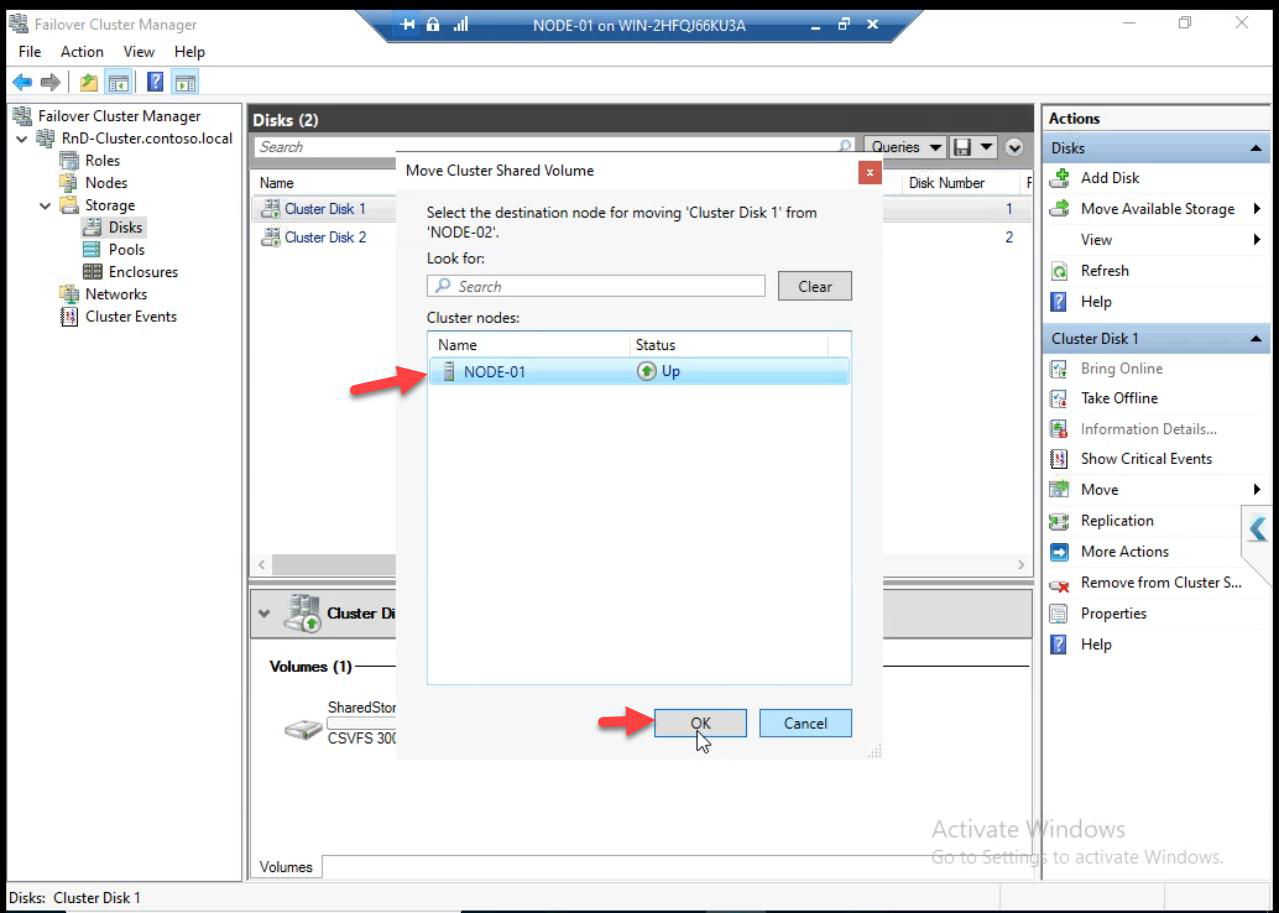
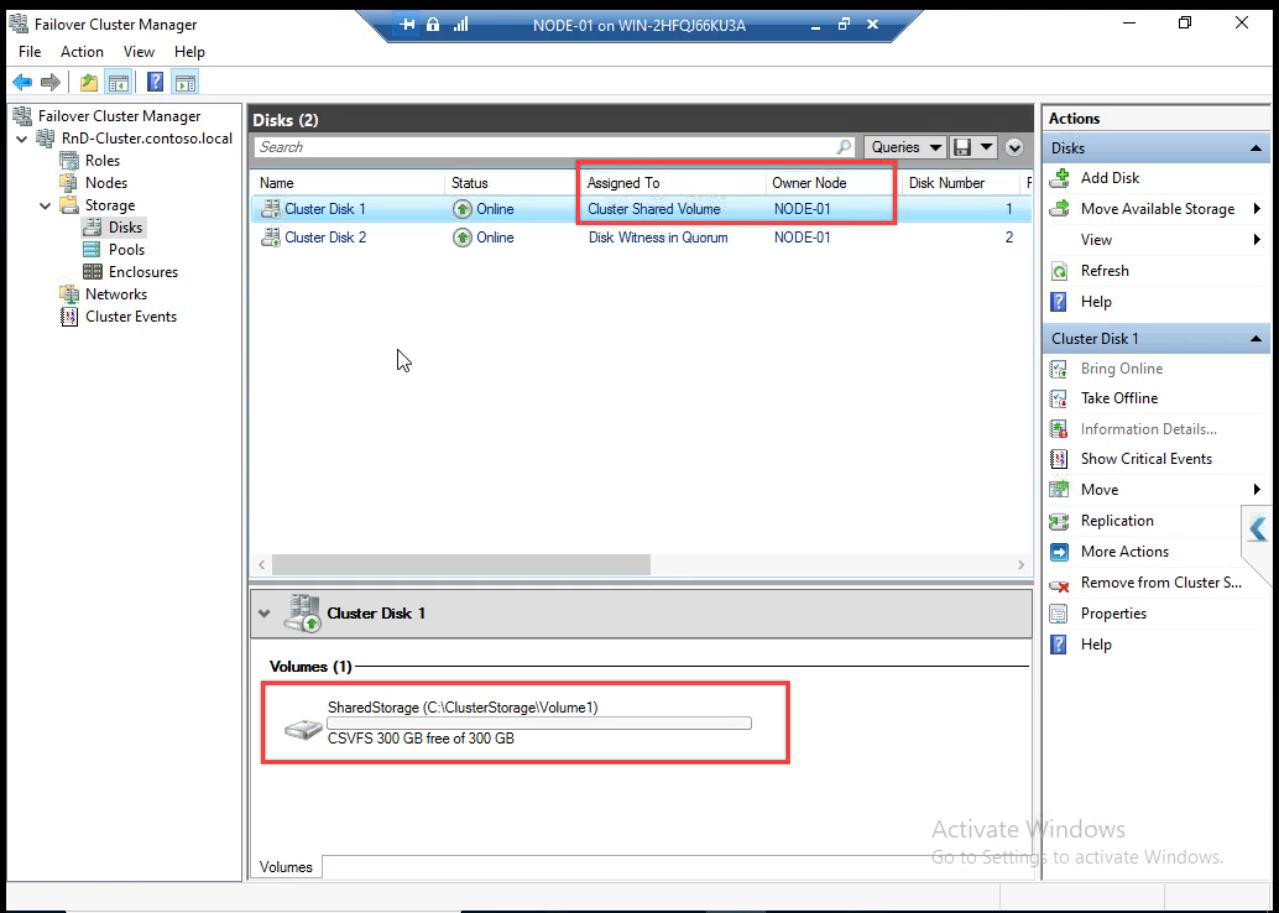
Optional: move CSV ownership manually. Right-click > Move > Select Node. Doesn’t affect data accessibility — both nodes still read/write — just affects which node handles metadata operations.

C:\ClusterStorage\Volume1 empty — nothing here yet. Part 13 creates highly available VMs that store VHDX files here.Navigate to C:\ClusterStorage\Volume1 on either node. Empty — no VMs yet. Part 13 creates highly available VMs that store VHDX files here.
Step 3 — enable nested virtualisation (lab only)
If your cluster nodes (NODE-01, NODE-02) are themselves VMs running on a Hyper-V host, you need to enable nested virtualisation BEFORE installing Hyper-V inside them. From the host’s PowerShell, with the cluster node VM shut down:
Set-VMProcessor -VMName NODE-01 -ExposeVirtualizationExtensions $true
Set-VMProcessor -VMName NODE-02 -ExposeVirtualizationExtensions $true
Without this, Hyper-V install fails with “Hyper-V cannot be installed: A hypervisor is already running.” or similar.
Production: skip this step entirely. Production cluster nodes are physical servers; nested virt is irrelevant.
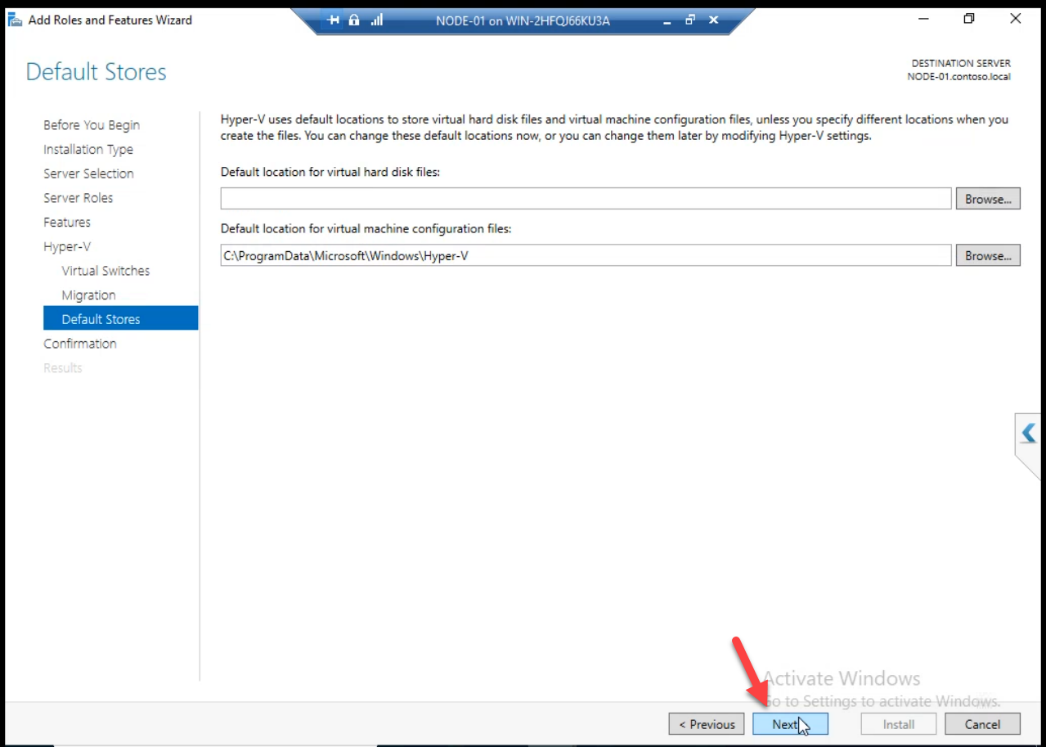
Step 4 — install Hyper-V role on Node-01
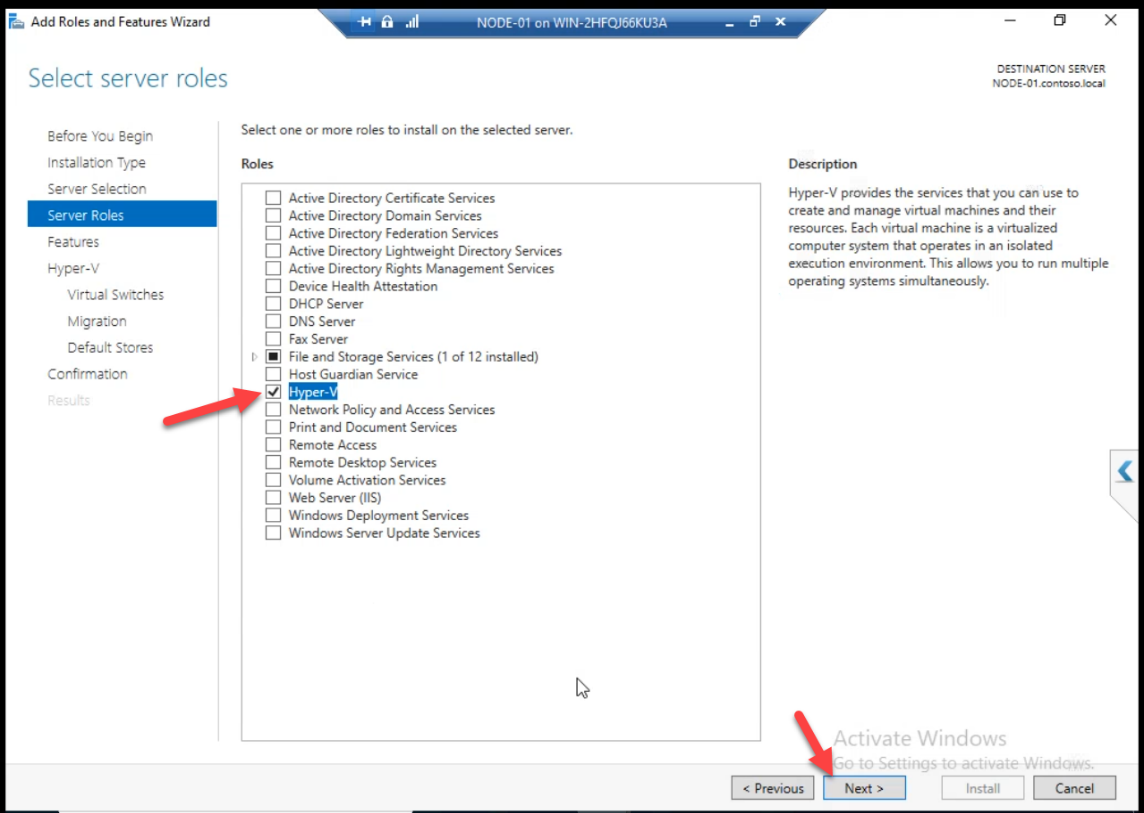
Server Manager > Add Roles and Features > Hyper-V. The wizard runs.
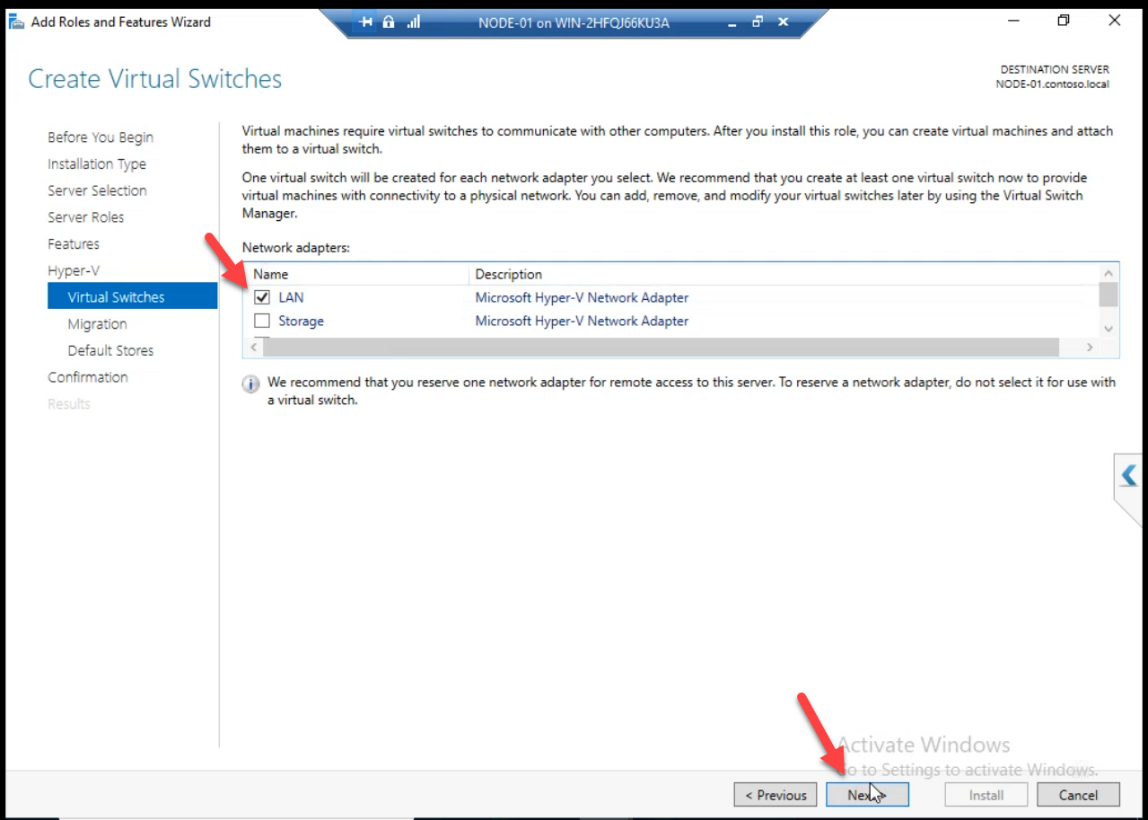
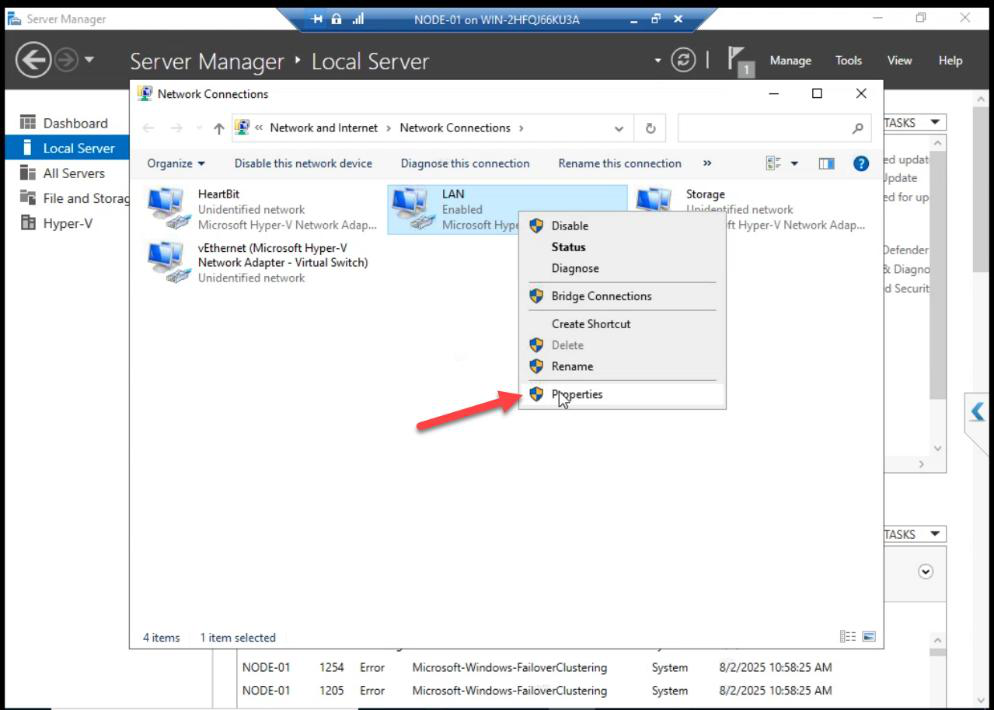
Pick the LAN/Public virtual NIC as the source for the new External vSwitch. Since Node-01 is itself a VM, we’re using its virtual NIC as if it were a physical NIC.
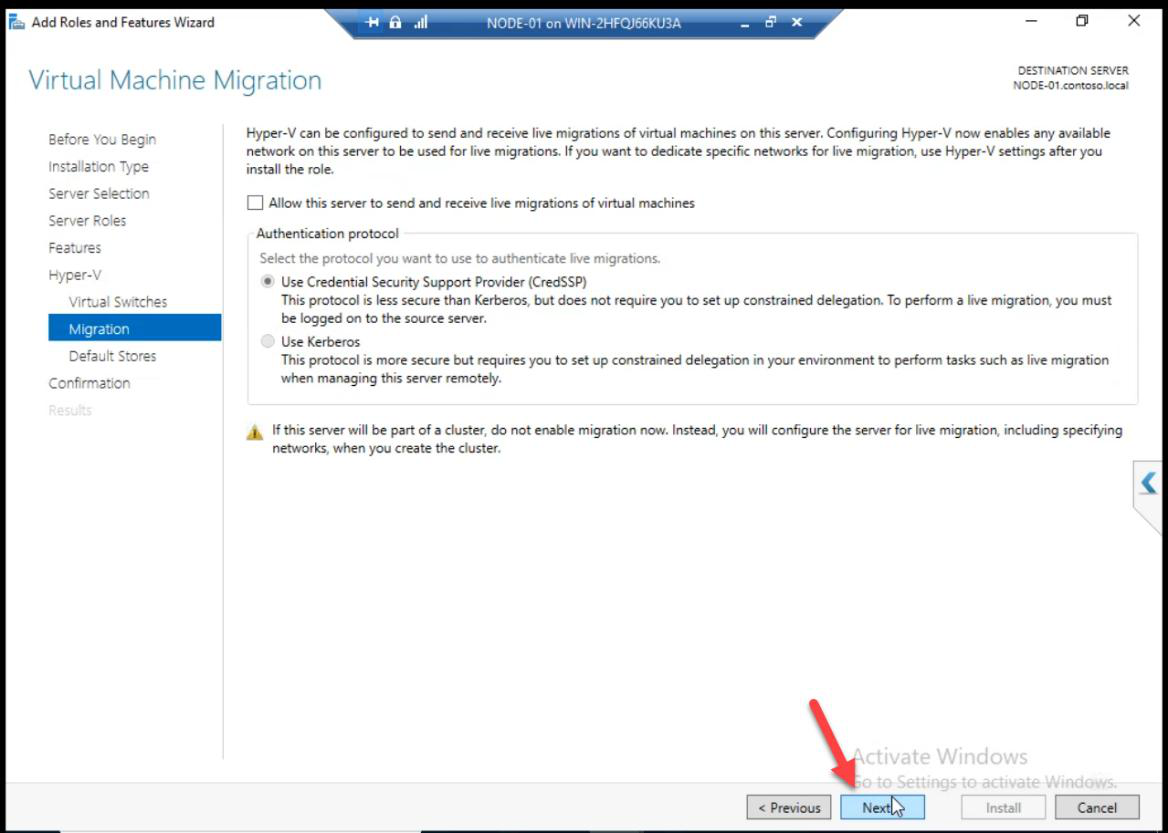
Migration + default settings: accept.
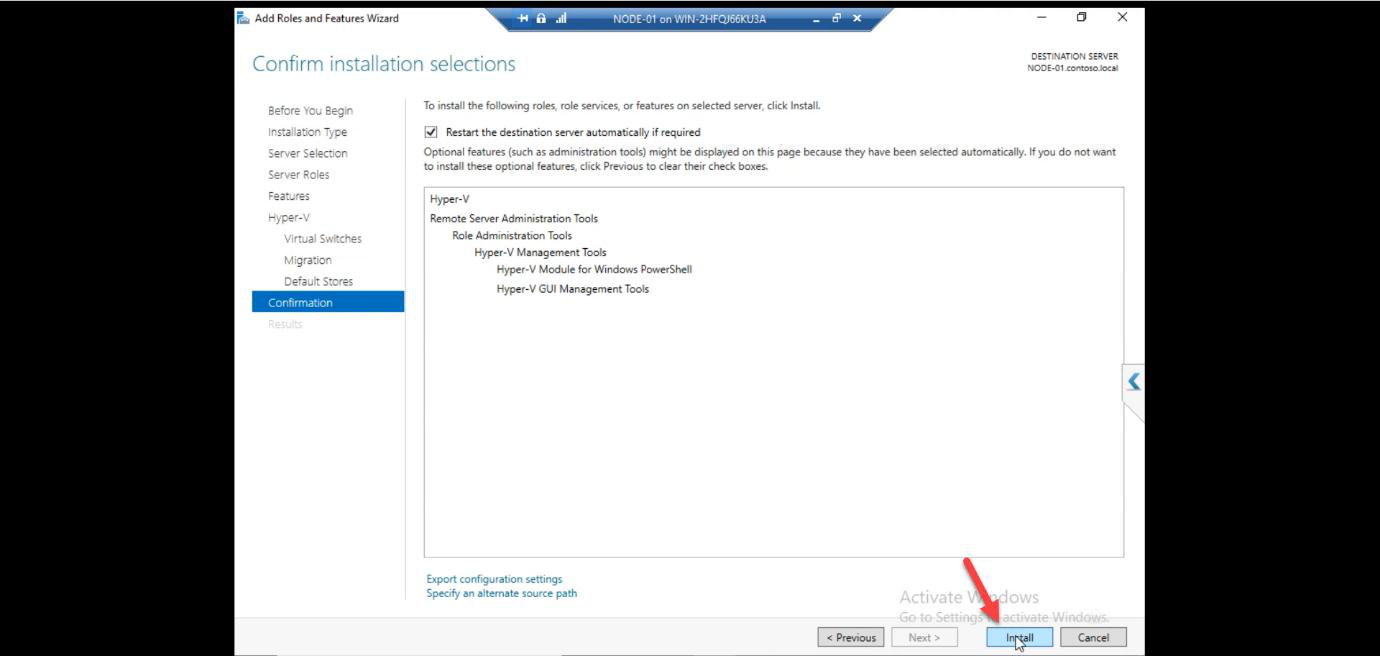
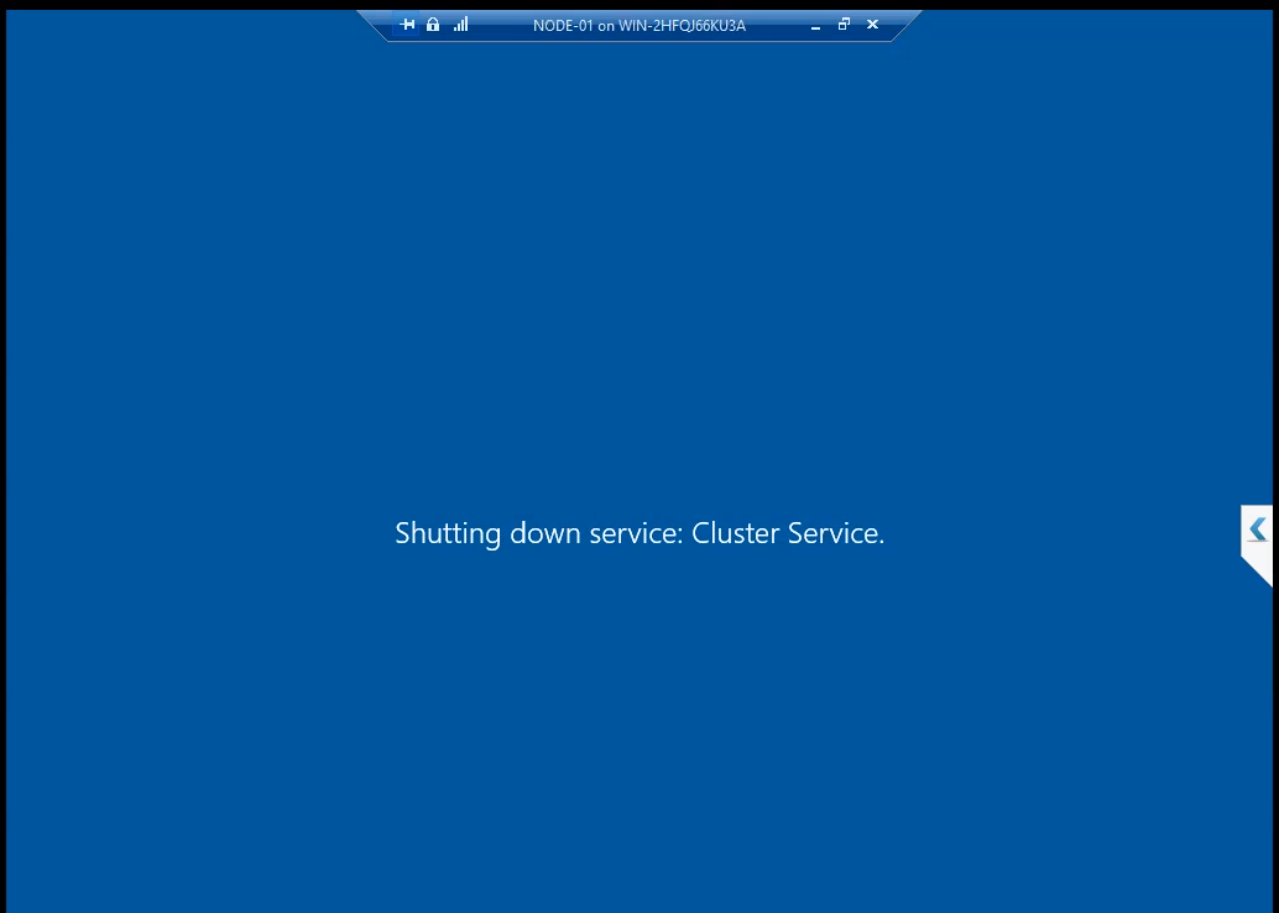
Install. The VM reboots automatically.
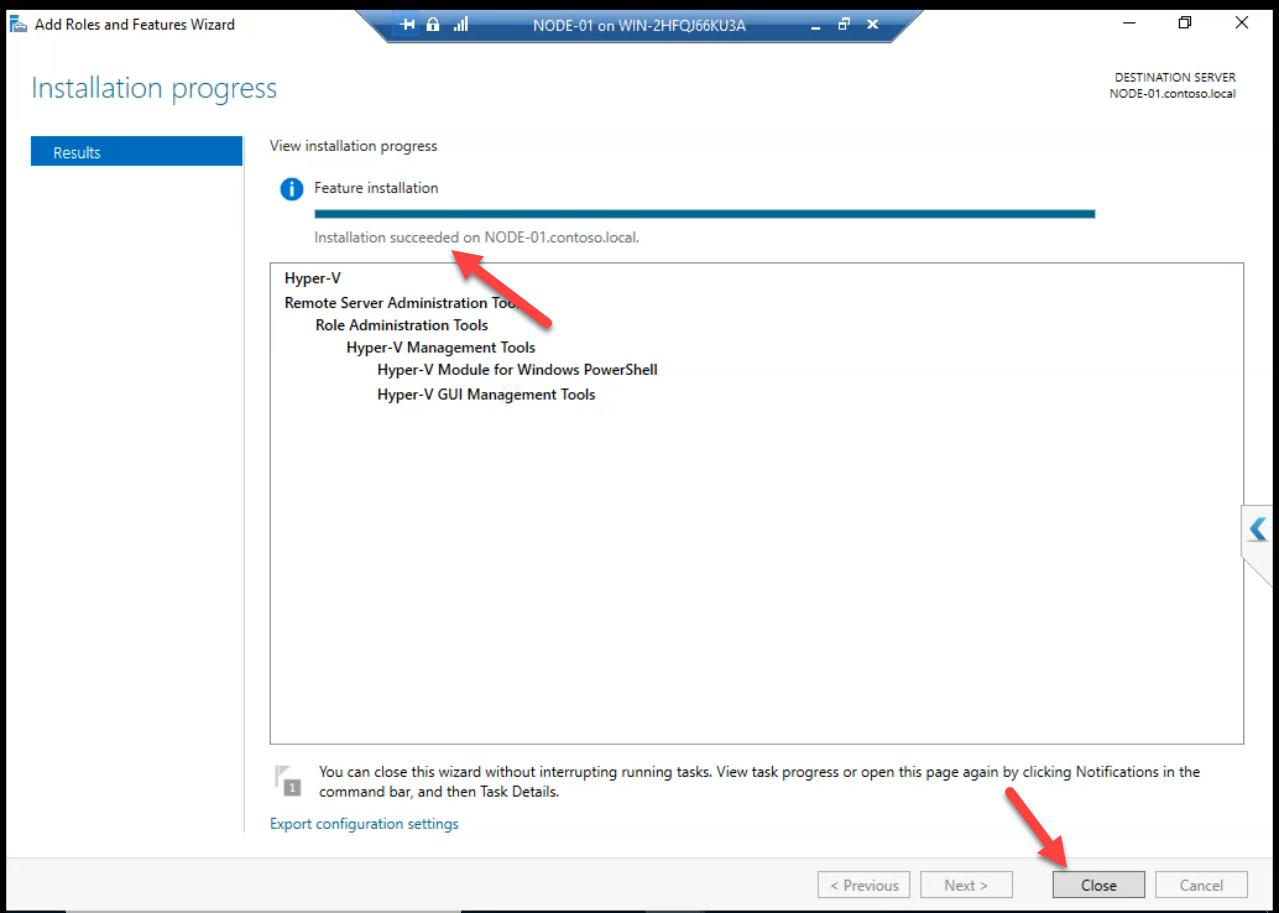
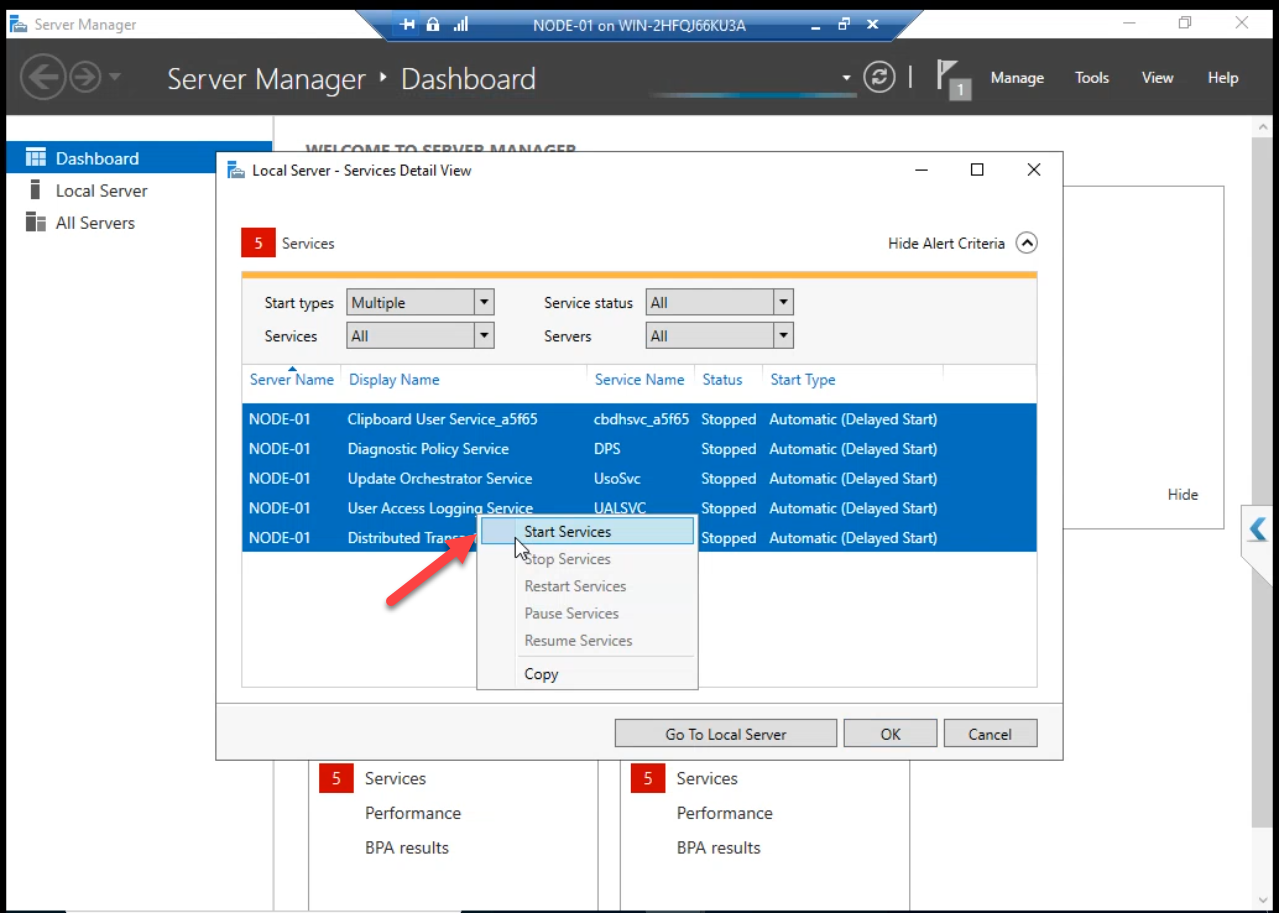
After reboot: Node-01 has Hyper-V running. Server Manager confirms. Hyper-V Manager opens. Services snap-in shows the Hyper-V Virtual Machine Management Service running.
contoso.local in source (use infotechninja.local in your build).Verify domain network connectivity: LAN NIC shows infotechninja.local.
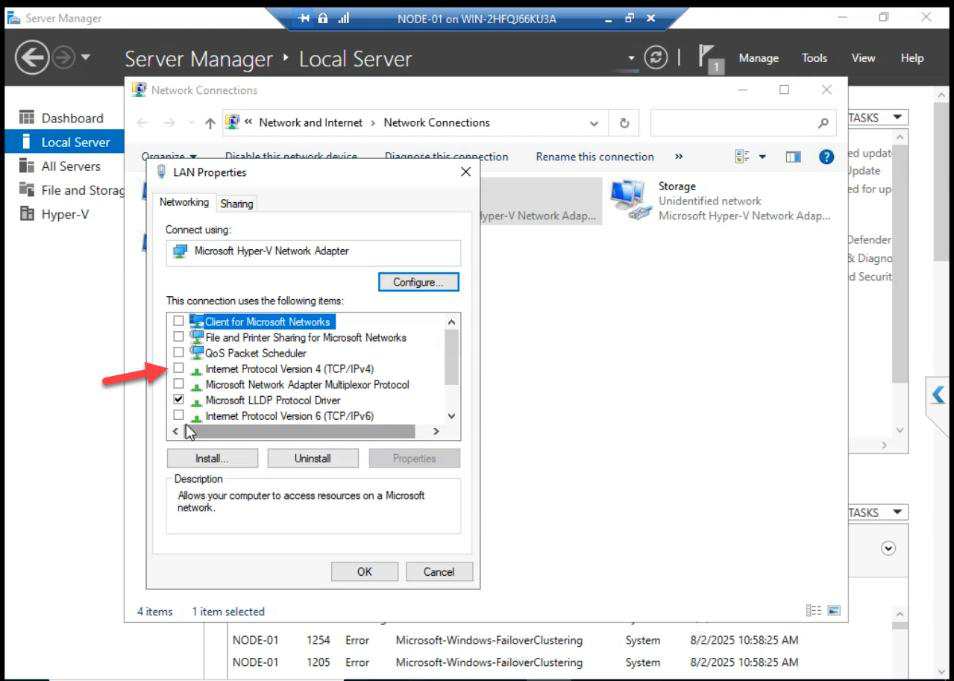
vEthernet (vSwitch) adapter when Hyper-V took the NIC for the External switch. In lab, set the IP back here for management. In production, leave it on the vEthernet adapter.Note on NIC reconfig after Hyper-V install: the original NIC’s IPv4/IPv6 are now unticked. The IP config moved to the new vEthernet (vSwitch) adapter when Hyper-V took the NIC for the External vSwitch. This is correct — same thing happens on physical hosts.
For lab simplicity, the source guide re-applies the IP to the original NIC. In production, leave it on the vEthernet adapter and let Hyper-V manage it.
Step 5 — repeat on Node-02
Same workflow on Node-02:
- Enable nested virt (if needed)
- Install Hyper-V role
- Pick the LAN virtual NIC as External vSwitch source
- Reboot
- Verify Hyper-V Manager opens
Things that bite people in this part
Forgot to enable nested virt before Hyper-V install
Hyper-V install fails on a VM without nested virt enabled. Shut down the VM, run Set-VMProcessor -ExposeVirtualizationExtensions $true on the host, restart, retry the install.
Wrong disk added to CSV
Don’t add the Quorum disk to CSV. CSV is for application data (VMs). Quorum stays as a classic cluster disk.
NIC IPv4 unchecked — thought it was broken
Yes, this is correct. Hyper-V moves the IP to the vEthernet adapter. Don’t panic. Check that adapter for the IP config.
Renaming networks before validation runs
If you renamed networks in Part 10 then re-ran validation in Part 9, validation might warn about “network role changes since last validation.” Re-validate to clear: Test-Cluster -Include Network.
What’s next
The cluster is fully prepared for VMs. Part 13 creates the first highly available VM — one that can failover between Node-01 and Node-02. See the full series at Hyper-V Failover Clustering pathway.