Same workflow as Part 2 (the iSCSI VM), repeated twice. NODE-01 and NODE-02 are the cluster nodes — the actual hypervisor hosts that will run highly-available VMs in Part 13. Specs are identical between the two: cluster validation barks at asymmetry. Only differences vs the iSCSI VM: more RAM (8 GB) and you do this twice.
Why both nodes need to be identical
Cluster validation in Part 9 compares the two nodes test-by-test. Differences that matter:
- OS version + patch level — must match exactly
- Hyper-V version — must match (same OS = same Hyper-V build)
- NIC count and naming — must match
- Storage paths — must match (drive letters, paths)
- Failover Clustering feature — both must have it (Part 9)
Differences that don’t fail validation but cause subtle problems:
- vCPU count — warns if asymmetric. A VM that fits on the bigger node may not start on the smaller after failover.
- RAM allocation — same story. VMs may fail to start on the smaller node.
- Storage performance — SSD on N1 + HDD on N2 means VMs perform terribly after failover. Asymmetric storage hurts.
Production: identical hardware, identical specs, identical everything. Lab: as close as you can get.
Building NODE-01

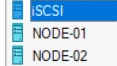
Lab inventory: DC + iSCSI VM. Now adding NODE-01.
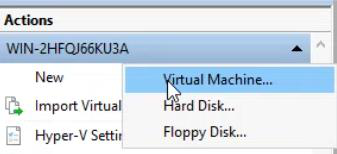
Hyper-V Manager > Action > New > Virtual Machine.
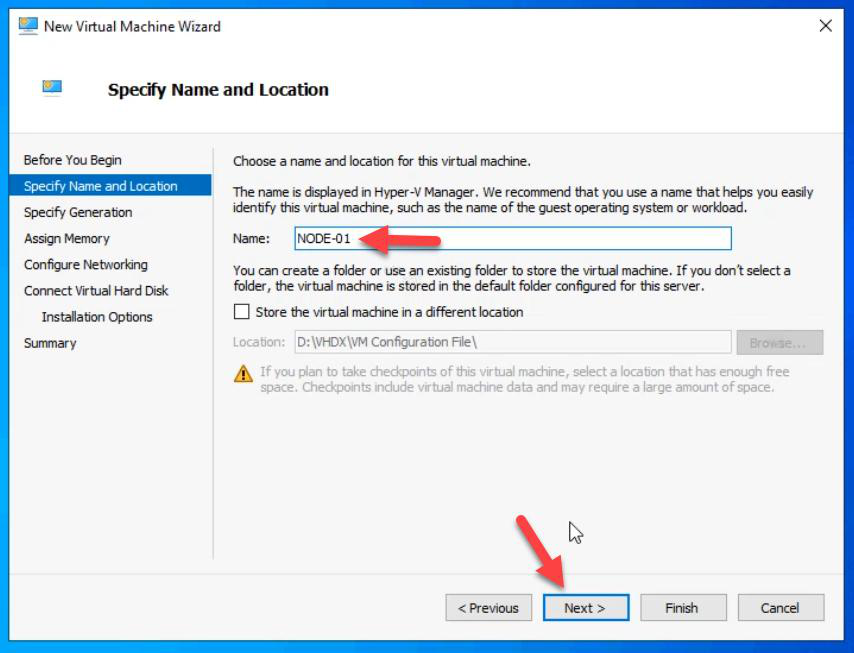
NODE-01.Name: NODE-01.
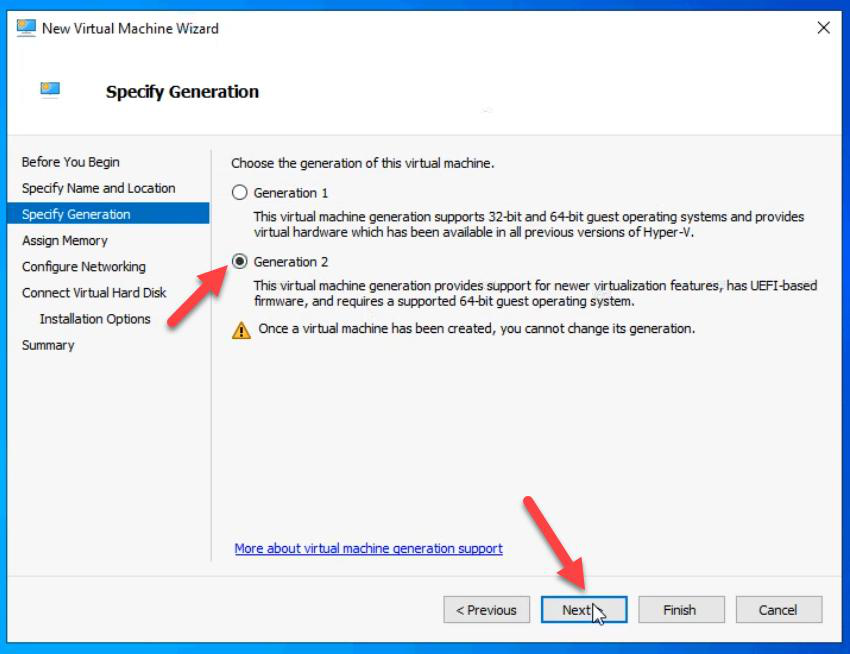
Gen 2.
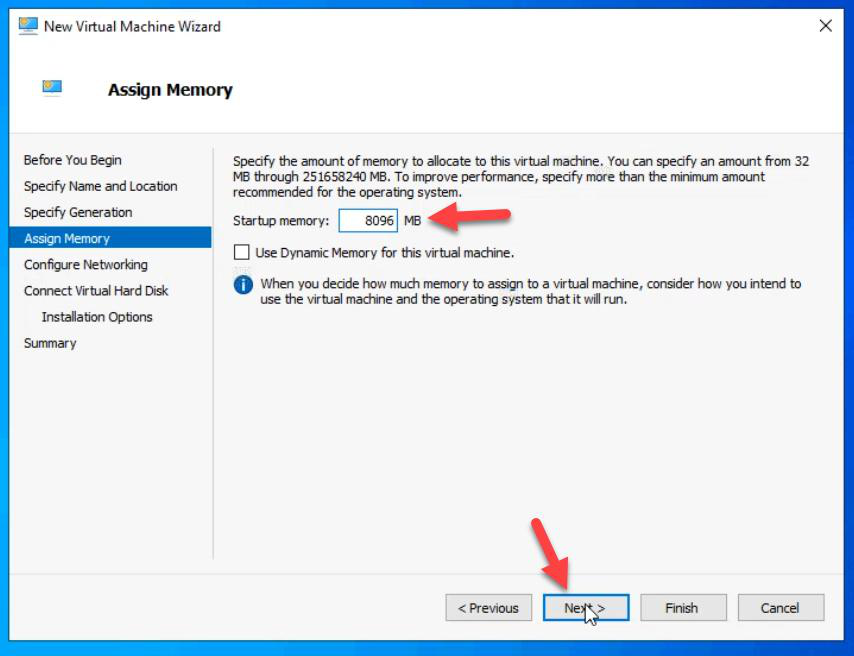
Memory: 8 GB static. More than the iSCSI VM. Cluster nodes run more services — Hyper-V hypervisor, Failover Clustering, and eventually nested VMs.
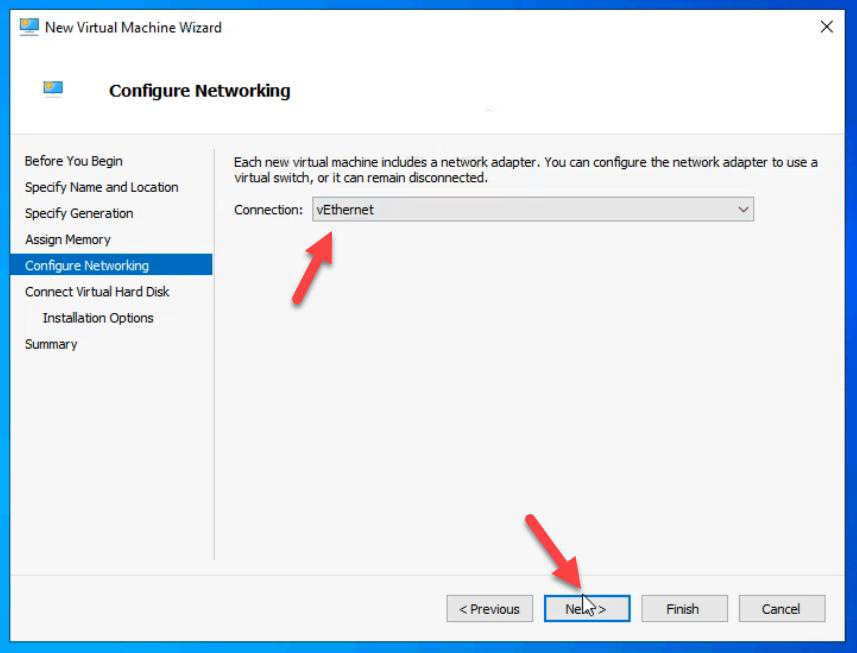
External vSwitch.
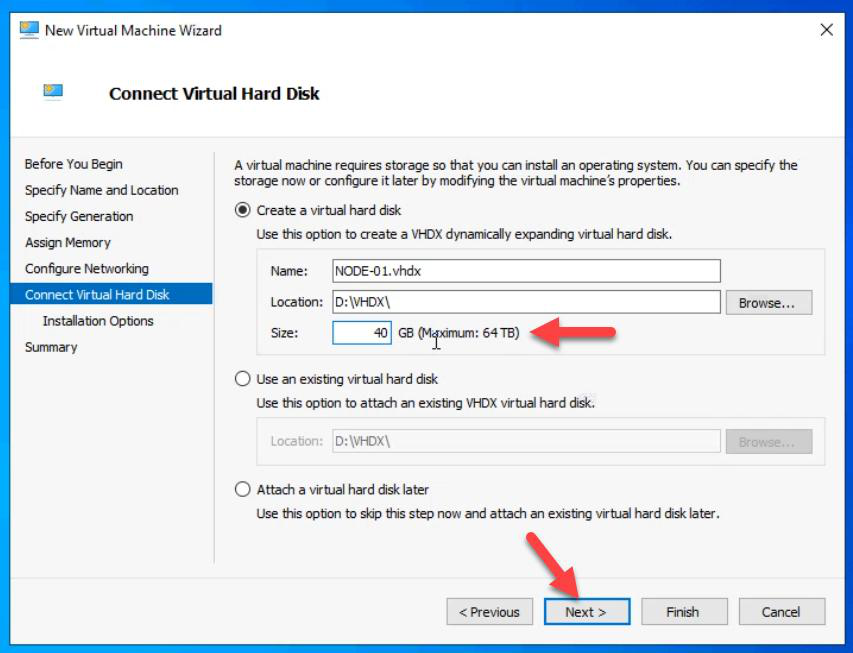
VHDX: 40 GB for OS only.
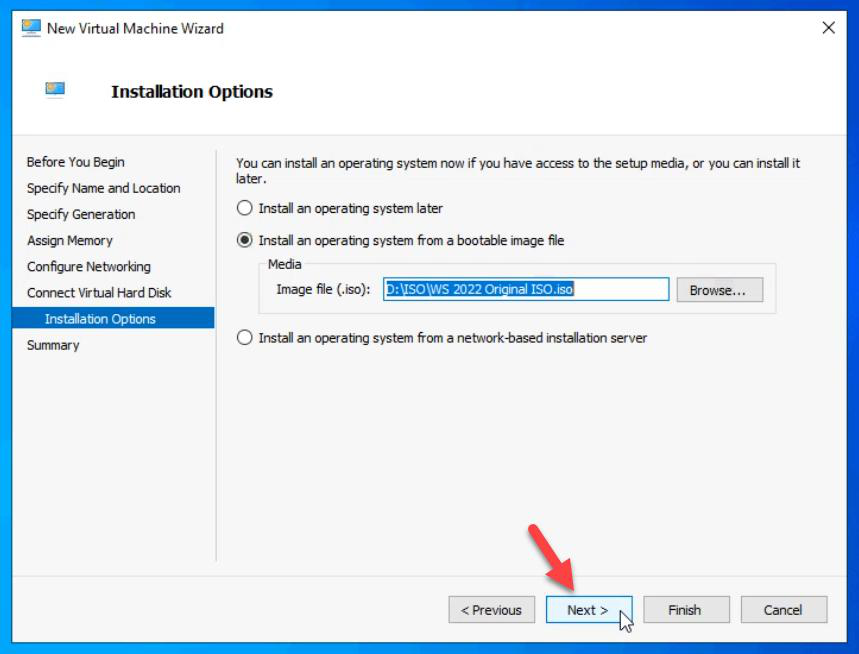
ISO: Windows Server 2022.

Finish.
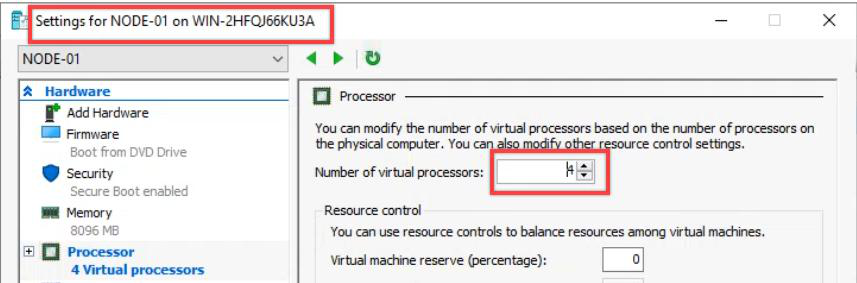
Bump vCPU to 4 in VM Settings.
Install OS on NODE-01

Connect to VM.
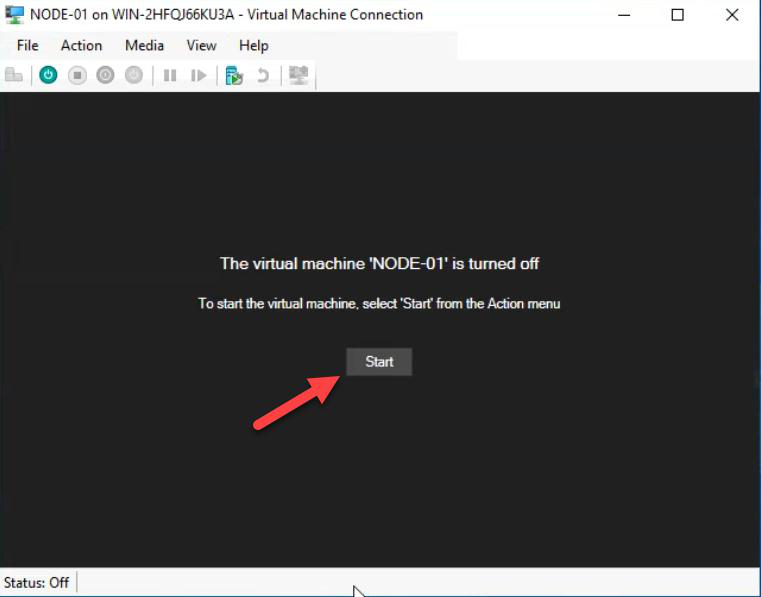
Spacebar when prompted.
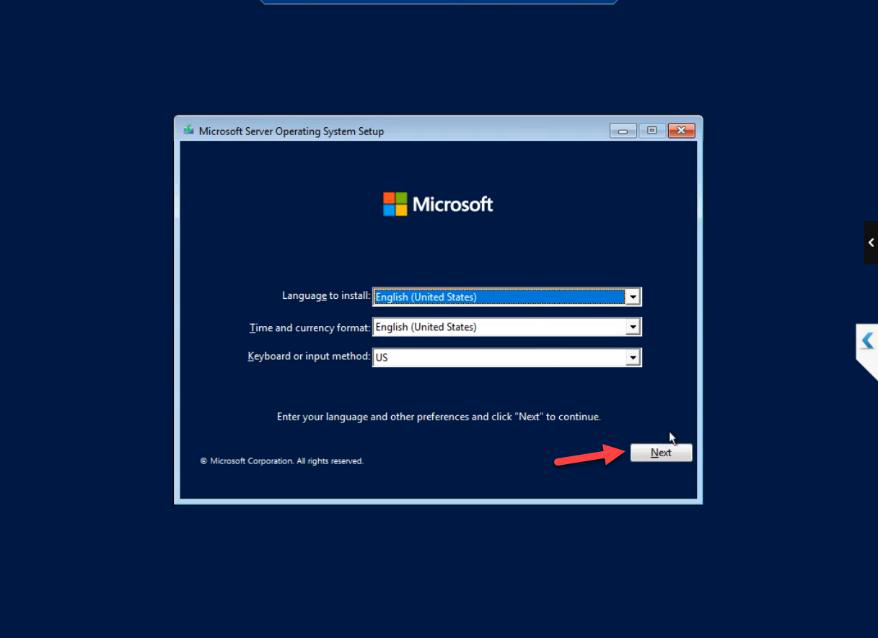
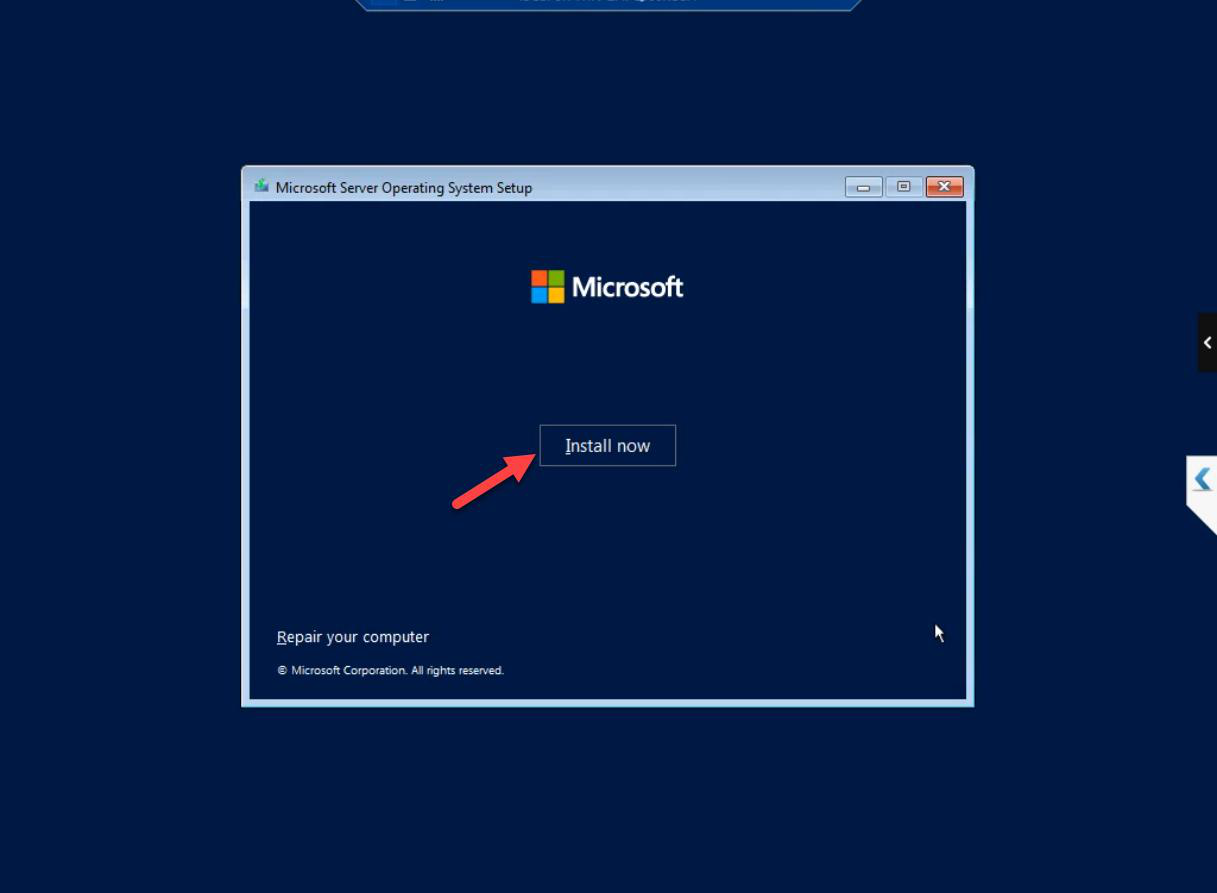
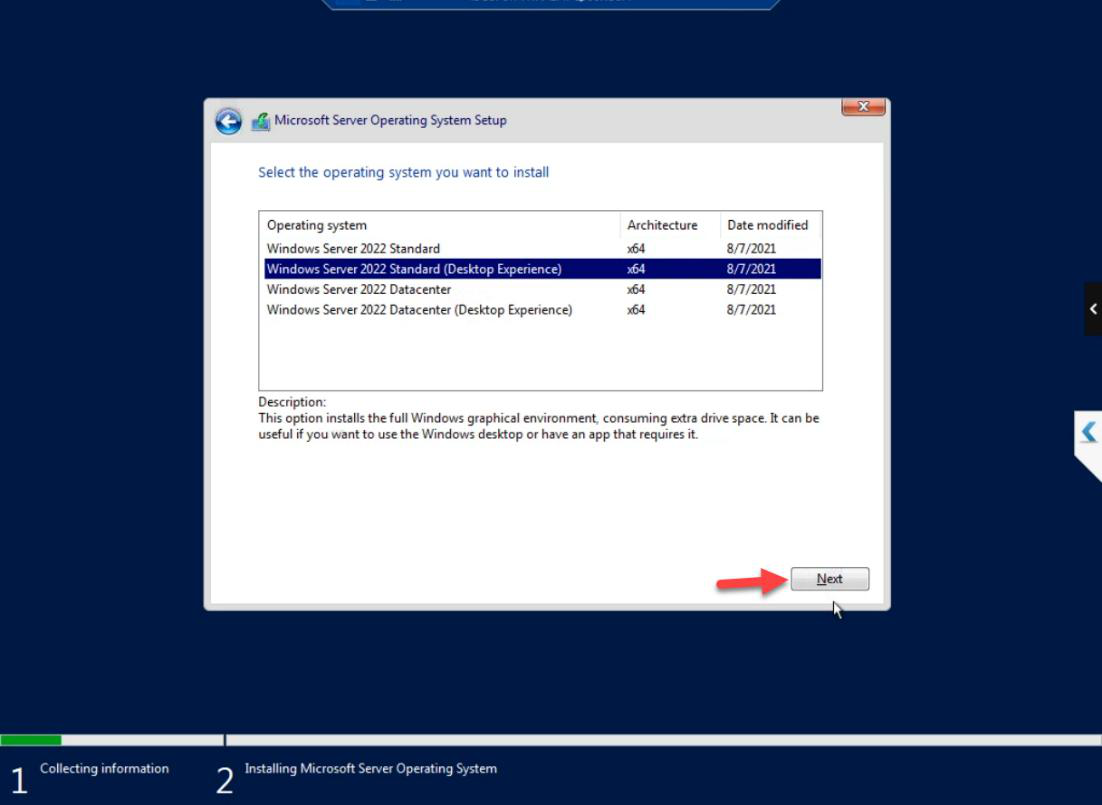
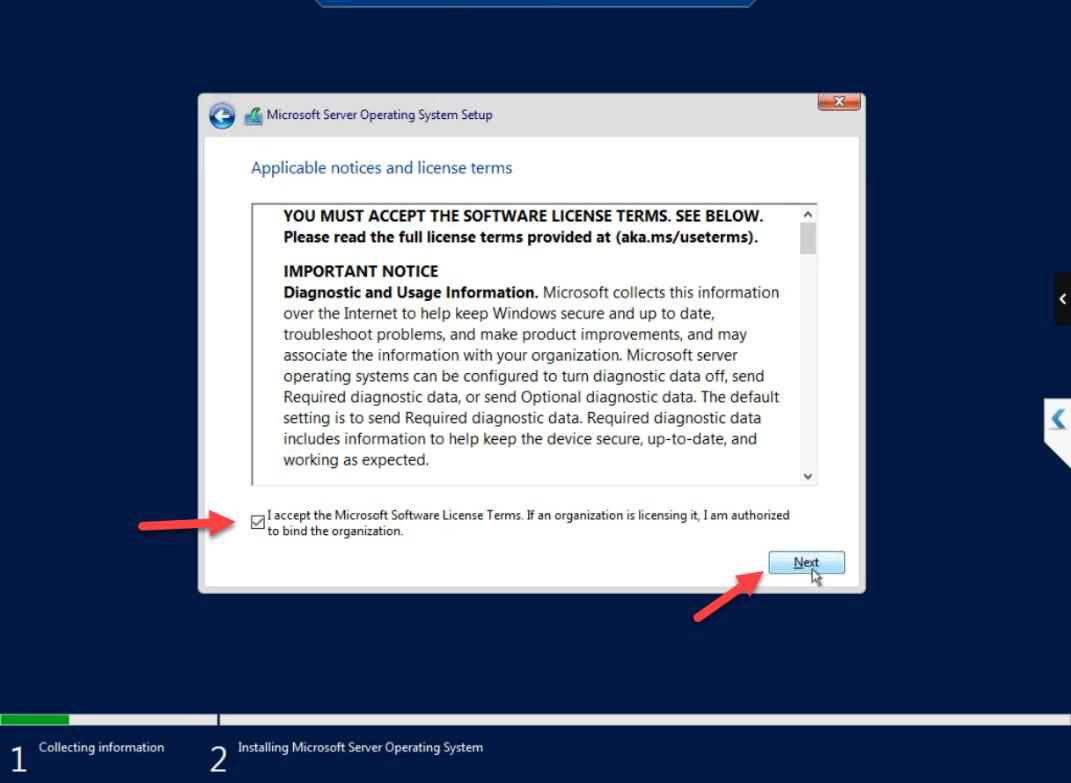
Standard Windows Server install: locale, Install Now, edition (Standard with Desktop Experience), licence accepted.
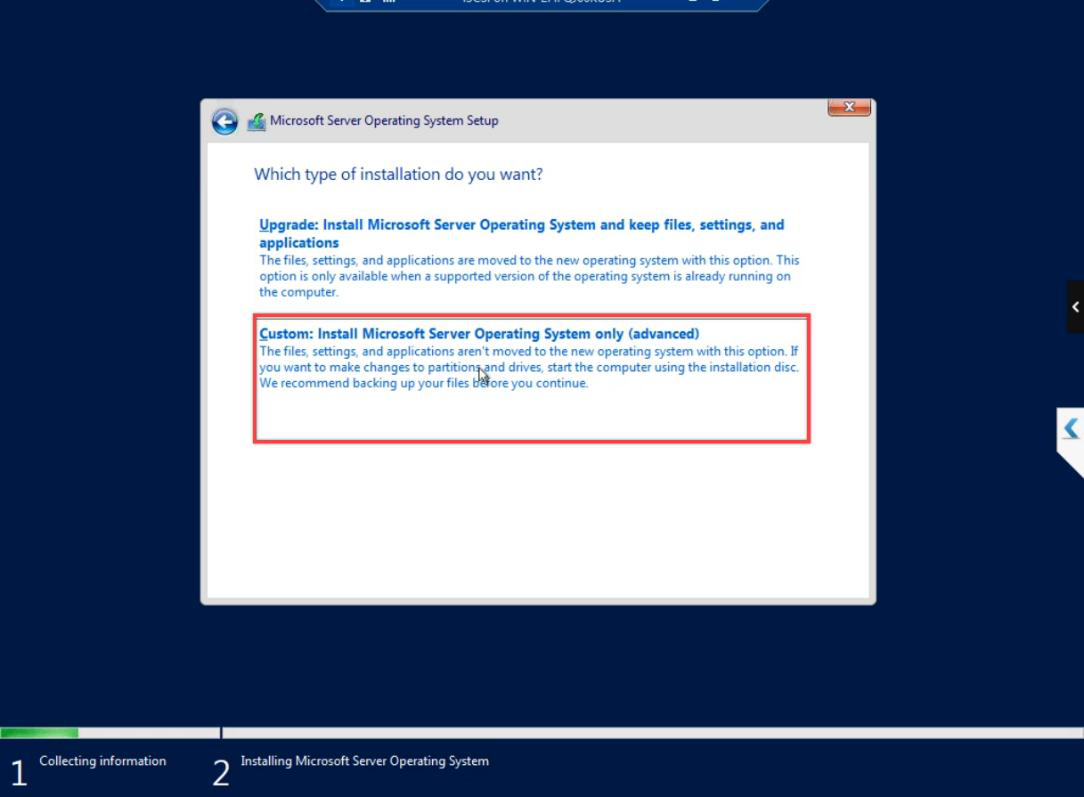
Custom: Install Windows only.

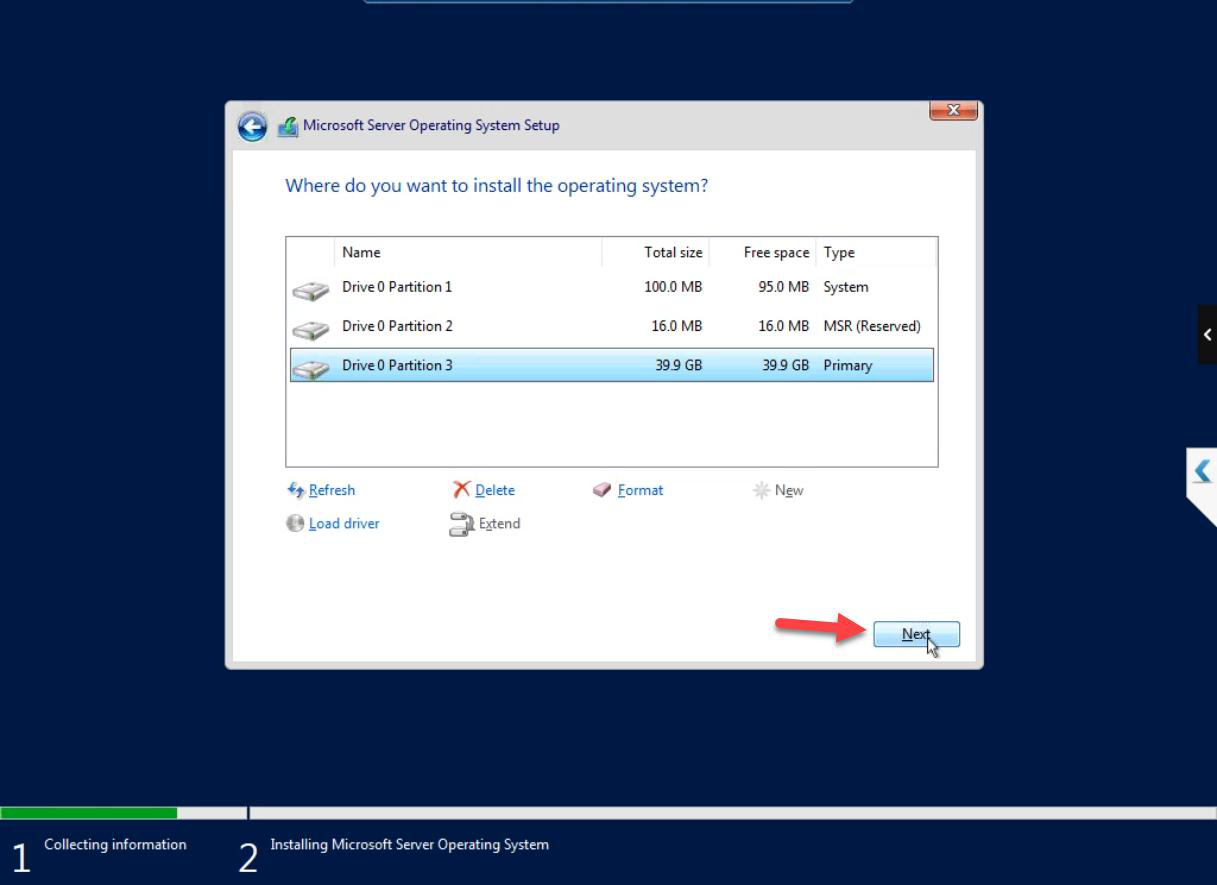
New partition. Next.
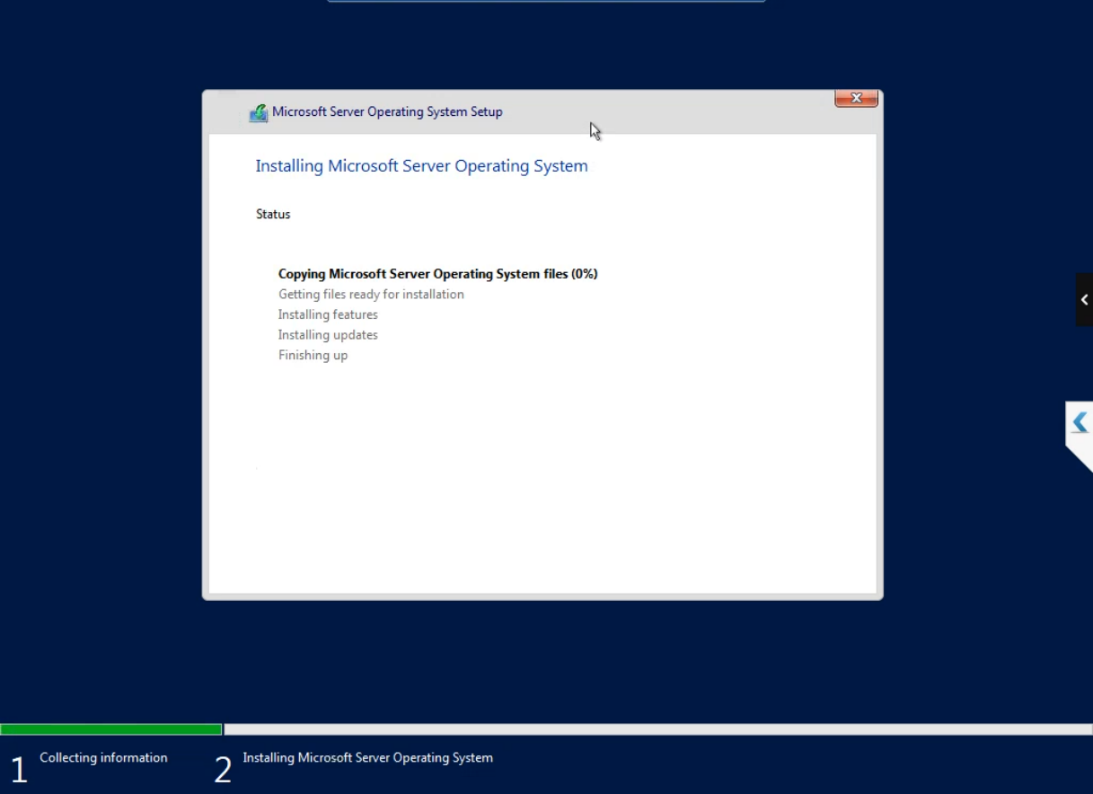
Install runs ~10-15 minutes.
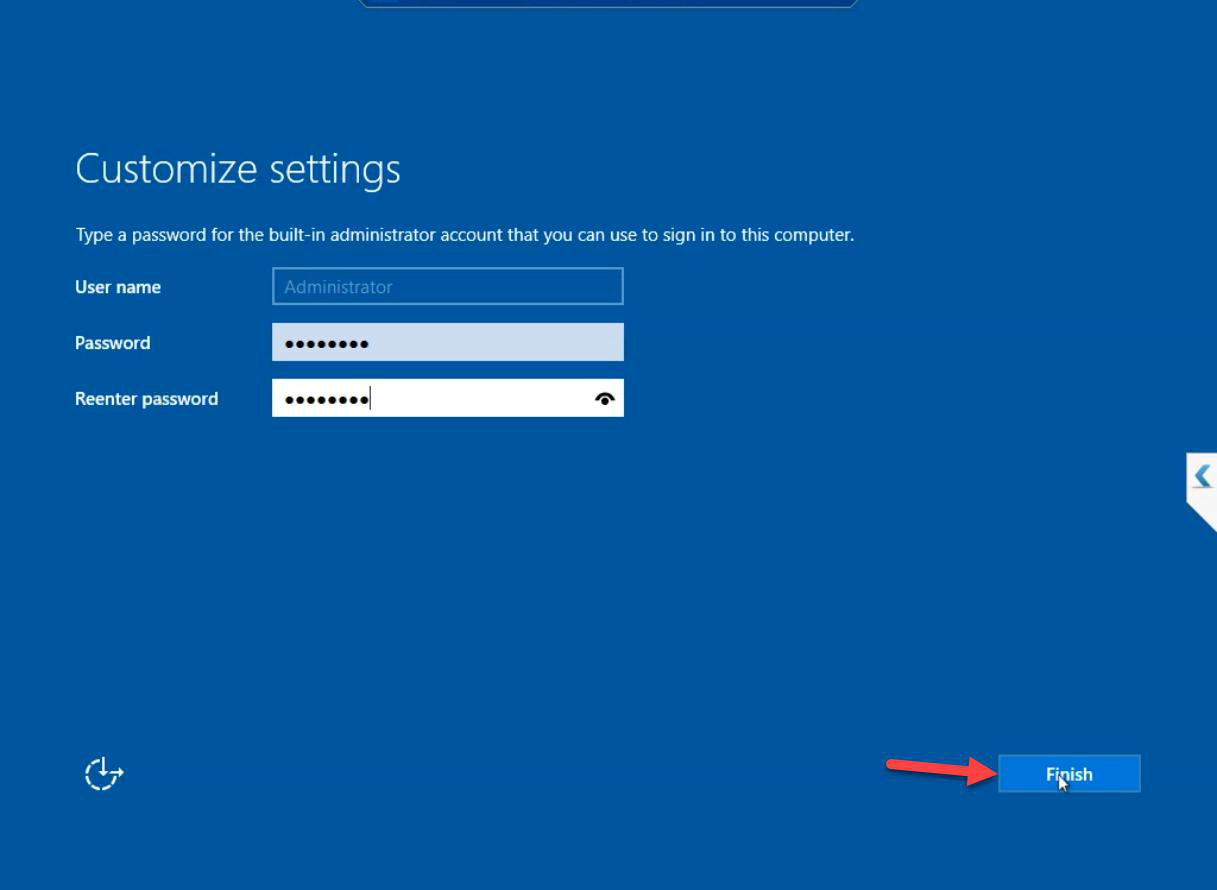
Set Administrator password. Different from the iSCSI VM’s admin password — defence in depth.
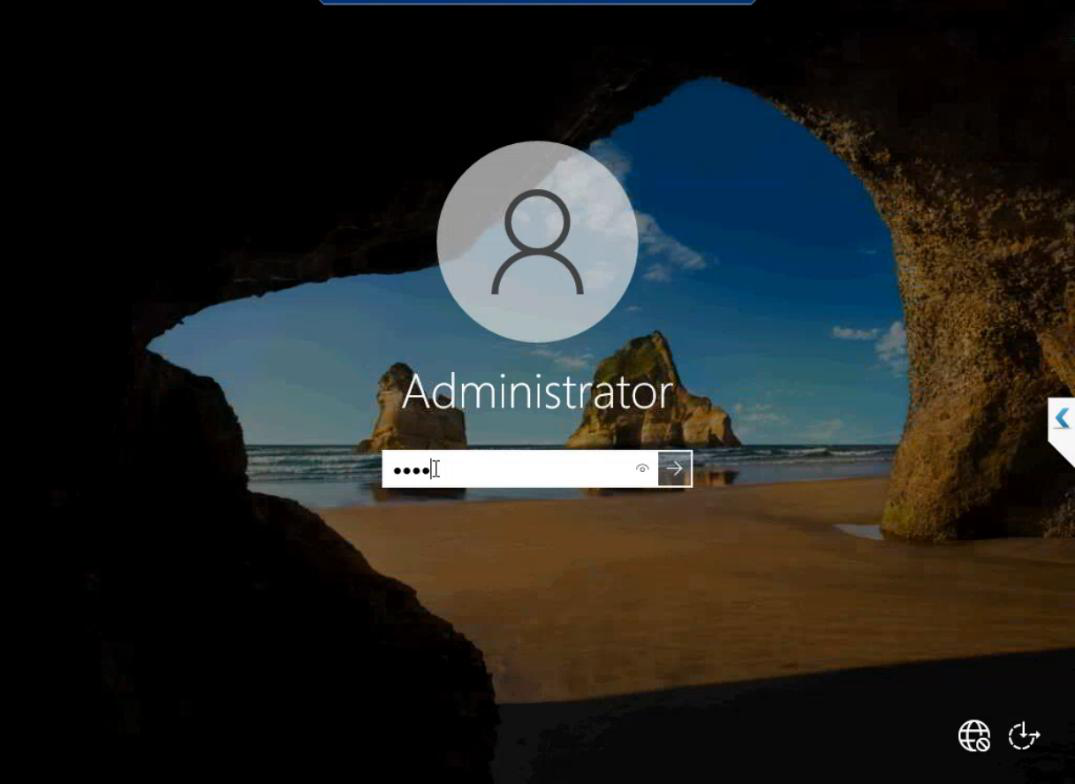

First sign-in. NODE-01 is a working Windows Server install.
Now do it again for NODE-02
Repeat the entire workflow with the name changed to NODE-02. Same specs, same OS install, same admin password convention (different value, same strength).
Time-saver tip: Hyper-V Manager has an Export option. After NODE-01 is fully installed, you can export it, import as NODE-02 with a new name. Saves the OS install time. Make sure to:
- Run
sysprep /generalize /shutdownon NODE-01 BEFORE exporting (otherwise both nodes share the same SID and AD breaks) - Rename the imported VM to NODE-02 properly (computer name, not just VM name)
For the lab, just doing it twice from scratch is simpler and matches what you’d do in production with two physical servers anyway.
What we’re NOT doing yet
- Joining to the domain — Part 4 (post-install tasks)
- Setting static IP — Part 4
- Adding the data disk — Part 5 is for the iSCSI VM only; nodes don’t need extra disks
- Installing Hyper-V role inside — Part 4
- Failover Clustering feature — Part 9
Things that bite people in this part
Asymmetric specs
Easy to forget that you set NODE-01 to 8 GB and pick 4 GB for NODE-02 by accident. Both nodes must match.
Same admin password as DC
If the cluster nodes share an admin password with the DC and that password leaks, the entire environment is compromised. Use distinct strong passwords per VM, stored in a vault.
Sysprep skipped before clone
If you clone NODE-01 to make NODE-02 without running sysprep, both VMs have the same SID. Joining to AD then fails or causes weird auth issues. Always sysprep before cloning.
VM names contain underscores or special chars
Stick to NODE-01 / NODE-02 (letters + digits + dash). Underscores are technically NetBIOS-illegal and cause subtle DNS/Kerberos issues.
What’s next
Part 4 covers the post-install tasks: domain join, static IP, install Hyper-V role on the cluster nodes (nested virt), Windows Update. Standard sysadmin work. See the full series at Hyper-V Failover Clustering pathway.