Validation passed in Part 9. Now we create the actual cluster object — gives the cluster a name, an IP, registers it in AD, and pulls in the iSCSI disks. Short post: the wizard does most of the work. The key choices are the cluster name and the cluster IP.
Step 1 — launch Create Cluster wizard
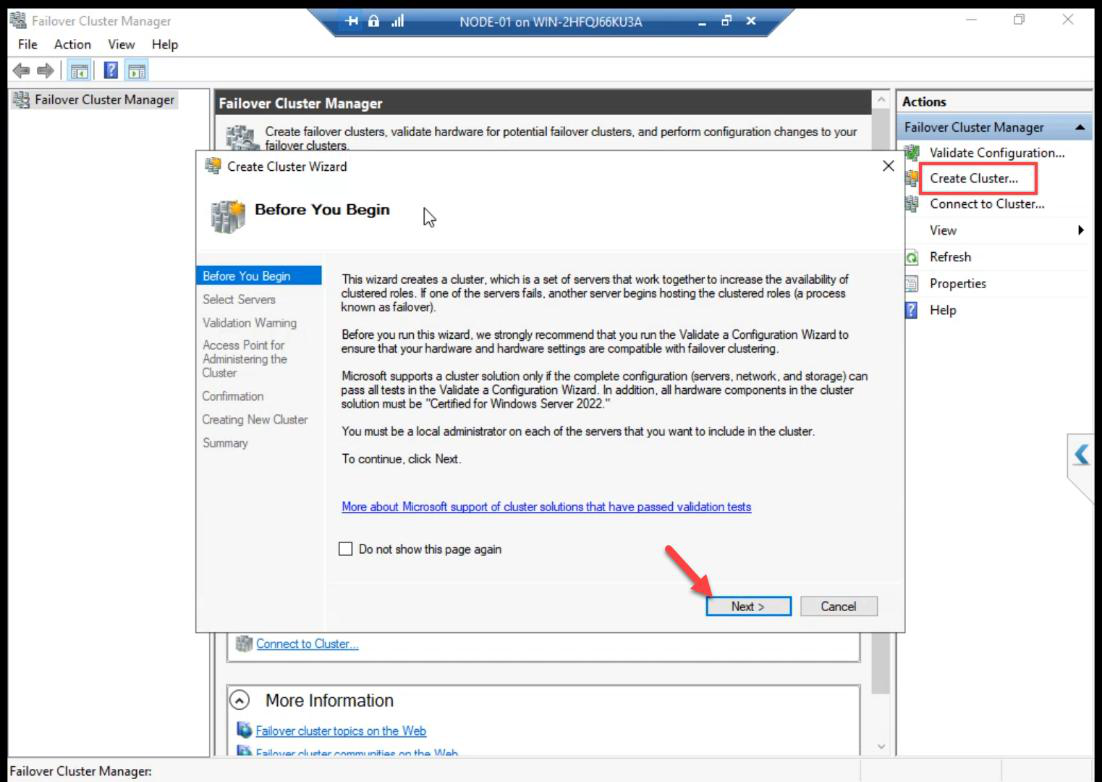
From any node (NODE-01 here): FCM > Action pane > Create Cluster. Before You Begin: Next.
Step 2 — select servers
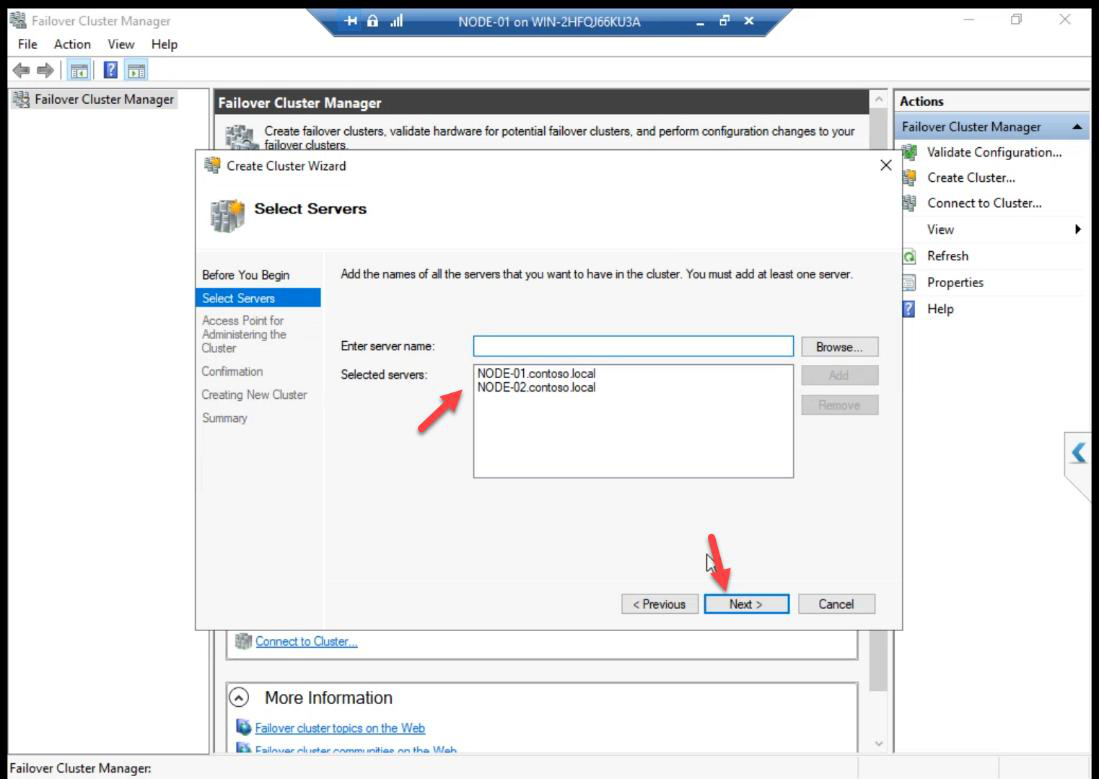
Add NODE-01 + NODE-02 by name. Browse picker validates AD resolution.
Step 3 — cluster name + IP
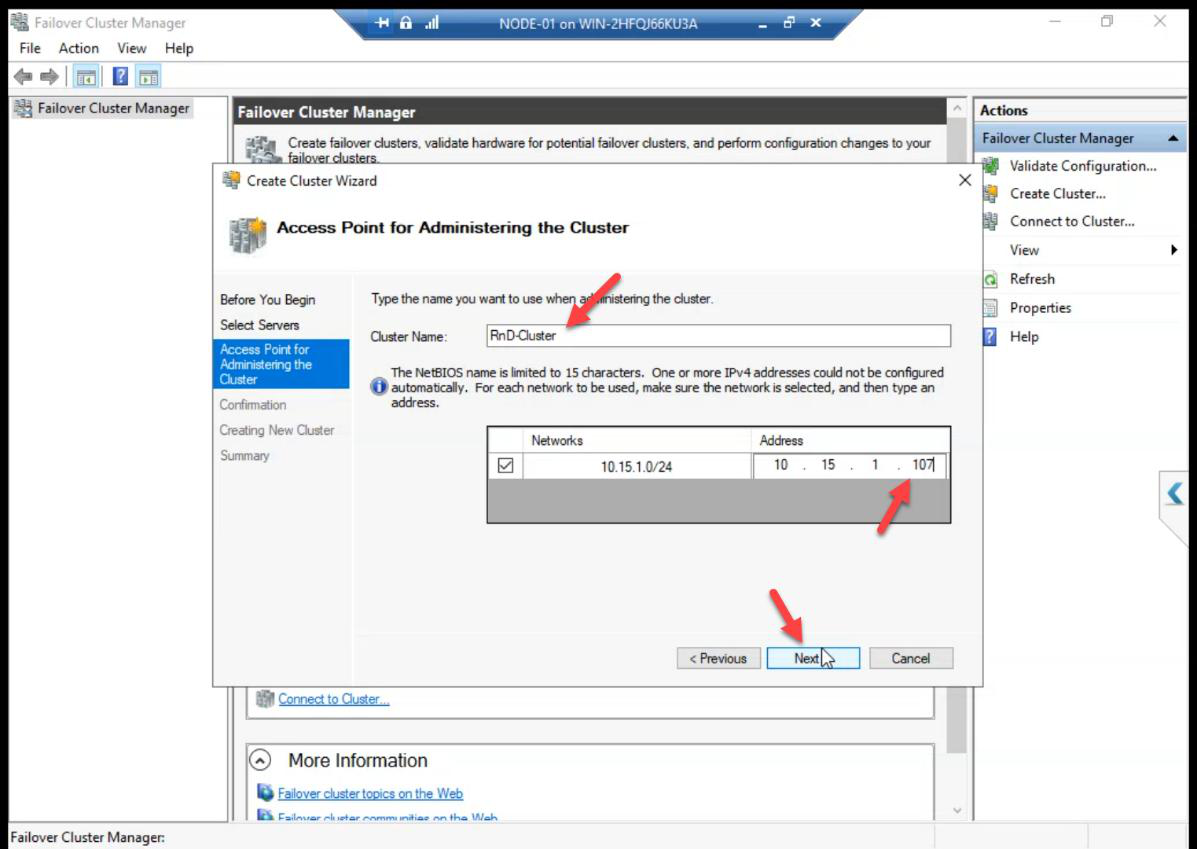
ITN-HVCL-01. IP: 10.15.1.107 (free IP on the Public/Domain subnet, same series as DC).The two important choices:
- Cluster Name:
ITN-HVCL-01. This becomes the CNO computer object in AD and a DNS A record. Pick a meaningful name — clients/admins use this name to manage the cluster. - IP Address:
10.15.1.107. A free IP on the Public/Domain subnet (same series as the DC). The cluster claims this IP; failover keeps it on whichever node owns the cluster admin role.
AD permission required: the user creating the cluster needs Create Computer Objects on the OU where the CNO will live. Default Computers container works for labs; locked-down environments often delegate this. Get this wrong and the wizard fails with an opaque AD error.
Step 4 — storage
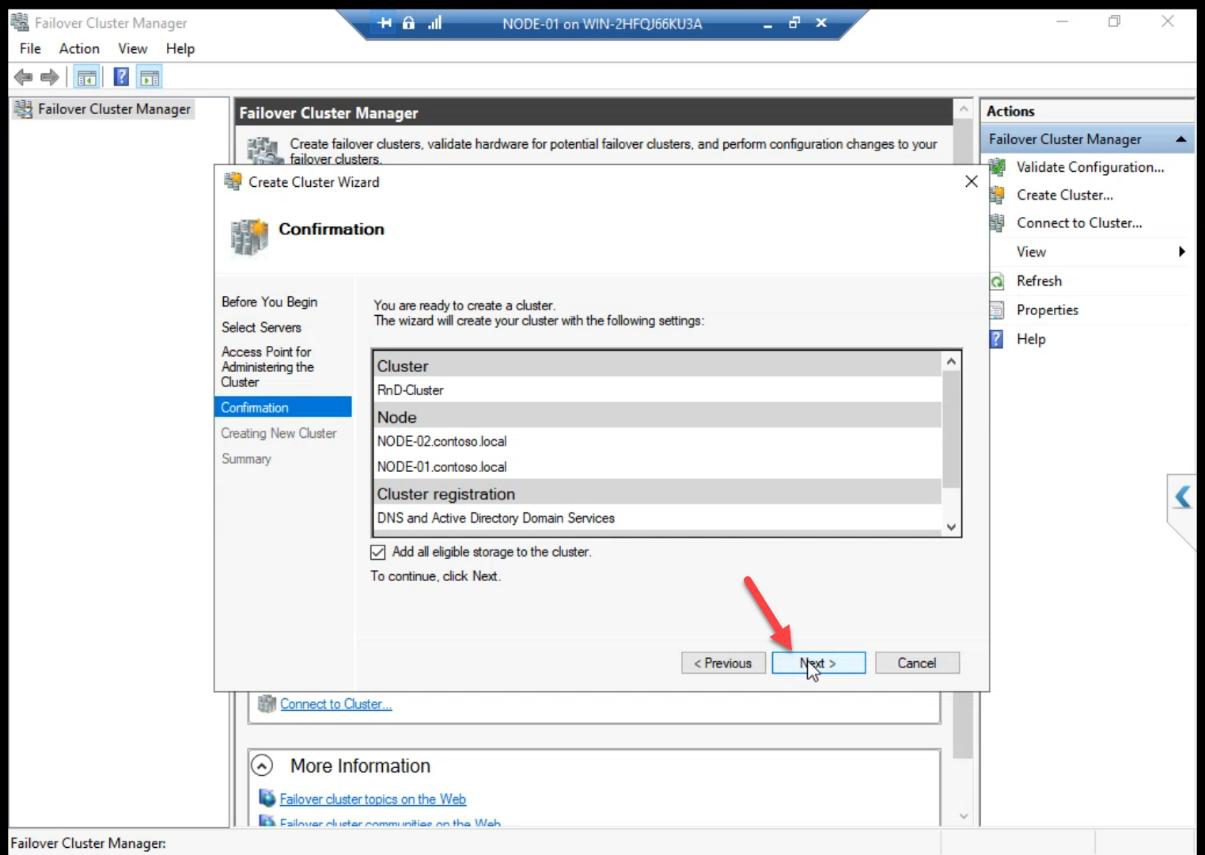
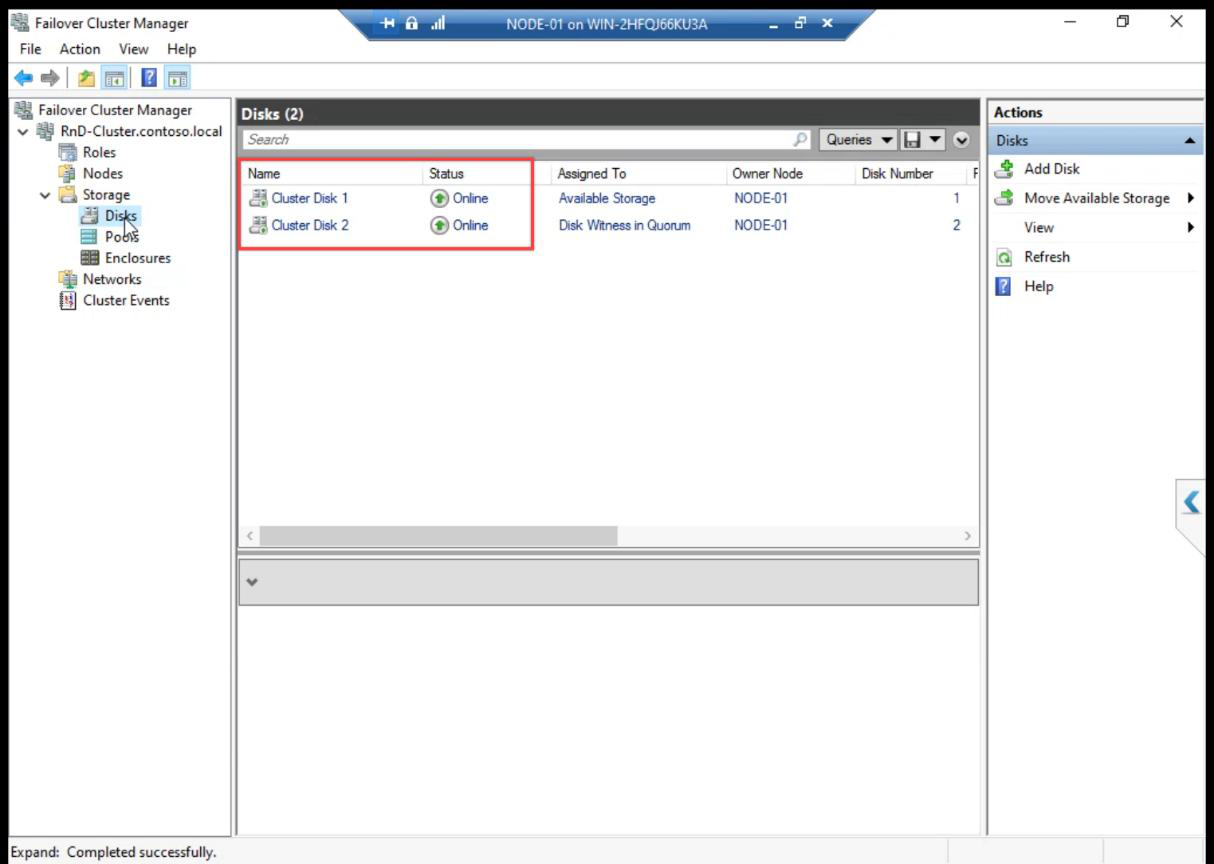
Tick Add all eligible storage to the cluster. The wizard pulls in the iSCSI LUNs we created in Part 7 and connected in Part 8. The cluster takes ownership of them.
Step 5 — create
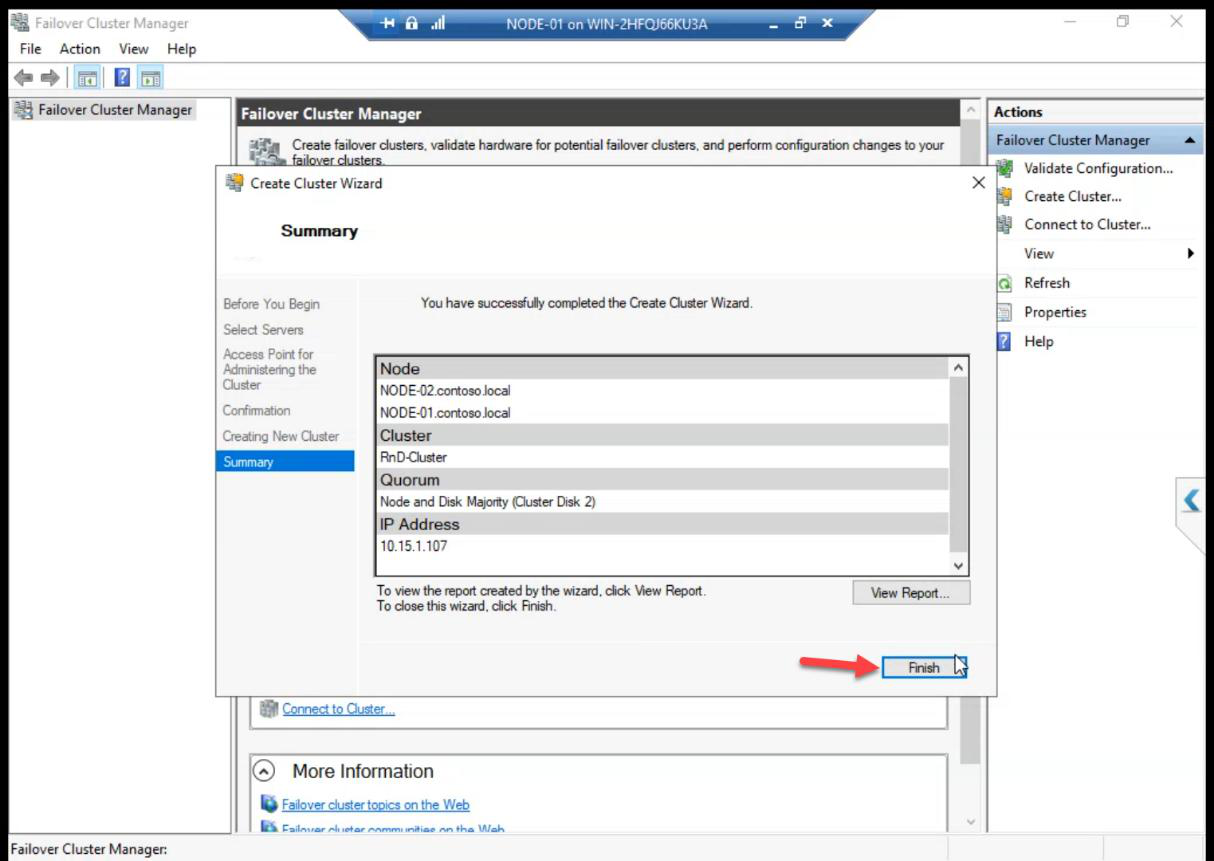
Summary > Finish. Cluster object exists in AD, both nodes joined, both disks added.
Step 6 — verify
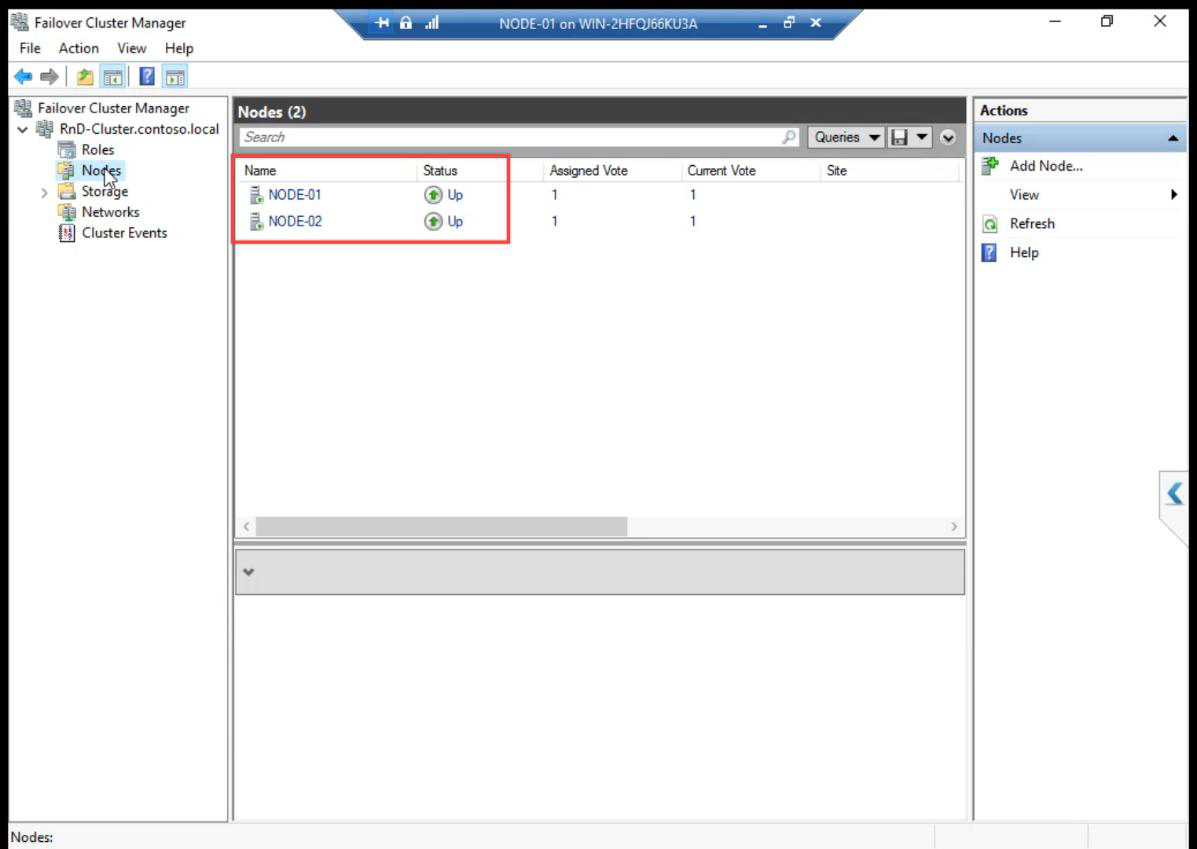
Nodes: both Up.
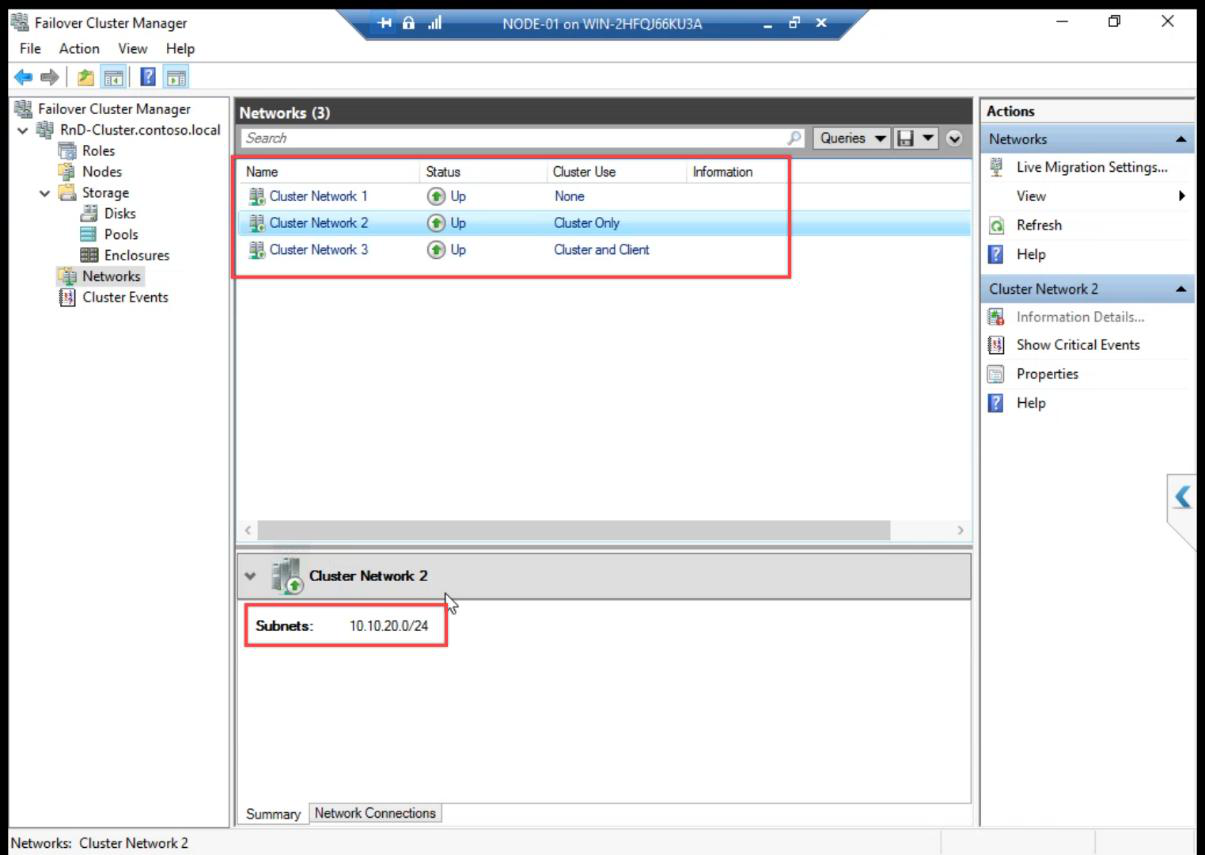
Cluster Network 1/2/3 — rename them in Part 12 to Public, Storage, Heartbeat.Networks: 3 Cluster Networks auto-detected. Names are generic Cluster Network 1/2/3 — we rename them in Part 12.
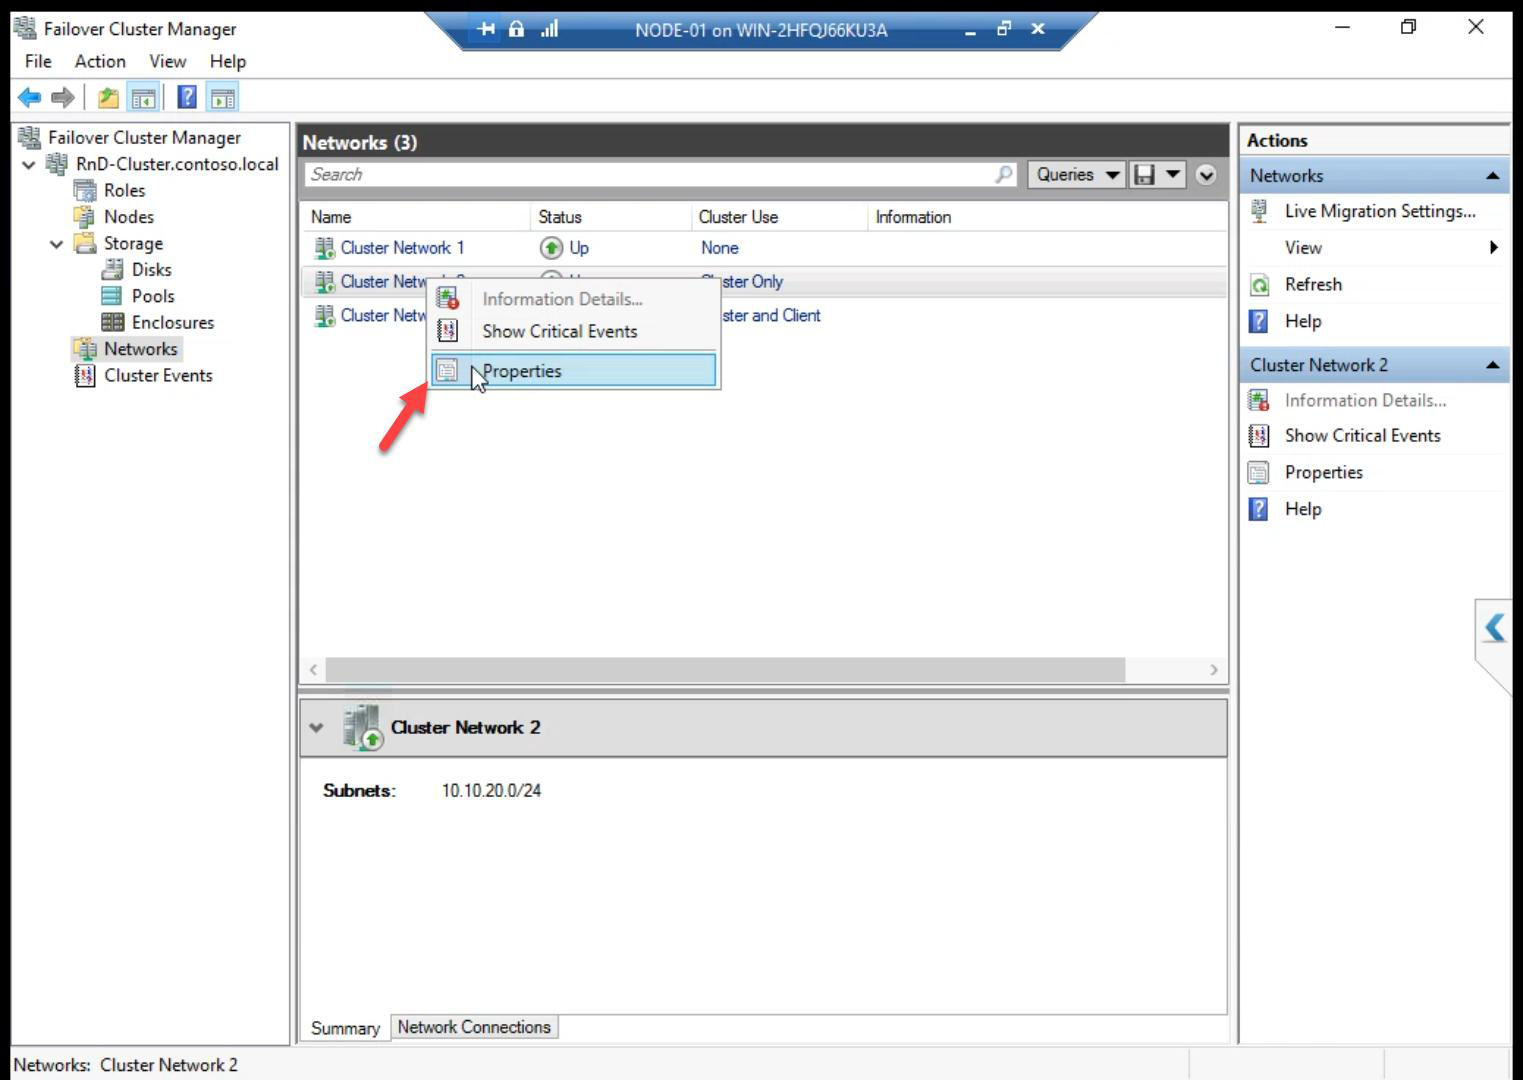
Right-click a network > Properties to inspect role and metric.
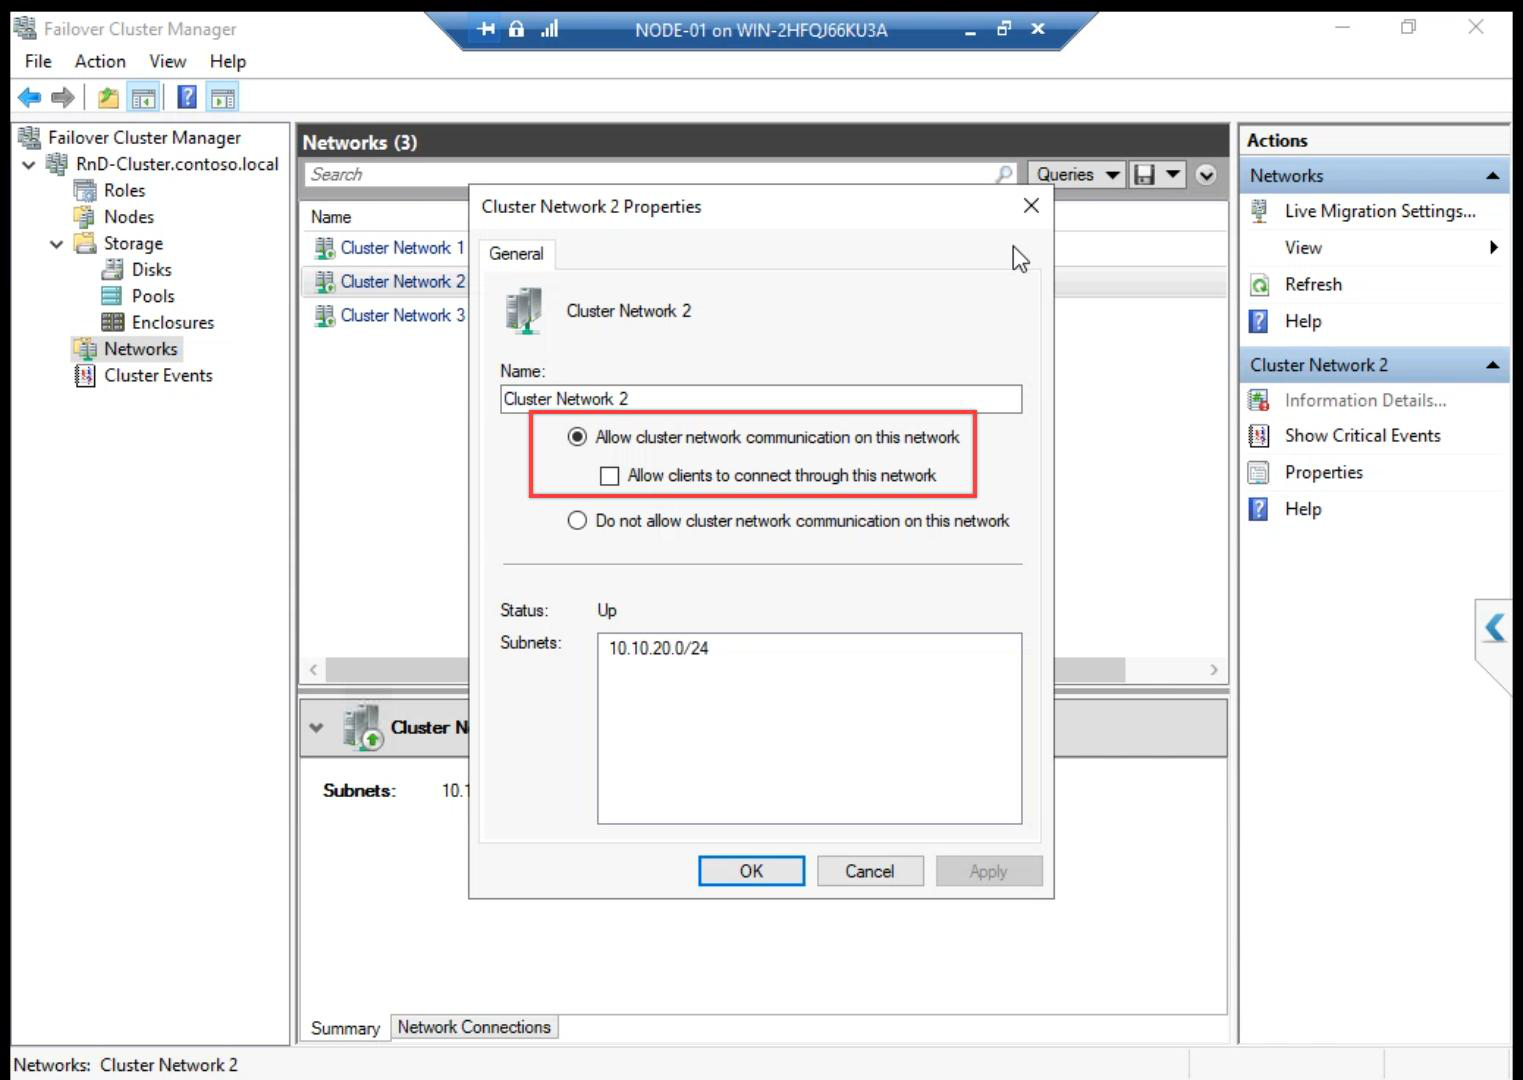
Network roles:
- Cluster and Client — usable for client connections AND cluster heartbeat. (Public network.)
- Cluster Only — cluster heartbeat only, not for client traffic. (Storage and Heartbeat networks.)
- None — cluster ignores this network. (Disabled.)
The wizard usually auto-detects roles correctly, but verify after creation.
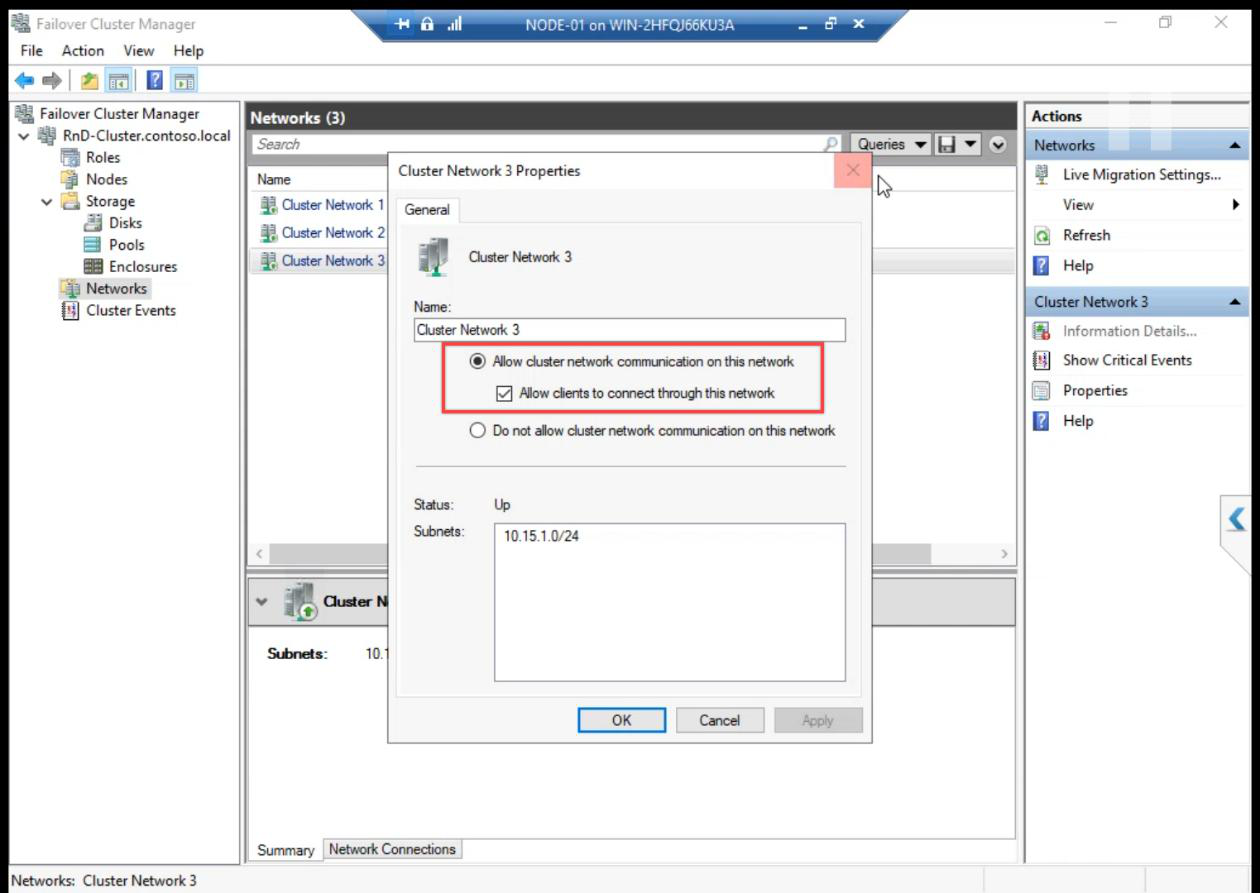
Same review for Network 3.
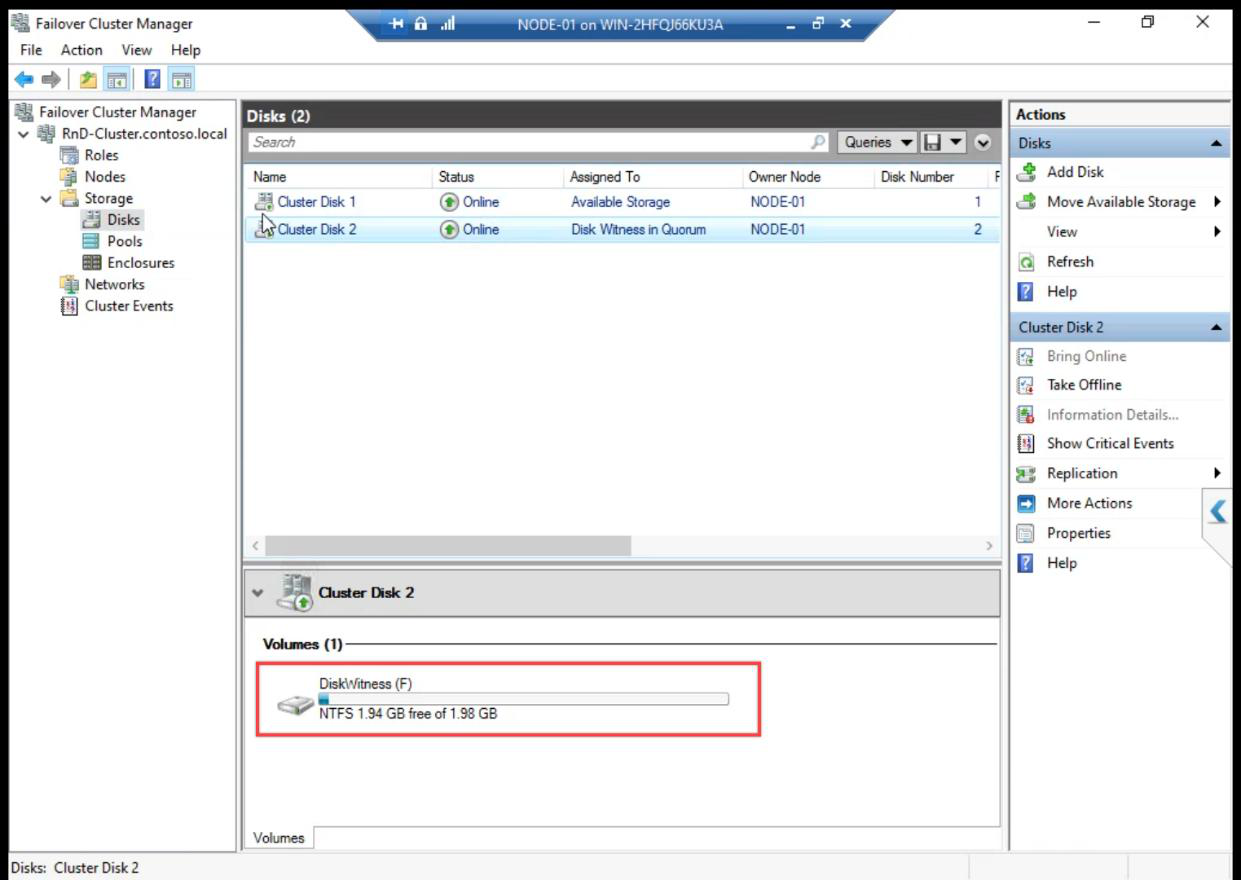
Cluster Disk Witness: confirms which disk has the witness role. Should be the 2 GB disk.
What just happened behind the scenes
- Cluster Service started on both nodes and they negotiated cluster membership
- CNO computer object created in AD (
ITN-HVCL-01) with a random password - DNS A record registered:
ITN-HVCL-01.infotechninja.local → 10.15.1.107 - Cluster IP resource added with auto-failover between nodes
- iSCSI disks claimed by cluster — the cluster service now owns disk online/offline transitions
- Quorum auto-configured: Node Majority + Disk Witness (3 votes total, tolerates 1 failure)
Things that bite people in this part
CNO creation fails with permission error
Create Cluster wizard tries to create the CNO computer object in AD. If the user lacks Create Computer Objects on the target OU, the wizard fails with a vague error. Fix: grant the right, OR pre-stage the CNO (admin creates a disabled computer object ahead of time and grants the wizard user Modify permission).
Cluster IP conflict
10.15.1.107 must be free. Quick ping 10.15.1.107 from anywhere on the subnet — if it answers, pick another.
Eligible storage missing
If the iSCSI session dropped between Part 8 and Part 10, the wizard sees no eligible storage. Re-establish the iSCSI session on both nodes via Initiator, then re-run Create Cluster.
Generic network names left as-is
Cluster Network 1/2/3 are useless in operational reports. Rename them in Part 12 (or do it now via FCM > Networks > right-click > Properties).
Wrong disk picked as witness
Auto-config picks the smallest disk — which should be the 2 GB Quorum. If it picks a different disk, reconfigure quorum: FCM > right-click cluster > More Actions > Configure Cluster Quorum Settings.
What’s next
Cluster created. Part 11 covers explicit Quorum configuration — making sure the witness is on the right disk and the vote model is correct for our 2-node setup. See the full series at Hyper-V Failover Clustering pathway.