Storage and networks are wired. Time to install the cluster bits and prove the design is supported. Two moves: install Failover Clustering feature on both nodes, then run Validate Configuration. Validation is the gate — clusters that haven’t passed it are unsupported by Microsoft. Don’t skip.
Step 1 — install Failover Clustering on NODE-01
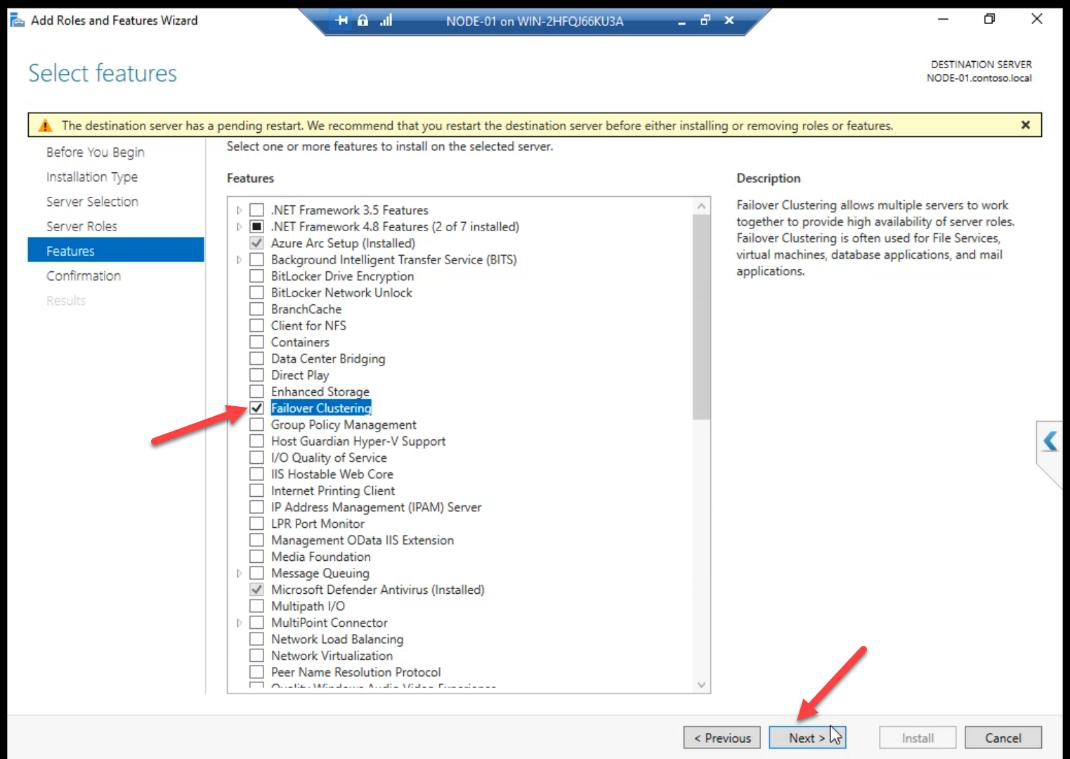
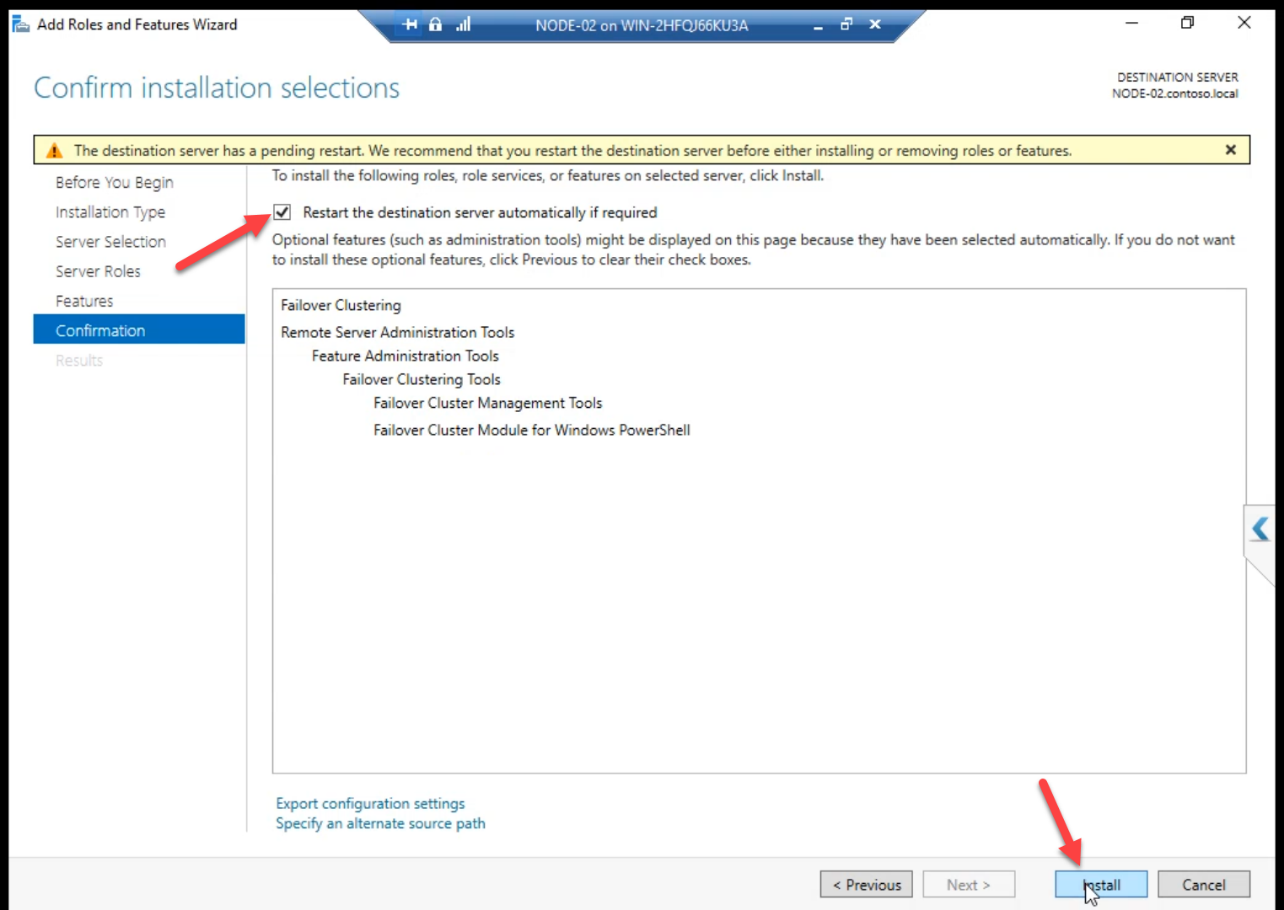
Server Manager > Manage > Add Roles and Features > Features > Failover Clustering. Tick. Pop-up offers to add management tools — Add Features.

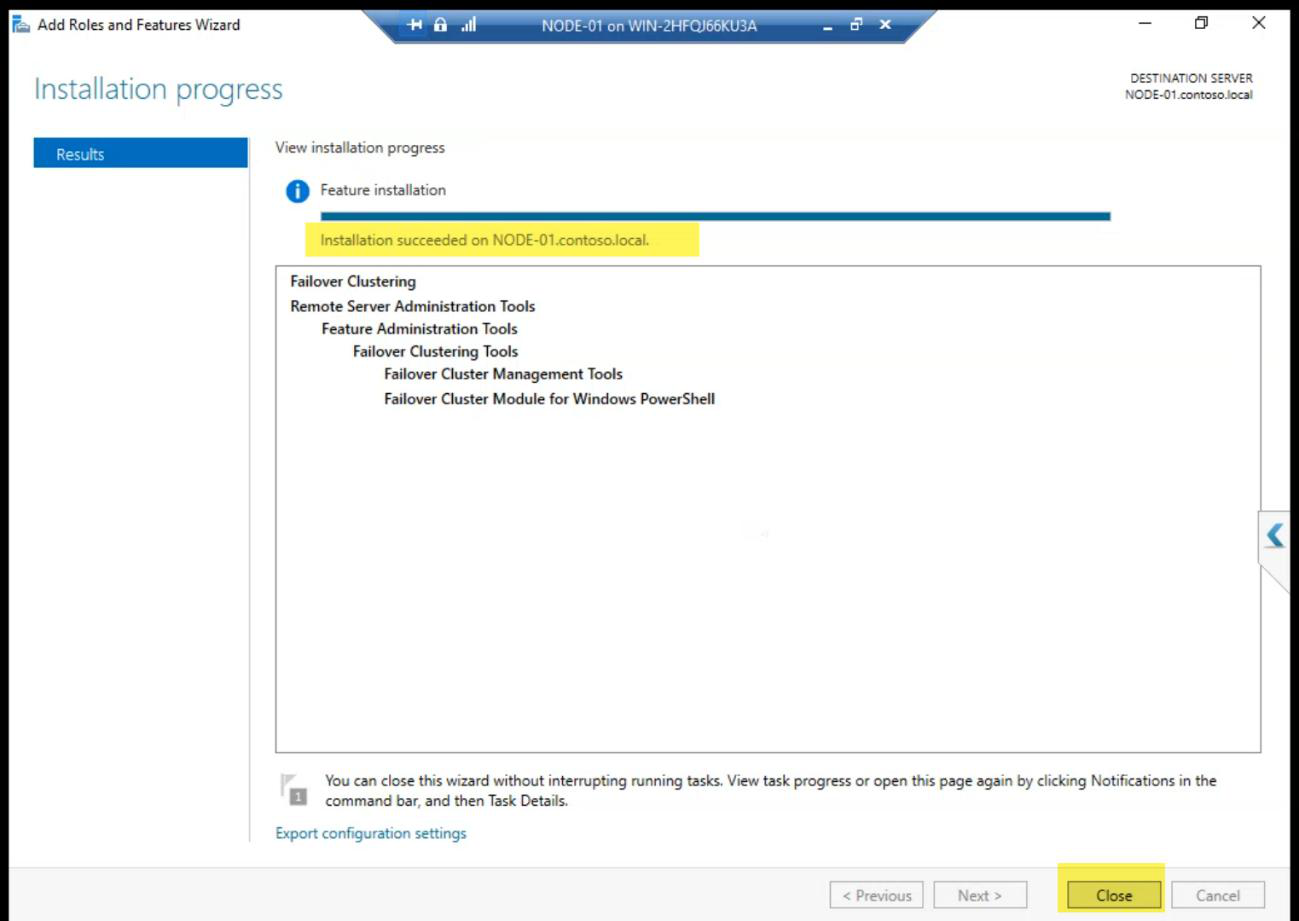
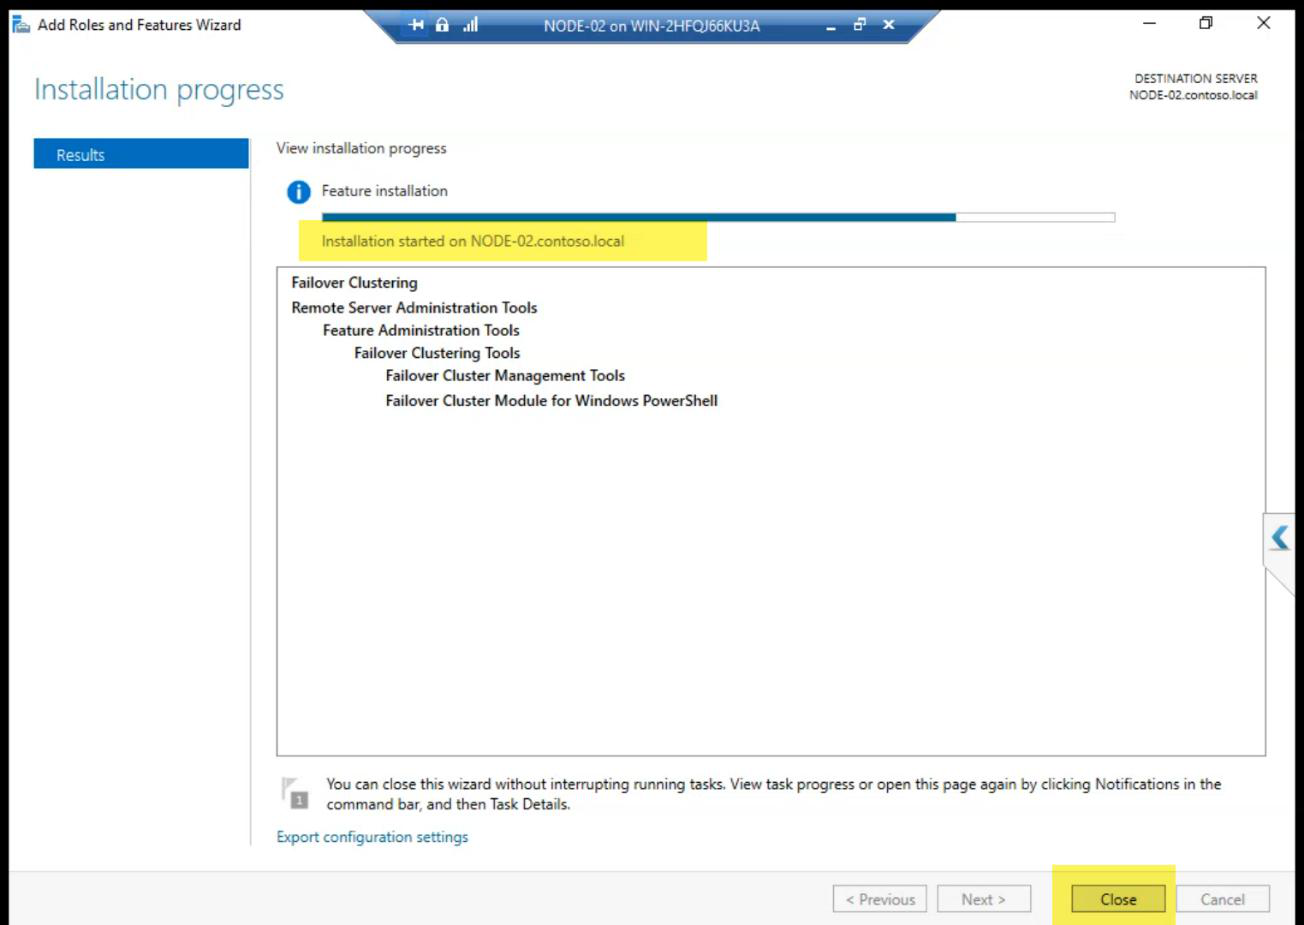
Install runs. Reboot if asked.
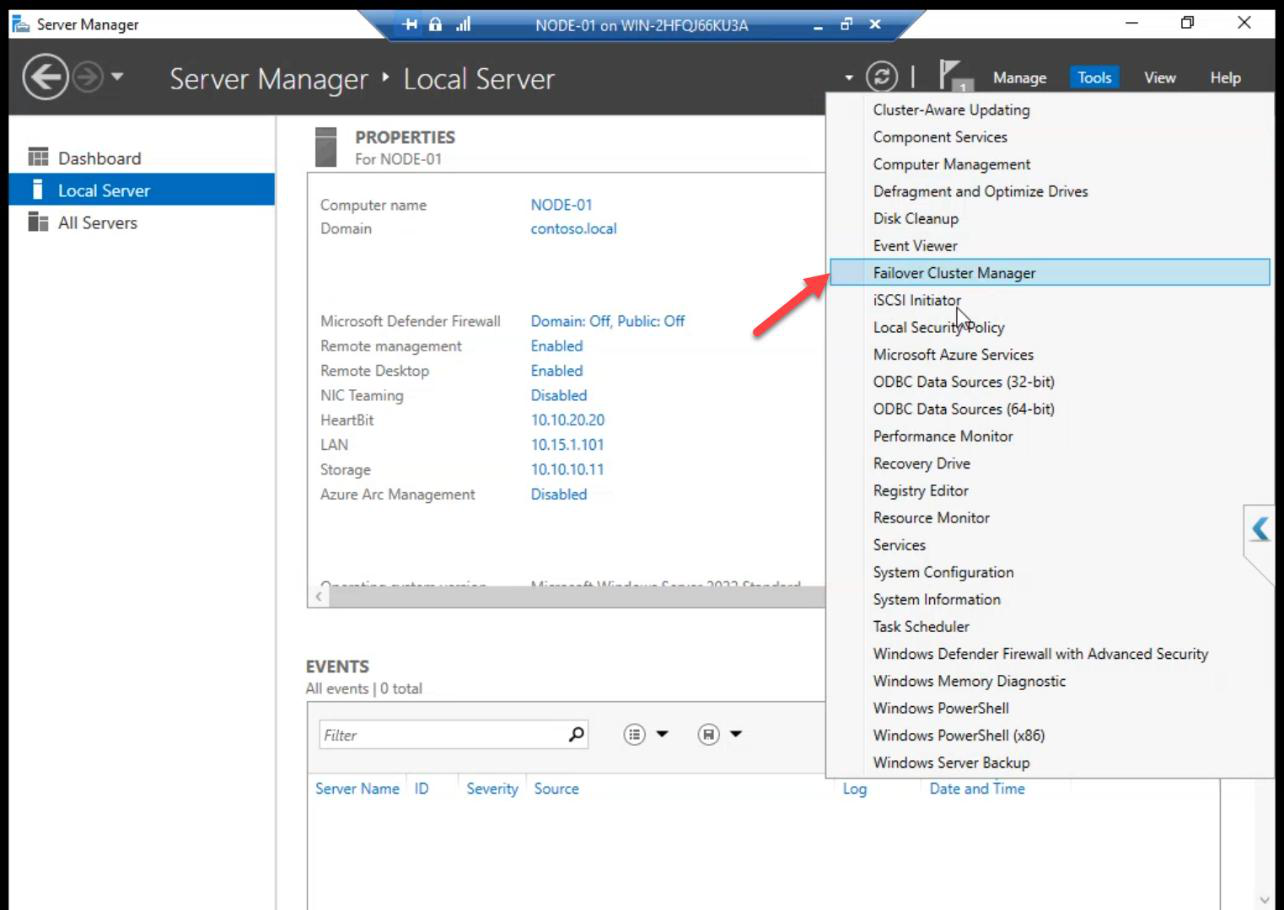
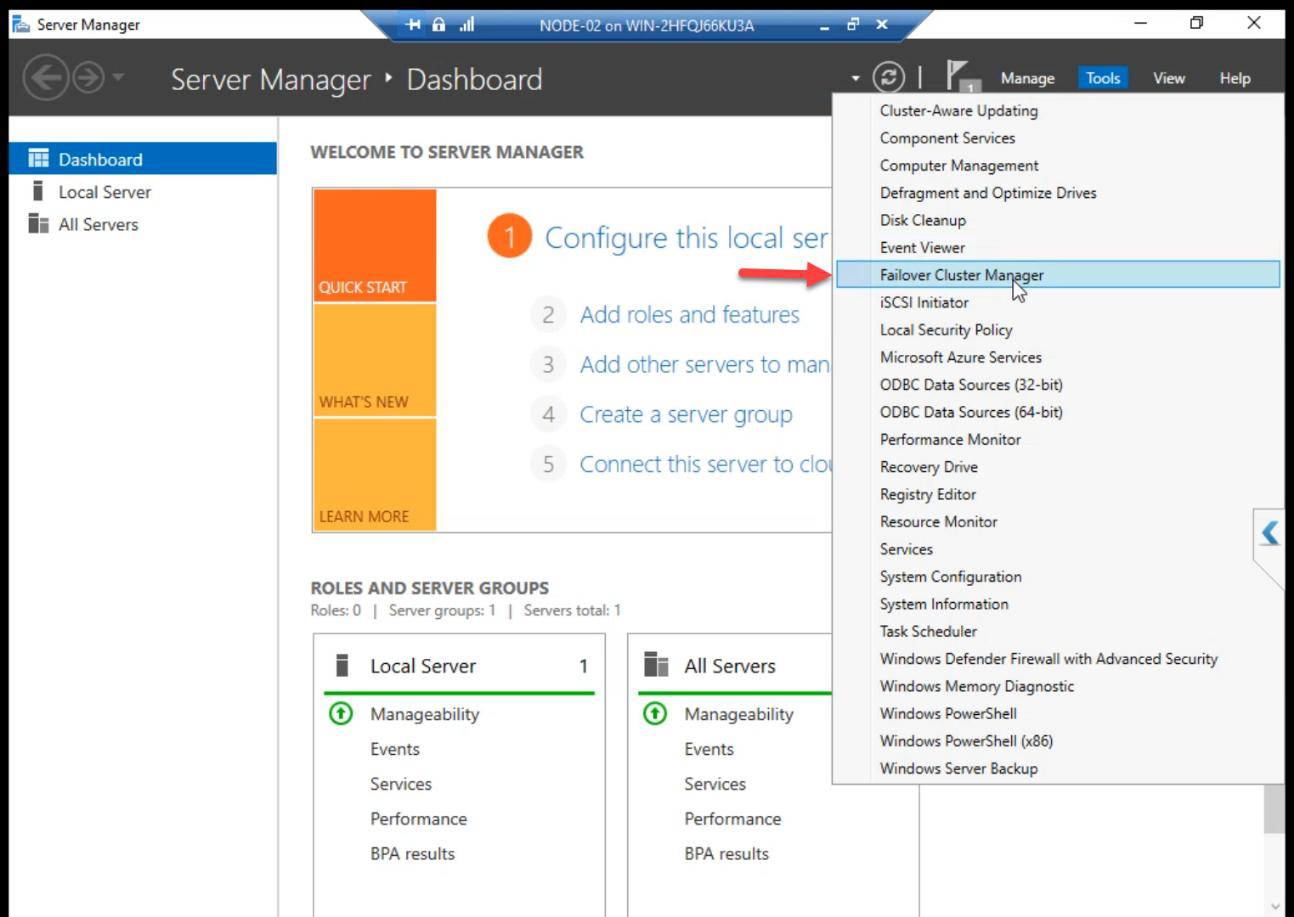
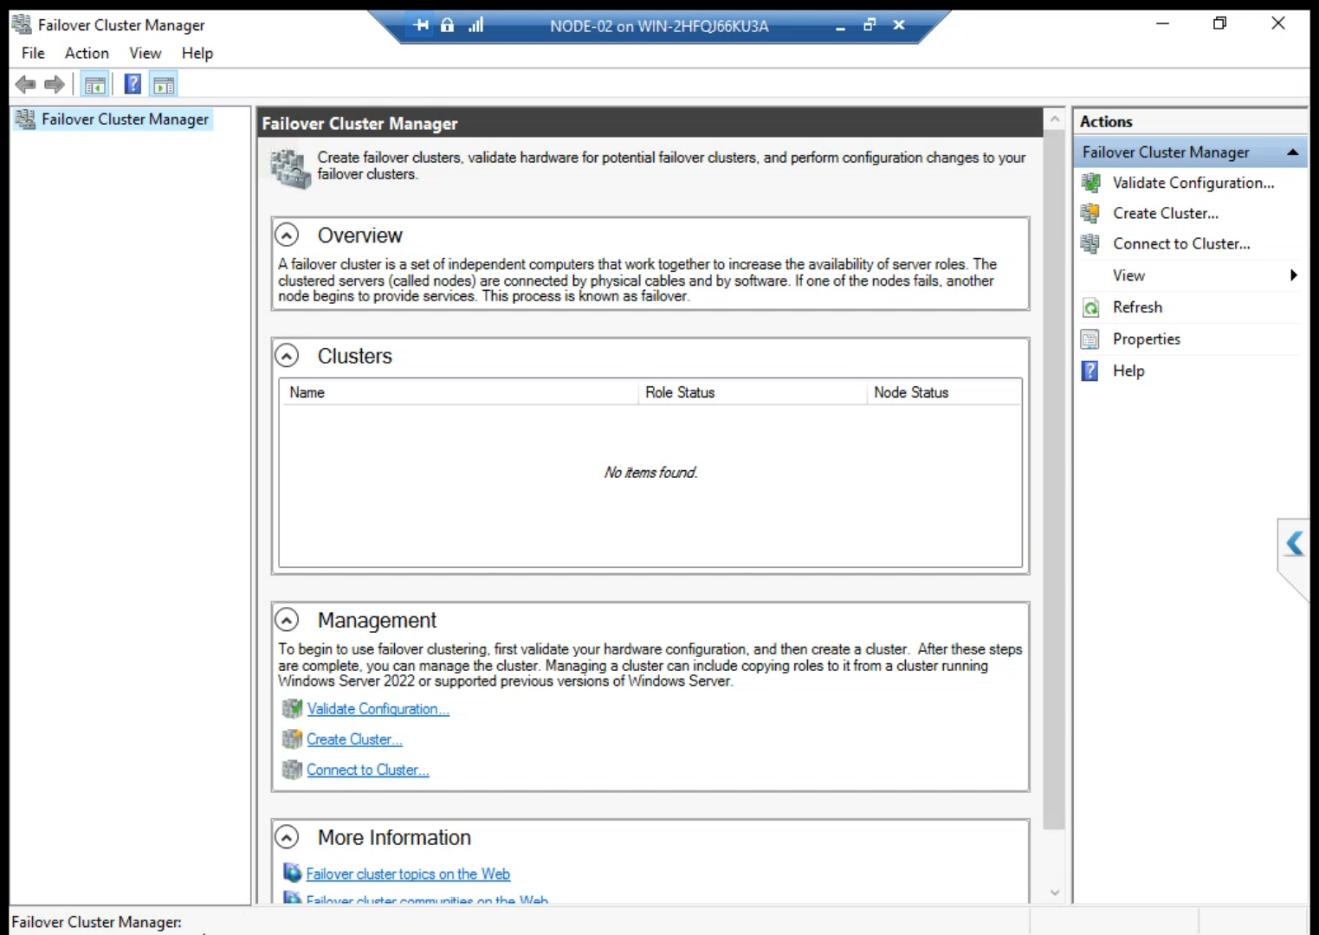
Server Manager Tools menu now lists Failover Cluster Manager. Open it to verify.
Step 2 — same on NODE-02
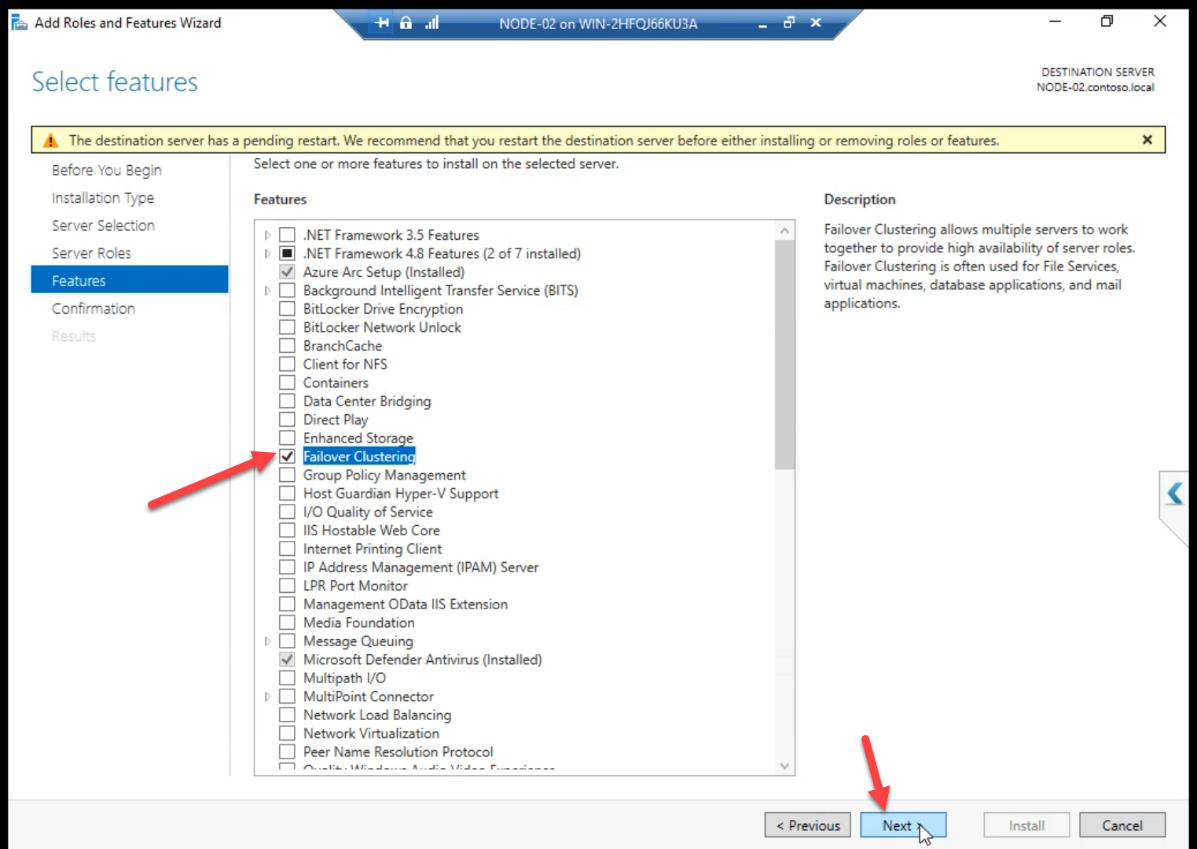
Identical workflow. Both nodes need the cluster bits before validation can run.
PowerShell shortcut: Install-WindowsFeature -Name Failover-Clustering -IncludeManagementTools on each node.
Step 3 — Validate Configuration

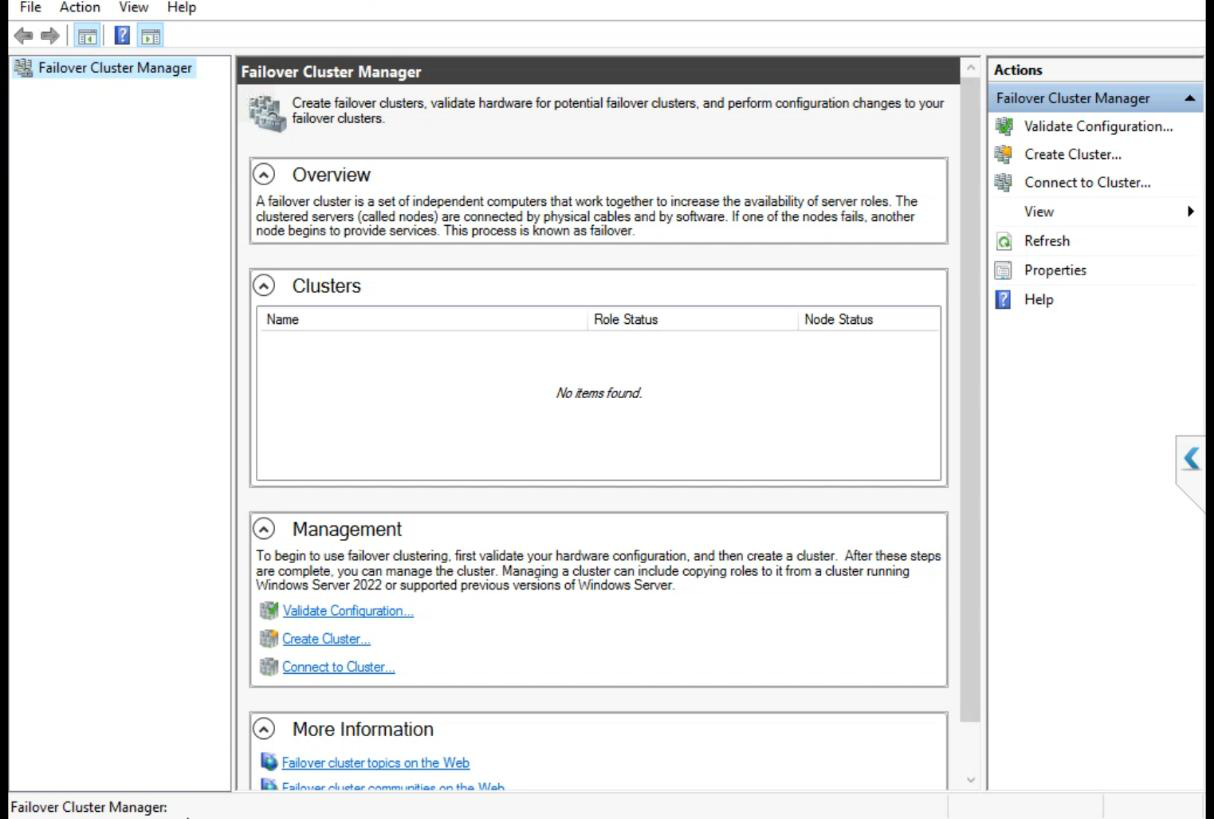
From any node: FCM > Action pane > Validate Configuration.
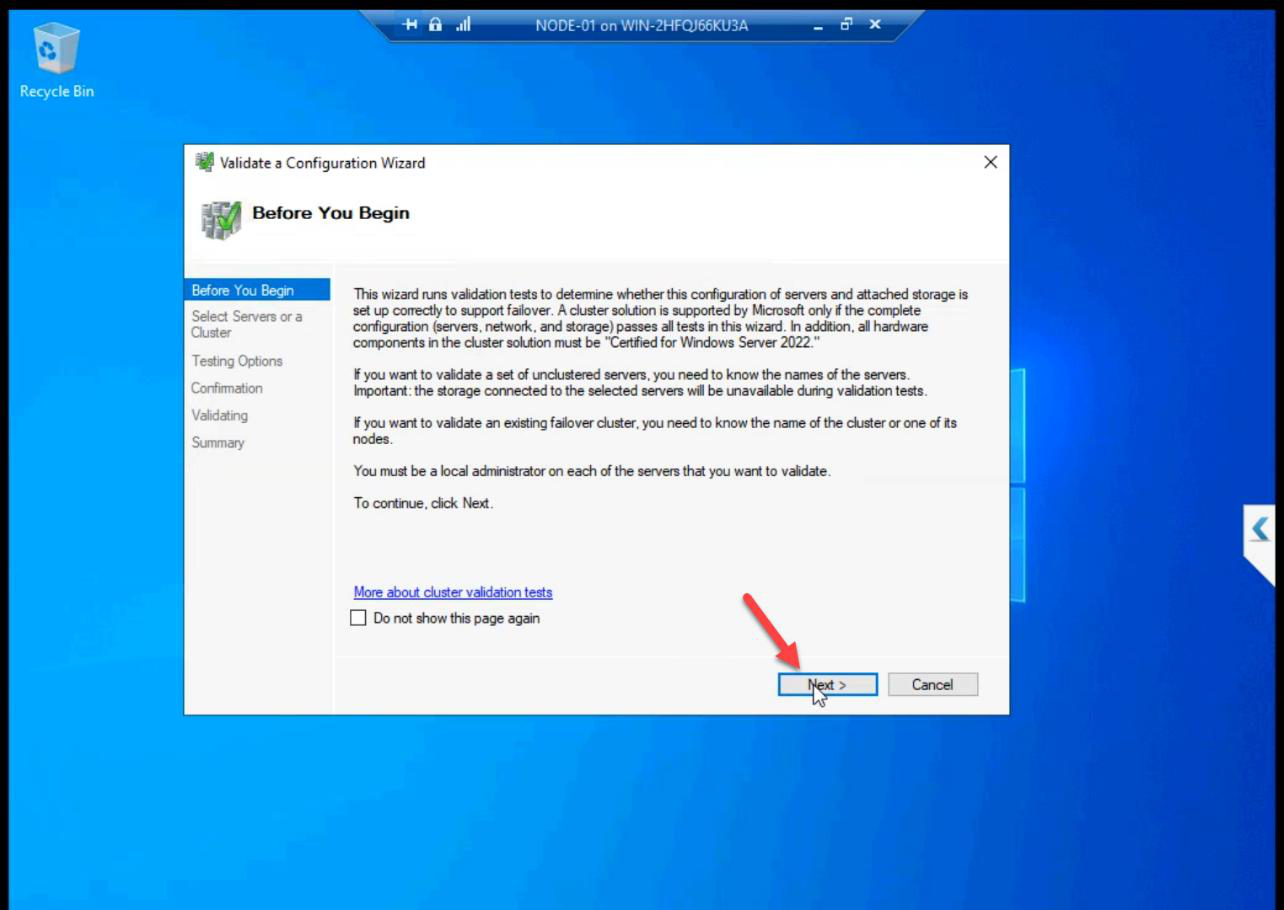
Wizard Before You Begin: Next.
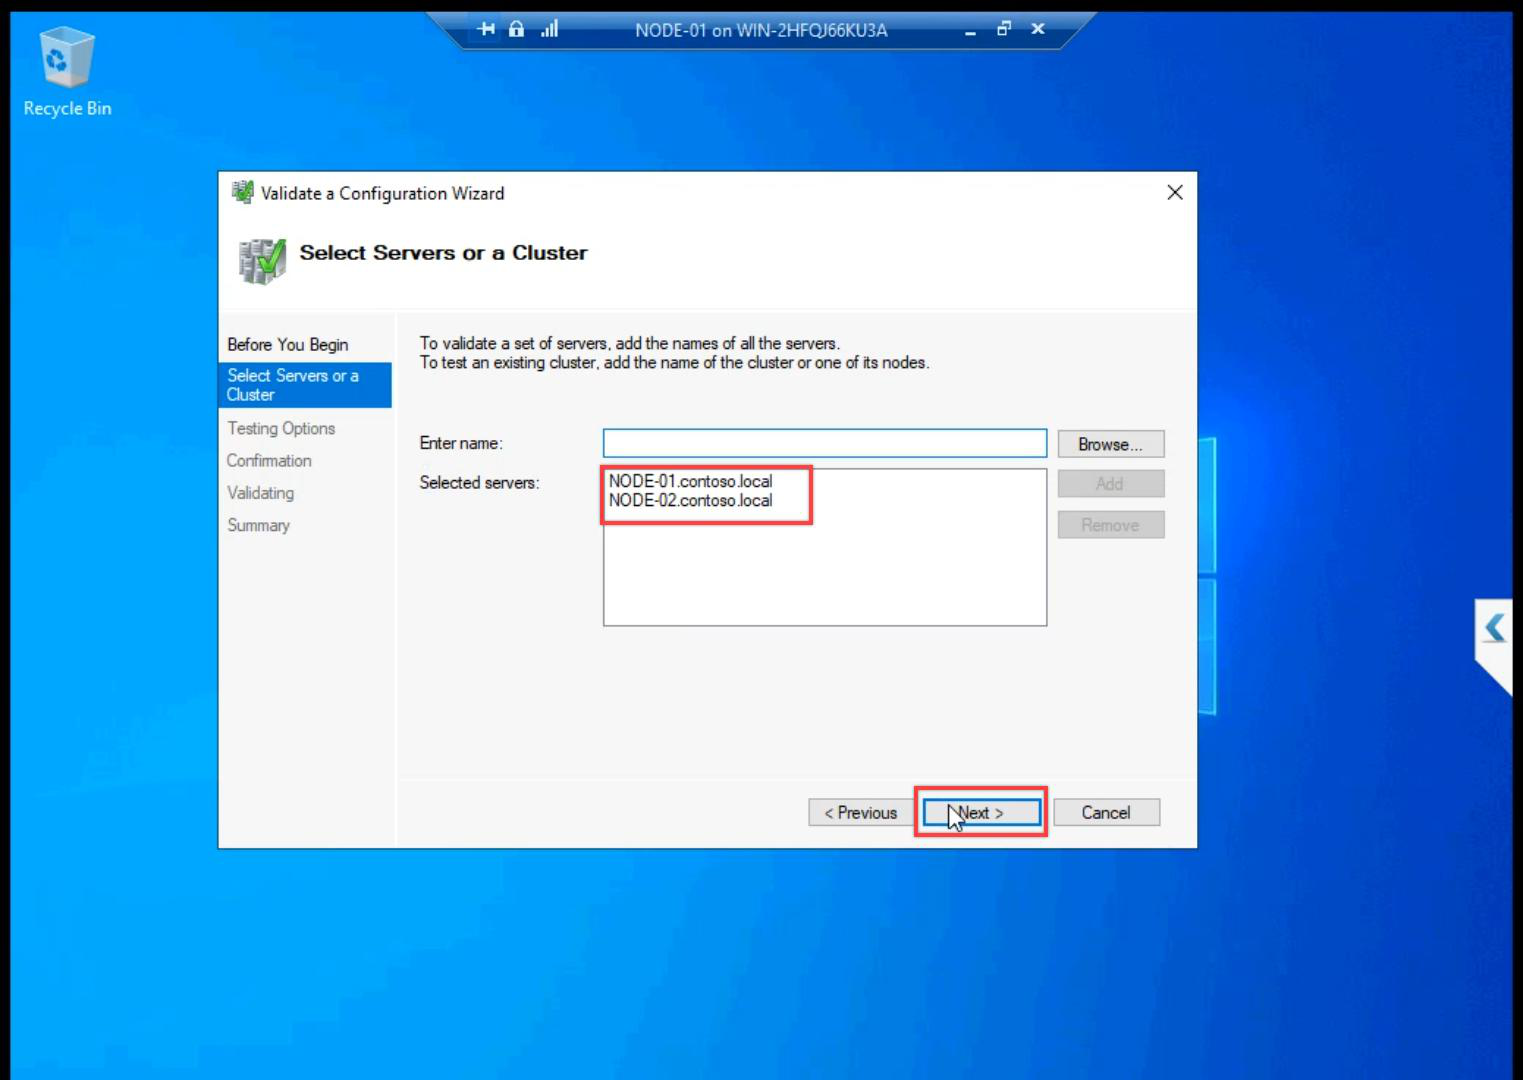
Add NODE-01 and NODE-02 by name. Browse picker validates AD resolution.
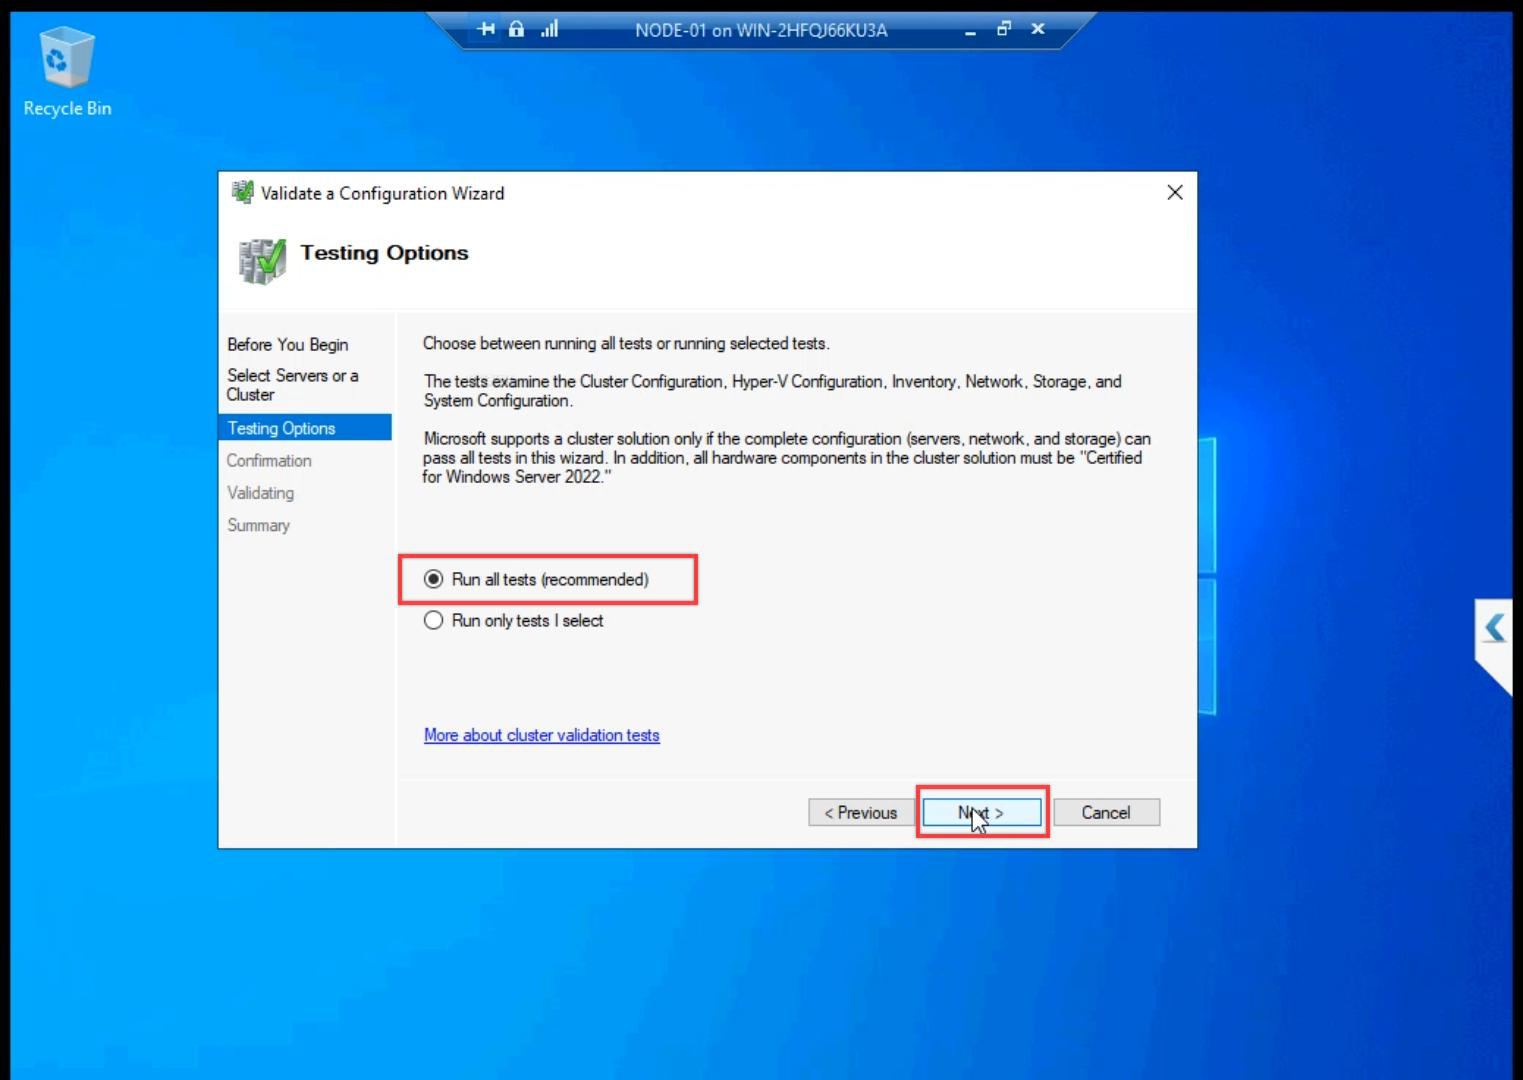
Run all tests (recommended). The shorter suites skip storage IO tests — which is exactly where most issues hide.
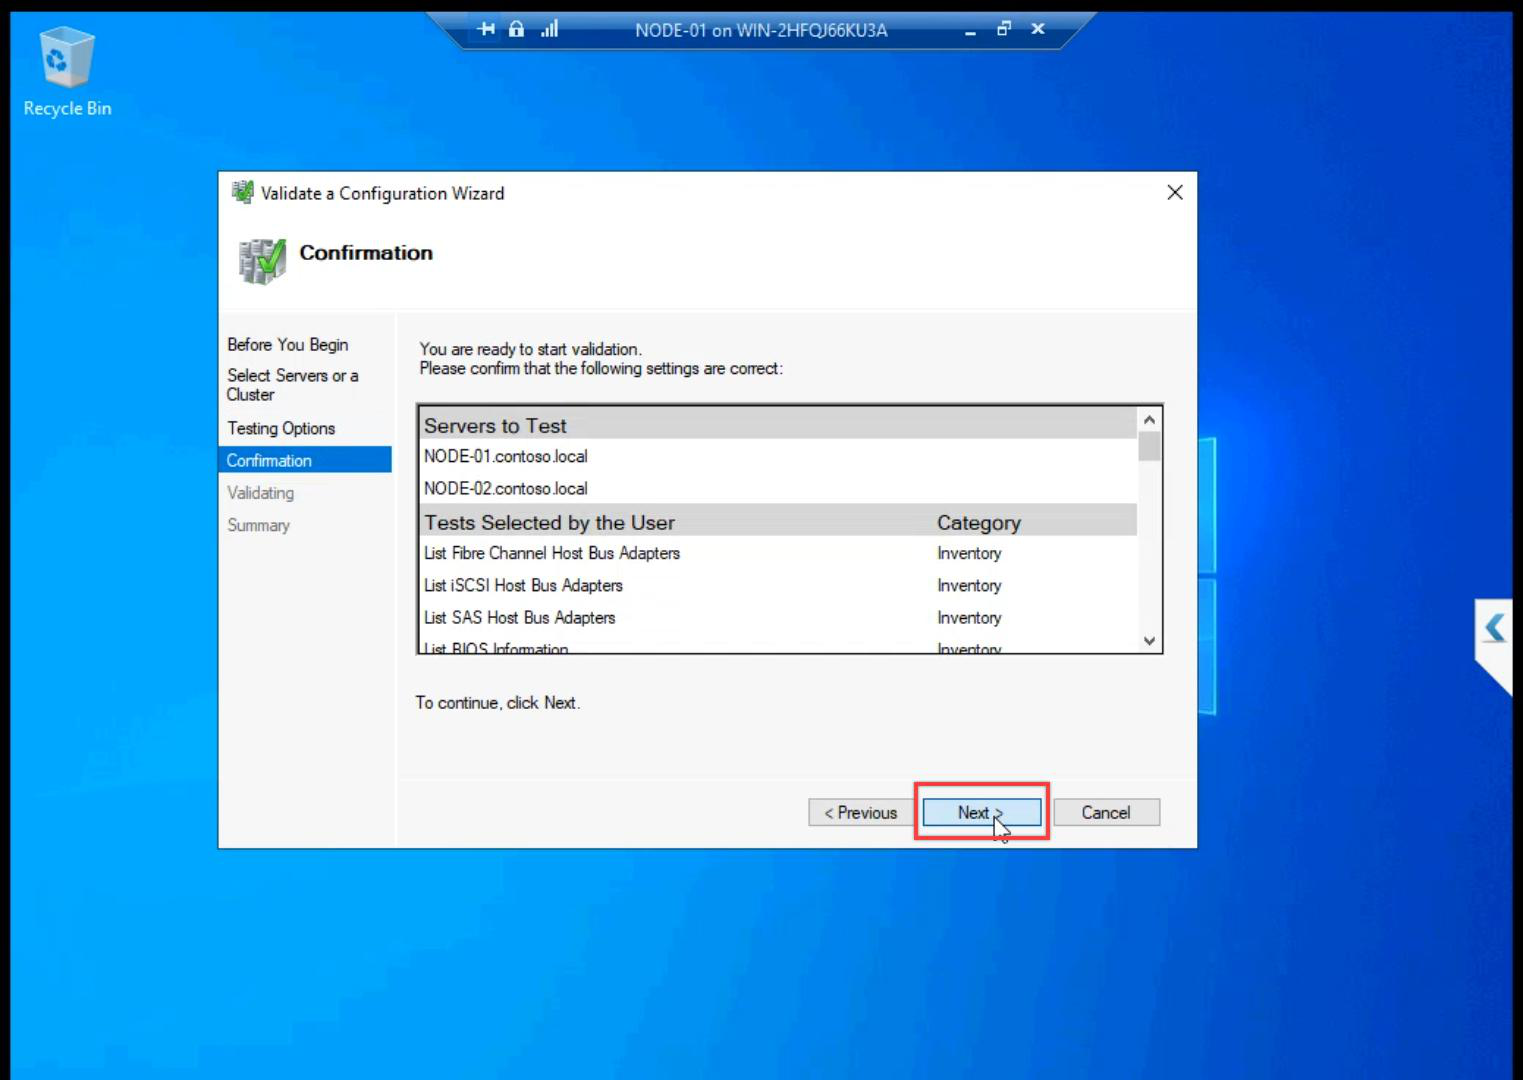
Confirmation.
Tests run 5-15 minutes. The wizard exercises real IO against the shared LUNs and ICMP across all subnets — this is why the storage and network setup in Parts 6-8 had to be clean.
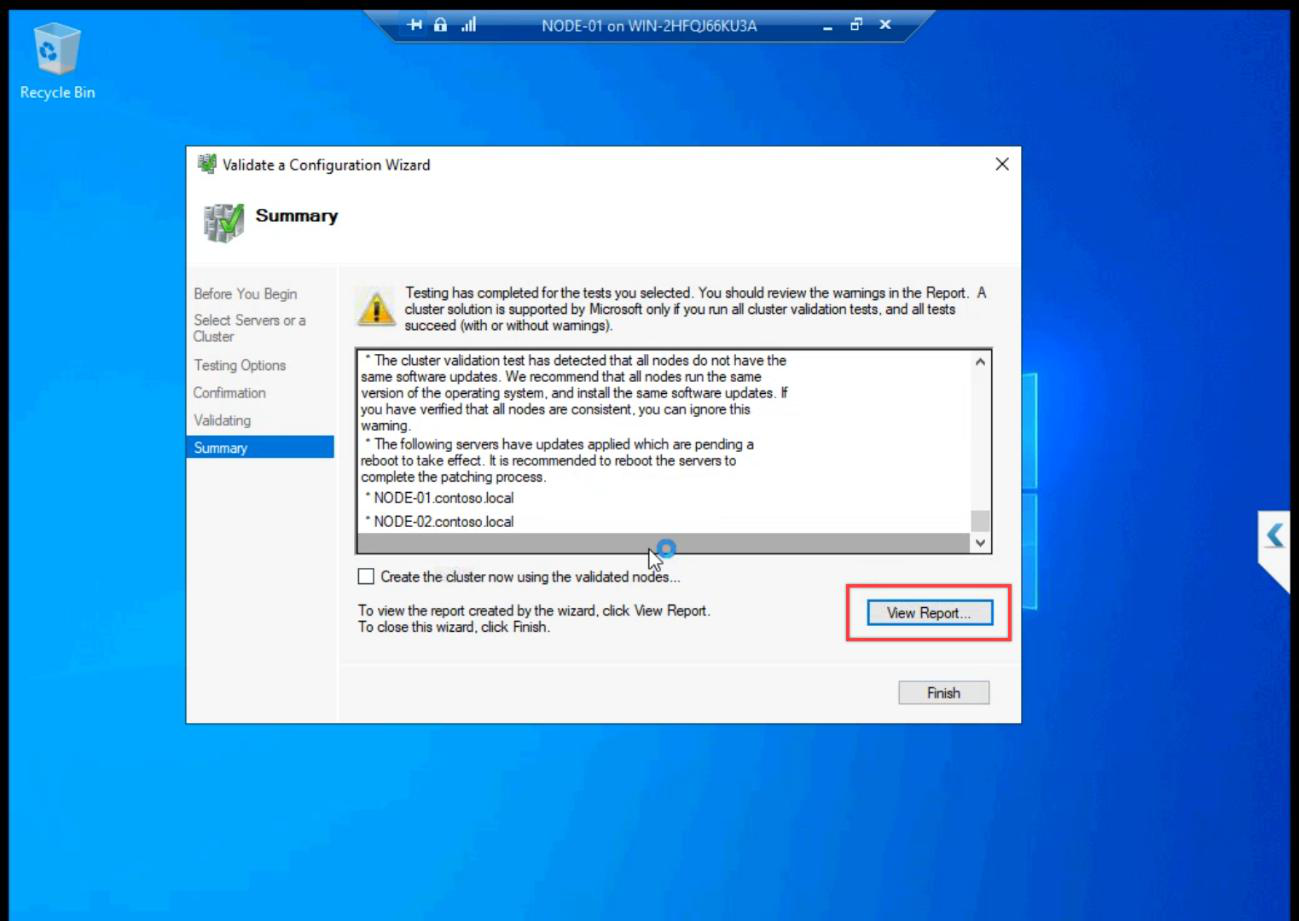
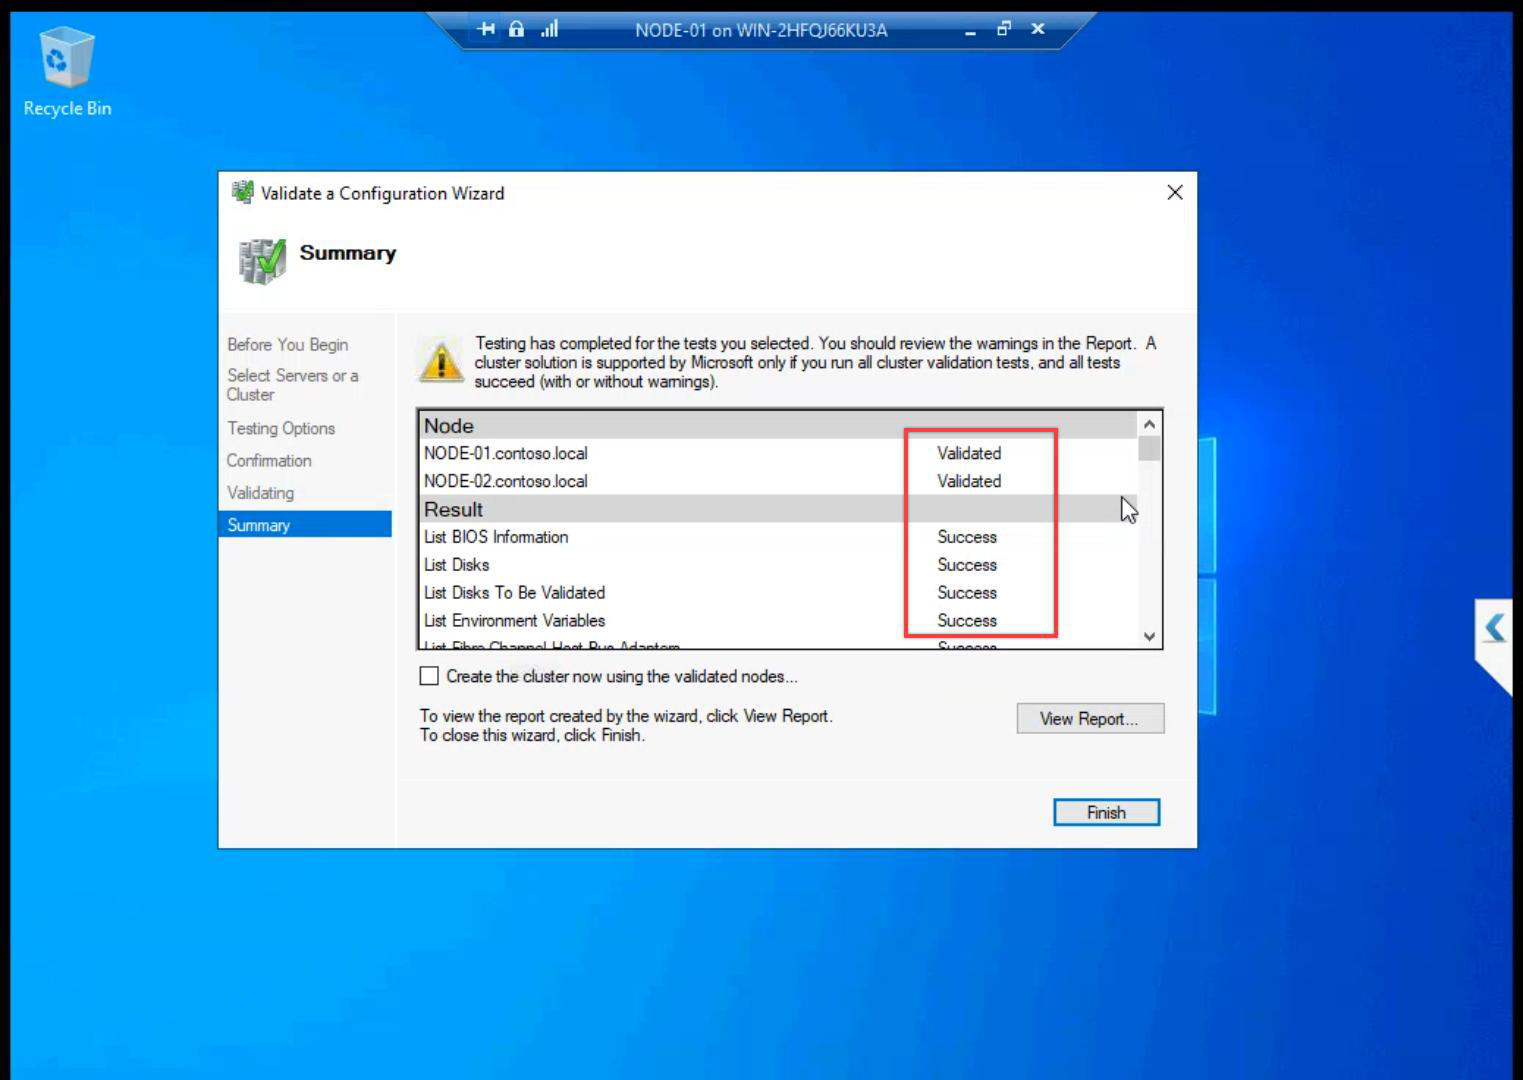
Summary. All green expected. Common warnings:
- Heartbeat redundancy — we have one heartbeat NIC in the lab; production should have two for failover.
- Persistent reservation on storage — usually a hint about SCSI-3 PR; iSCSI Target supports it.
Failures must be fixed. Common ones:
- ICMP blocked on Storage subnet — firewall on the new Private profile blocks ping. Fix in Step 4 of Part 4.
- Heartbeat NIC unreachable — verify pings from Part 6 still work.
- OS / patch level mismatch — both nodes must be at the same Windows build.
- iSCSI session not Connected — back to Part 8 to re-establish.
Step 4 — review the report
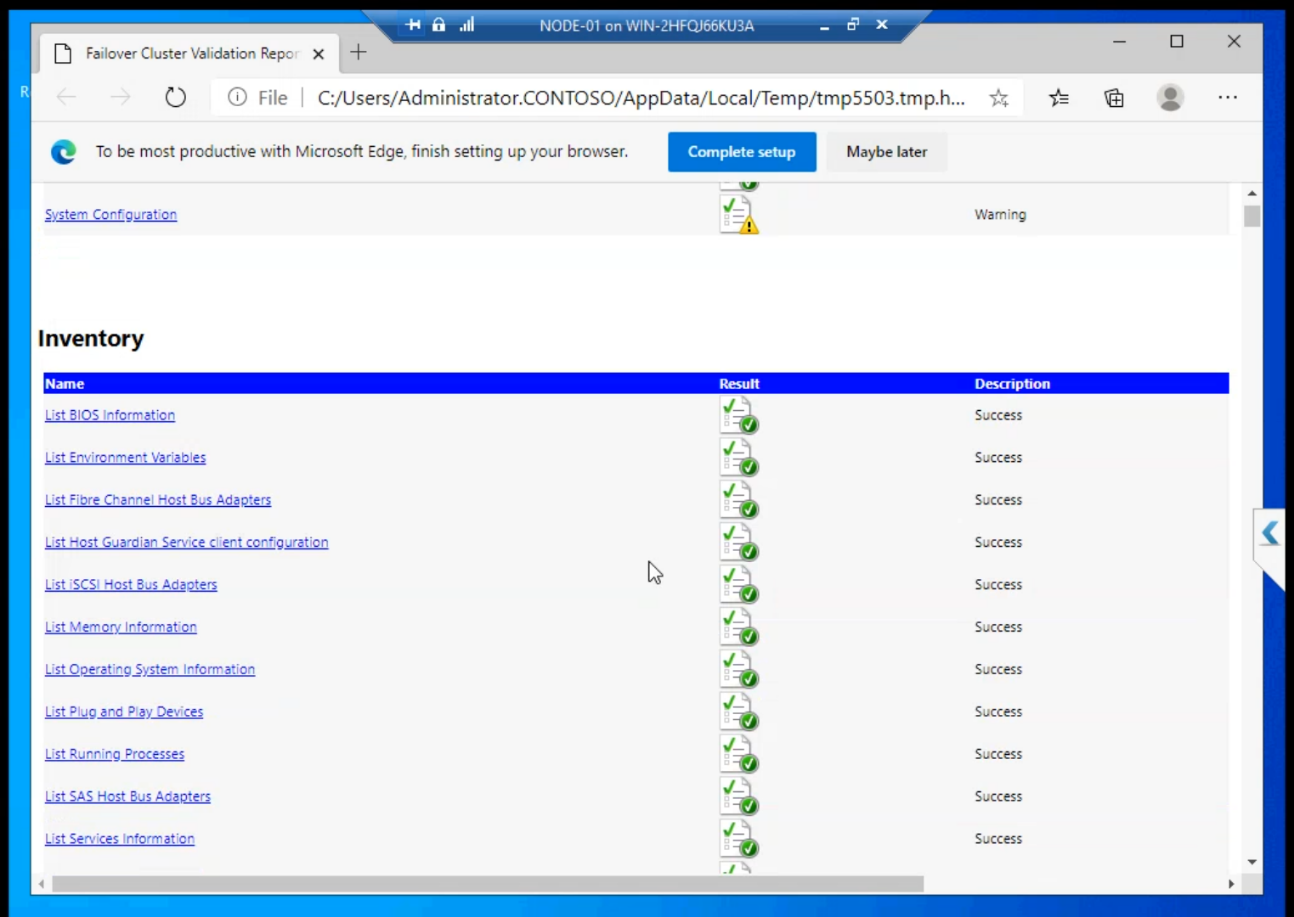
View Report opens HTML in your default browser. Click into each section for the verbose explanation of every test. Save the file — if you ever open a Microsoft support case, this is the first thing they ask for.

Finish. Validation phase complete.
Why “don’t skip validation” matters
Cluster validation is more than a wizard click. It runs ~30 tests covering Inventory, Network, Storage, and System Configuration. Without a passing report:
- Microsoft will not support the cluster in a paid case
- You don’t know if your storage actually shares correctly across both nodes
- Mismatched OS patches, missing CNO permissions, blocked ICMP — all caught here
- Production change-control usually demands a current validation report
Five minutes of validation can save hours of debugging a cluster that “sometimes” fails over wrong.
Things that bite people in this part
Validation passes once, never re-run
Validation goes stale fast. Add a node, install a new patch, swap a NIC — the report from yesterday isn’t valid anymore. Test-Cluster -Node N1, N2 -Include Network, Storage in PowerShell rerunch quickly. Production: run after every config change.
Reading the report wrong
Warnings are not failures. Don’t panic over heartbeat redundancy warnings in lab. Do panic if storage tests fail.
Storage tests time out on slow SAN
Validation runs real IO. If the iSCSI VM’s VHDX is on slow disk, storage tests can time out. Schedule validation runs during low-activity windows on the SAN.
Restart-required after install missed
Sometimes Failover Clustering install needs a reboot but doesn’t prompt. Get-WindowsFeature Failover-Clustering — if state is Pending Restart, reboot before validation.
What’s next
Validation passed. Part 10 creates the actual cluster object — gives it a name, an IP, and the CNO in AD. See the full series at Hyper-V Failover Clustering pathway.