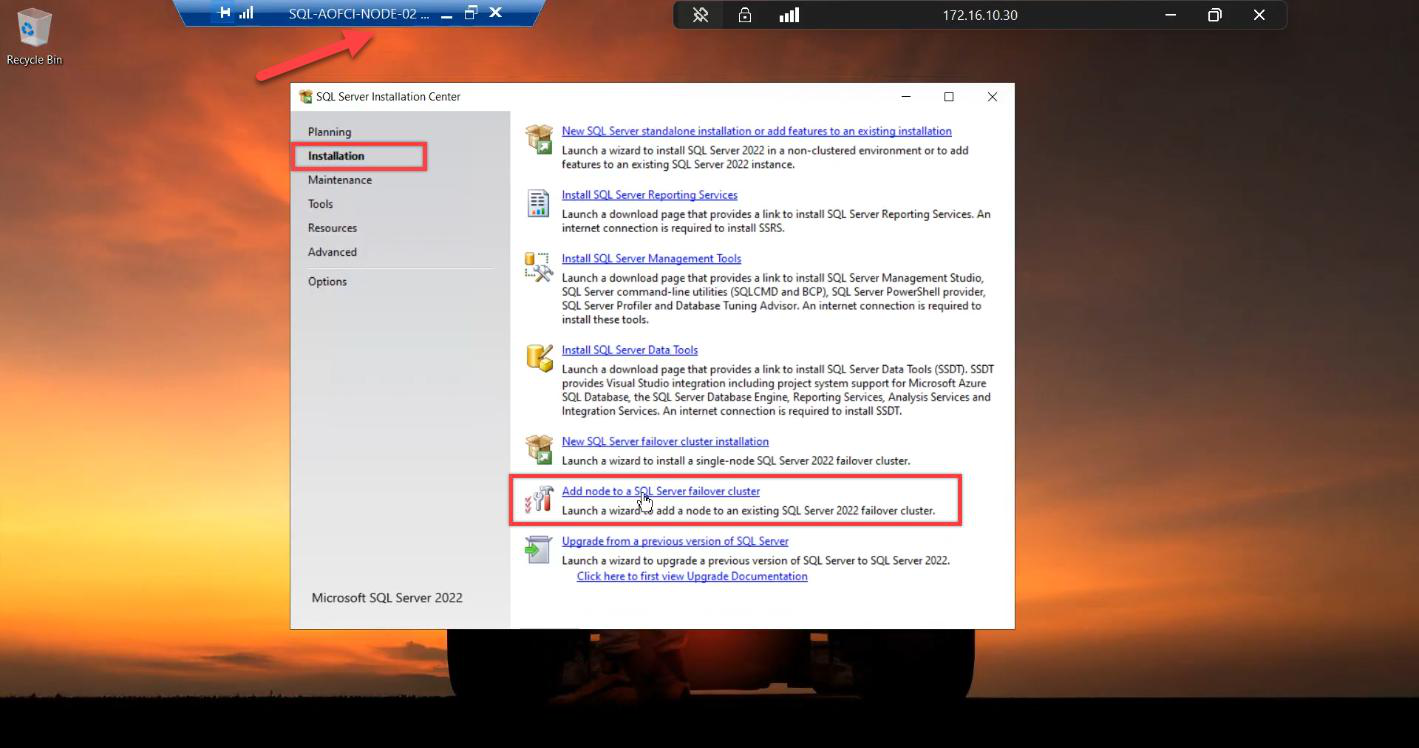
SQL Server is installed on Node-01 only — that’s technically a single point of failure dressed up as a cluster. This part fixes that. We run the same setup.exe on Node-02 but pick a different option: Add node to a SQL Server failover cluster. The wizard inherits everything from AOFCI — cluster name, VIP, service account, disks — and registers Node-02 as a Possible Owner. From this moment on, failover is genuinely possible.
The wizard is shorter this time
Most of the FCI install on Node-01 was about CREATING the virtual SQL identity (network name, VIP, cluster resource group). All of that is done. Adding Node-02 is just “copy the binaries here, register me as an owner, grant the service account local rights.” Maybe 8 wizard screens vs 20 on Node-01.
Step 1 — launch Add Node
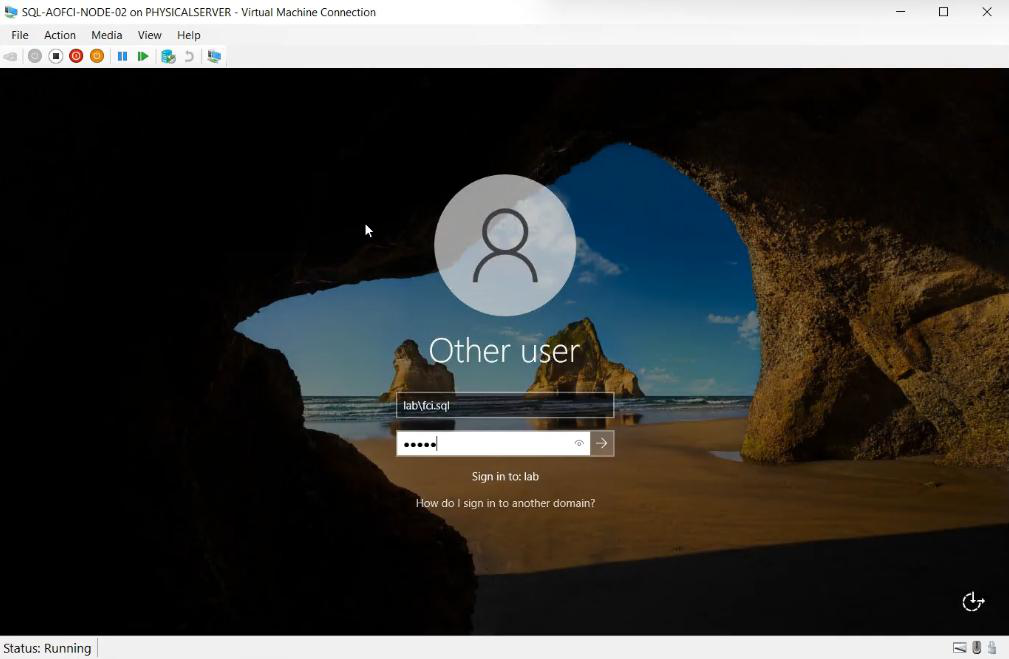
Sign in to Node-02 (Domain Admin or Service Account). Mount the SAME SQL Server 2022 ISO. Run setup.exe as Admin.
Installation tab > Add node to a SQL Server failover cluster. Not “New stand-alone.” Not “New failover cluster install.” The third option.
Step 2 — basics
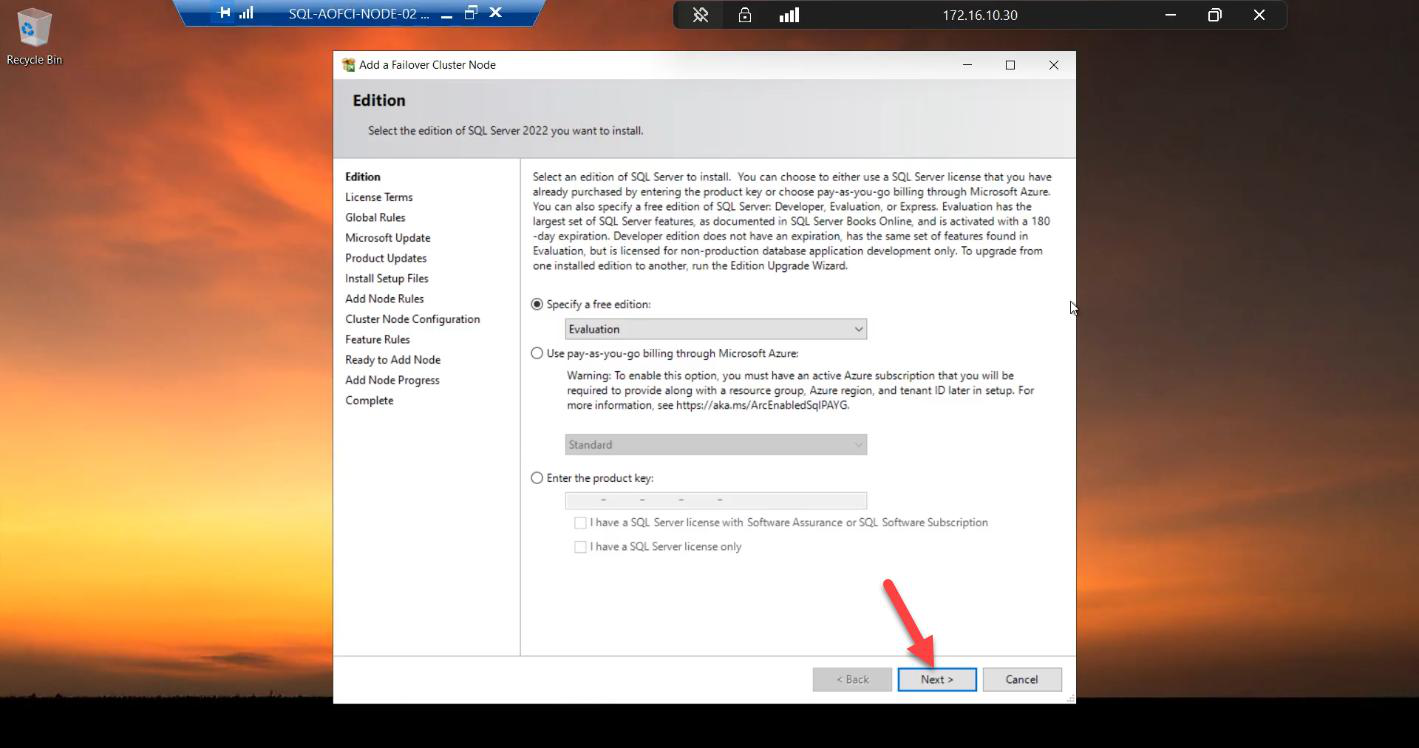
Edition: must match Node-01 exactly. Enterprise on N1, Enterprise on N2. Standard on N1, Standard on N2. Mismatched editions = installer rejects.
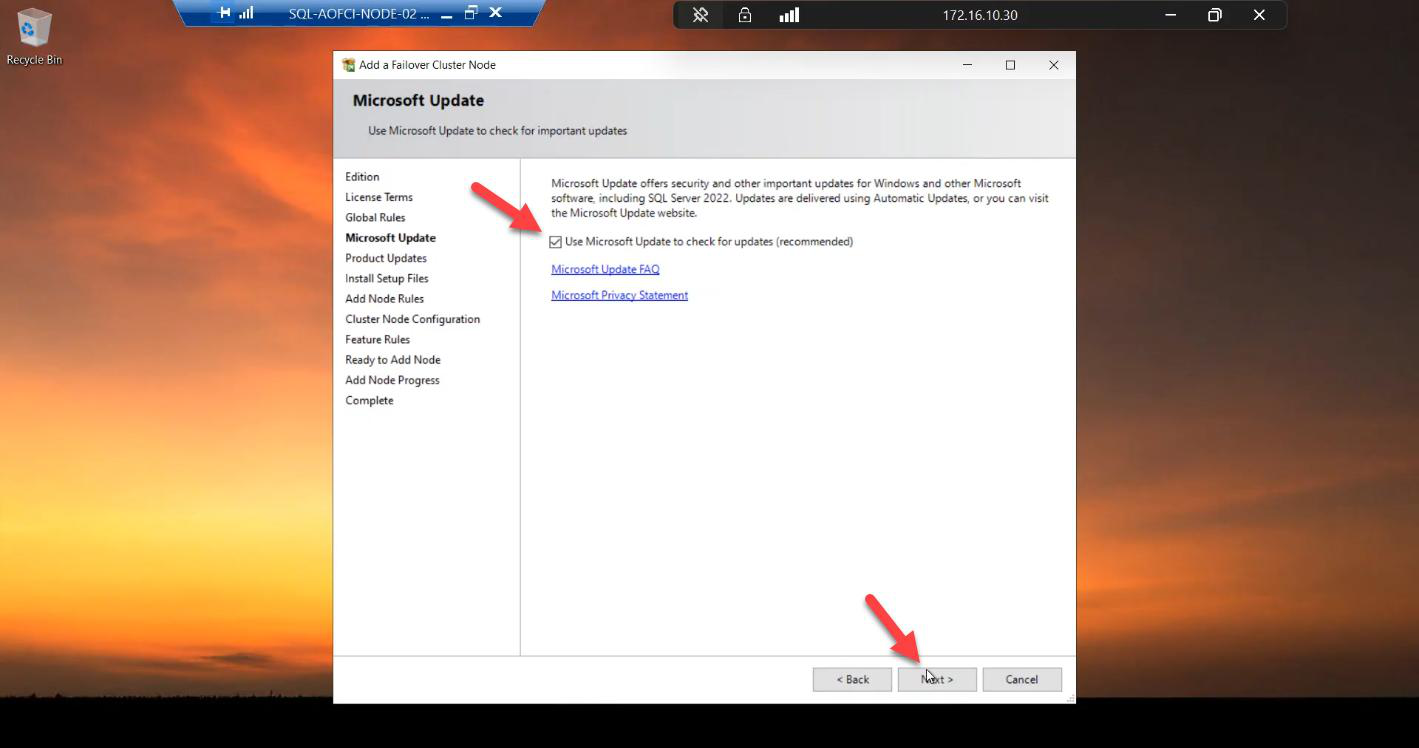
Microsoft Update: tick.
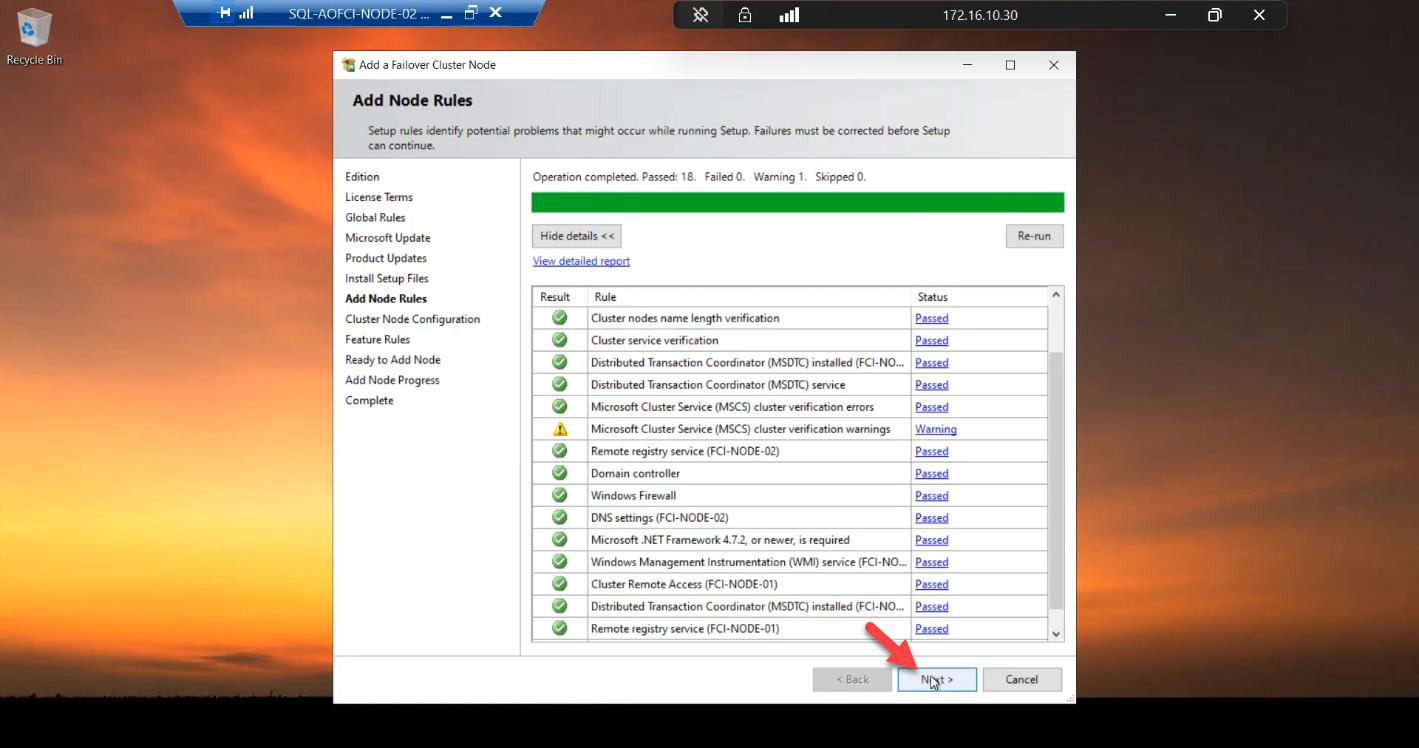
Add Node Rules. All green expected. If your Node-01 has had CUs installed (e.g., CU13) but the installer ISO is RTM, this step warns about build mismatch — install the same CU on Node-02 either before adding (preferable) or immediately after.
Step 3 — cluster node configuration (auto-detected)
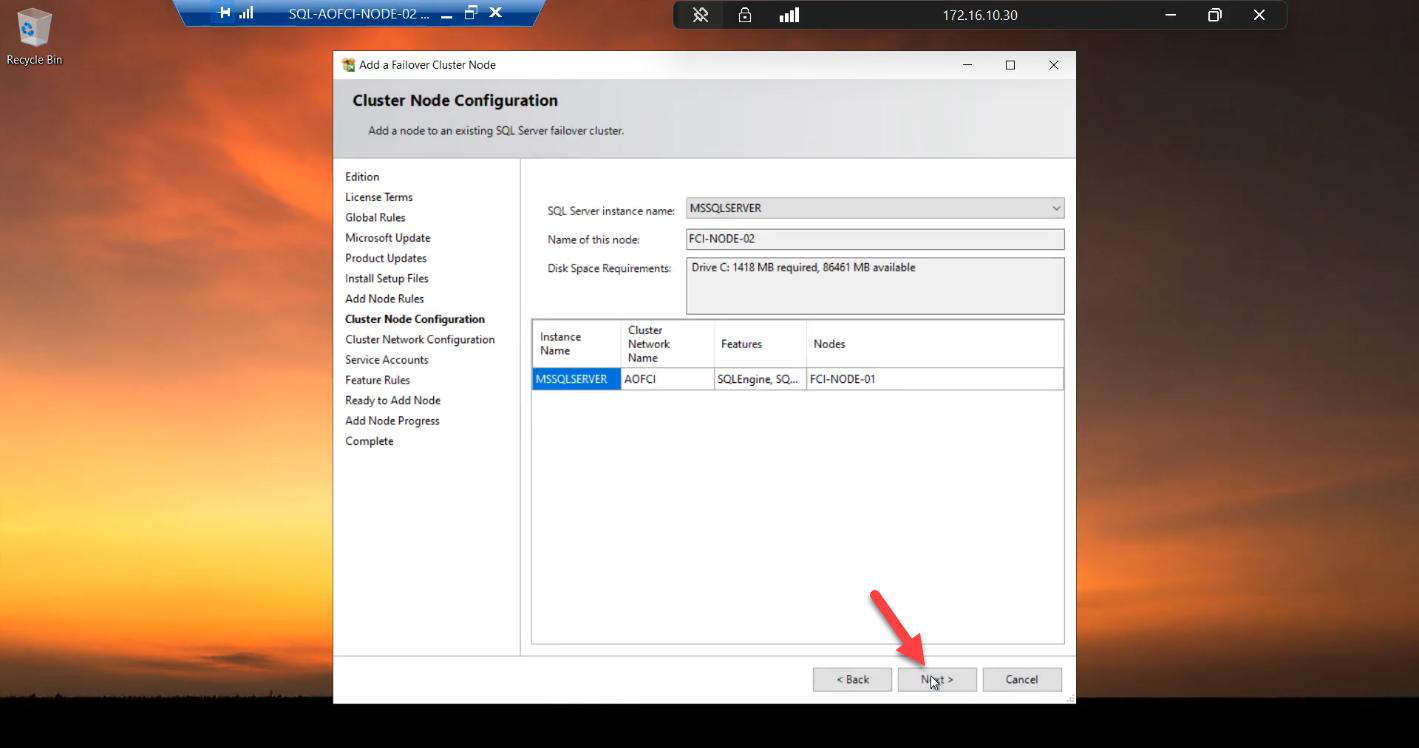
The wizard auto-detects from the existing cluster:
- Cluster Network Name: AOFCI
- Node Name: Node-02
Nothing to change. Verify and Next.
Step 4 — network configuration
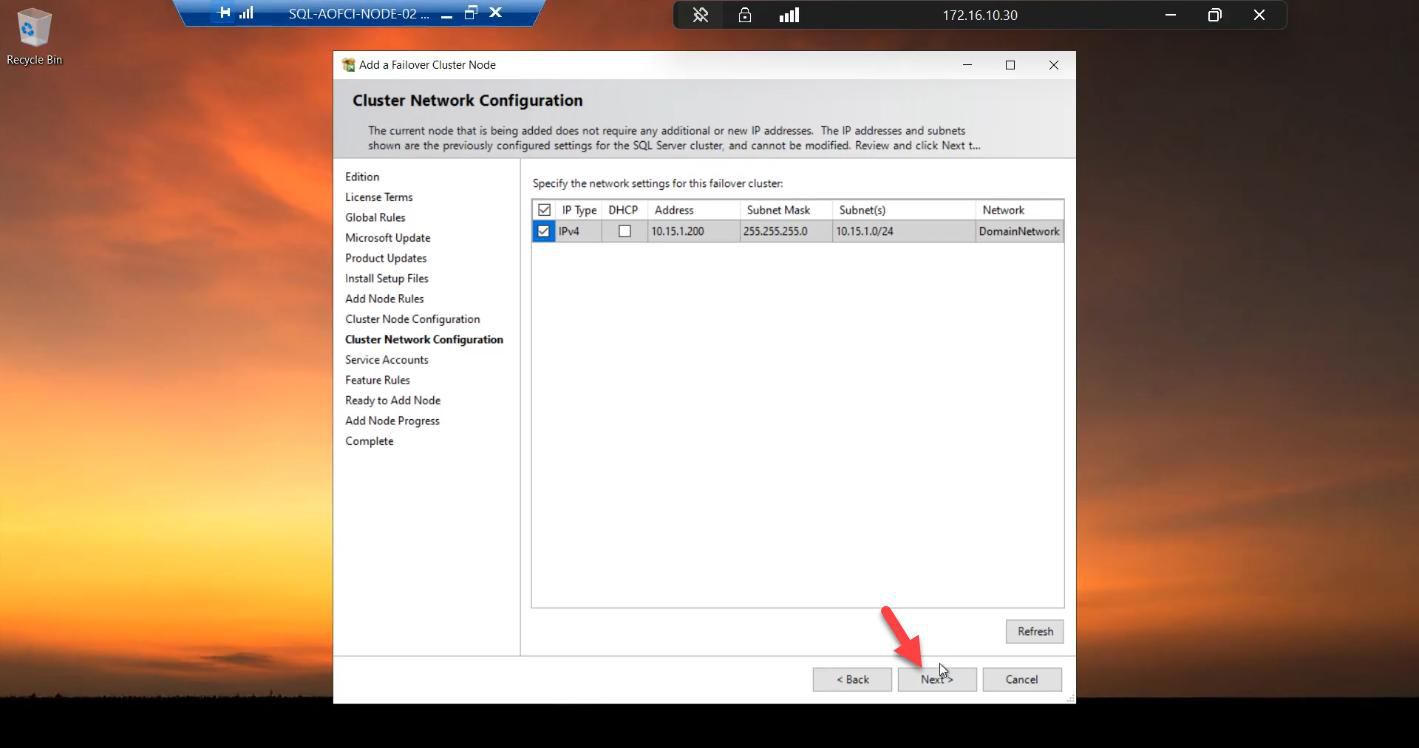
10.15.1.200 is already reserved from the Node-01 install. No changes needed.VIP 10.15.1.200 is already reserved by the cluster from Part 6. Nothing to change.
Step 5 — service account password (the only thing you re-enter)
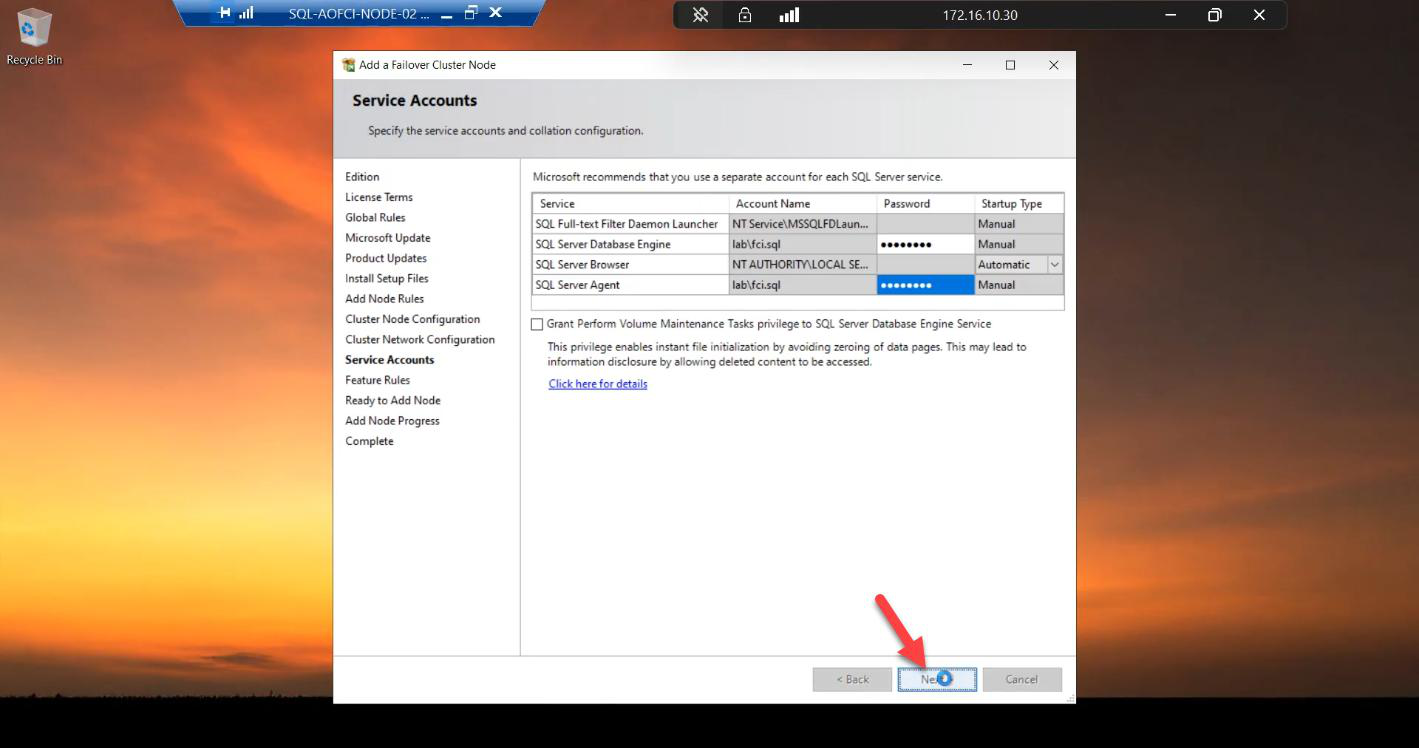
svc_sql@infotechninja.local. Why? Windows needs to grant Logon as a Service on this specific node so the SQL service can start when the cluster moves it here. The password is just for that local rights setup; the AD account is the same.Re-enter the password for svc_sql@infotechninja.local.
Why? Windows needs to grant Logon as a Service rights to the service account on THIS specific node (Node-02). The user account itself is the same one Node-01 uses; the password is just used here to set up local rights, not to change anything in AD.
Step 6 — install
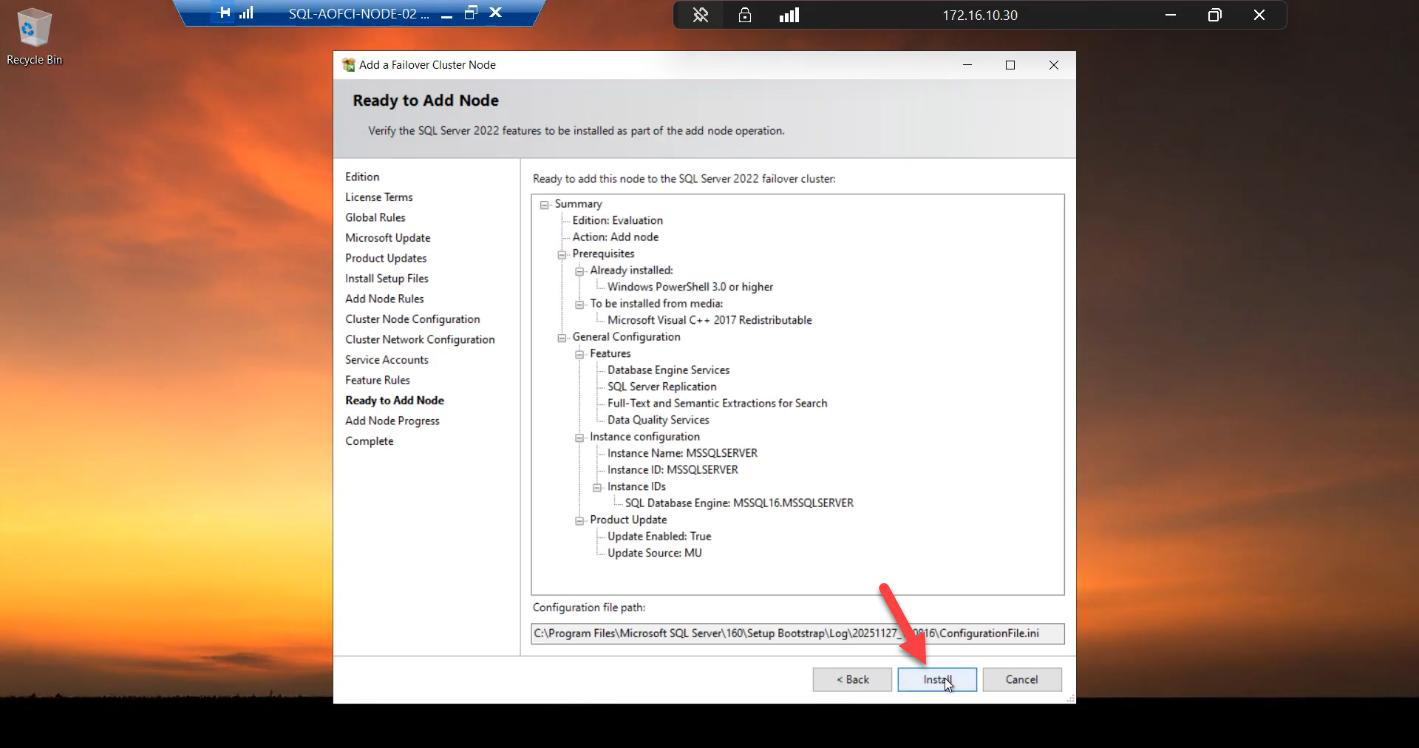
Ready to Add Node summary. Review.
Install runs. ~5-10 min. Faster than the Node-01 initial install because there’s no resource group / network name / IP setup to do.

Done. Node-02 is now in the SQL FCI Possible Owners list.
Step 7 — install SSMS on Node-02 too
Not strictly required for the cluster to function, but a lifesaver during outages.
Imagine Node-01 is down hard — the entire VM is gone. SQL has failed over to Node-02 and is happily serving clients. But you need to inspect logs, check job status, run queries. You’re going to RDP to Node-02 (because Node-01 is dead) and you’ll want SSMS there. Install it now while the lab is calm, not at 03:00 when you’re troubleshooting.
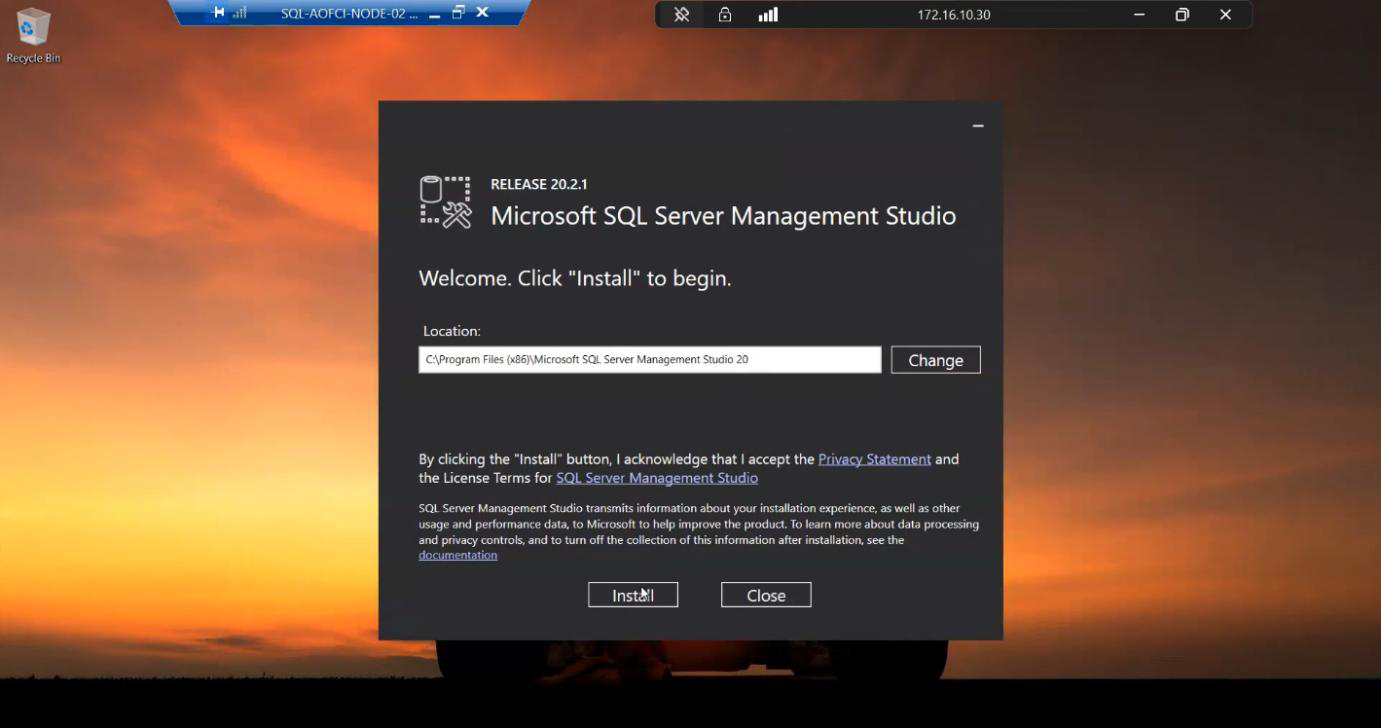
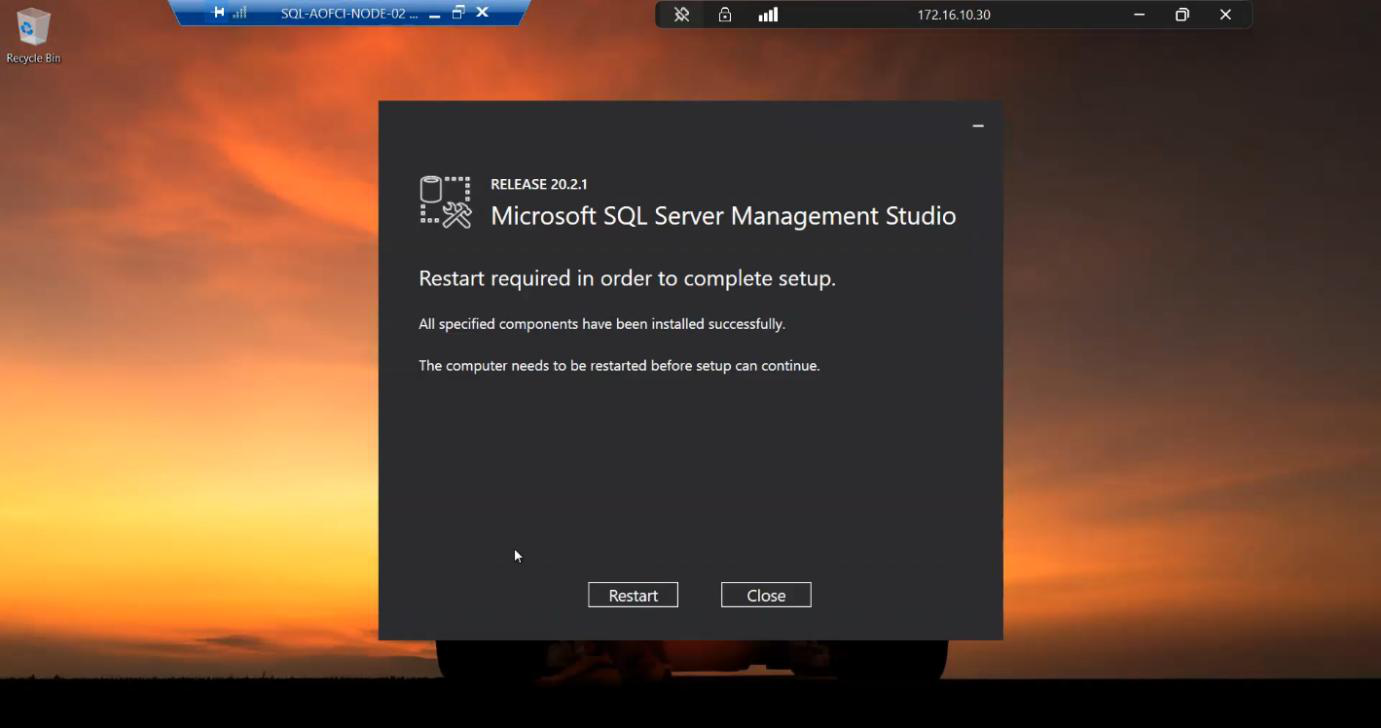
Install. Reboot.
Step 8 — verify the cluster is now redundant
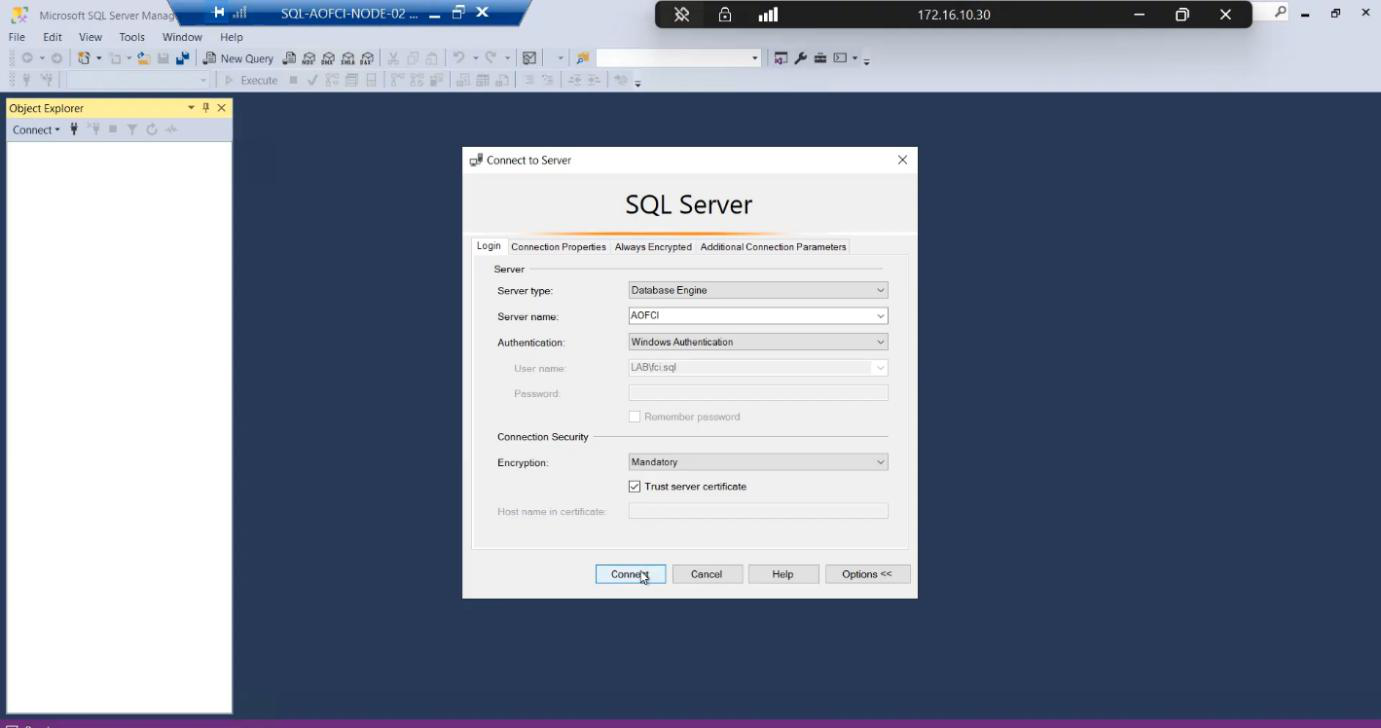
AOFCI with Windows auth.Open SSMS from any node or client. Connect to AOFCI.
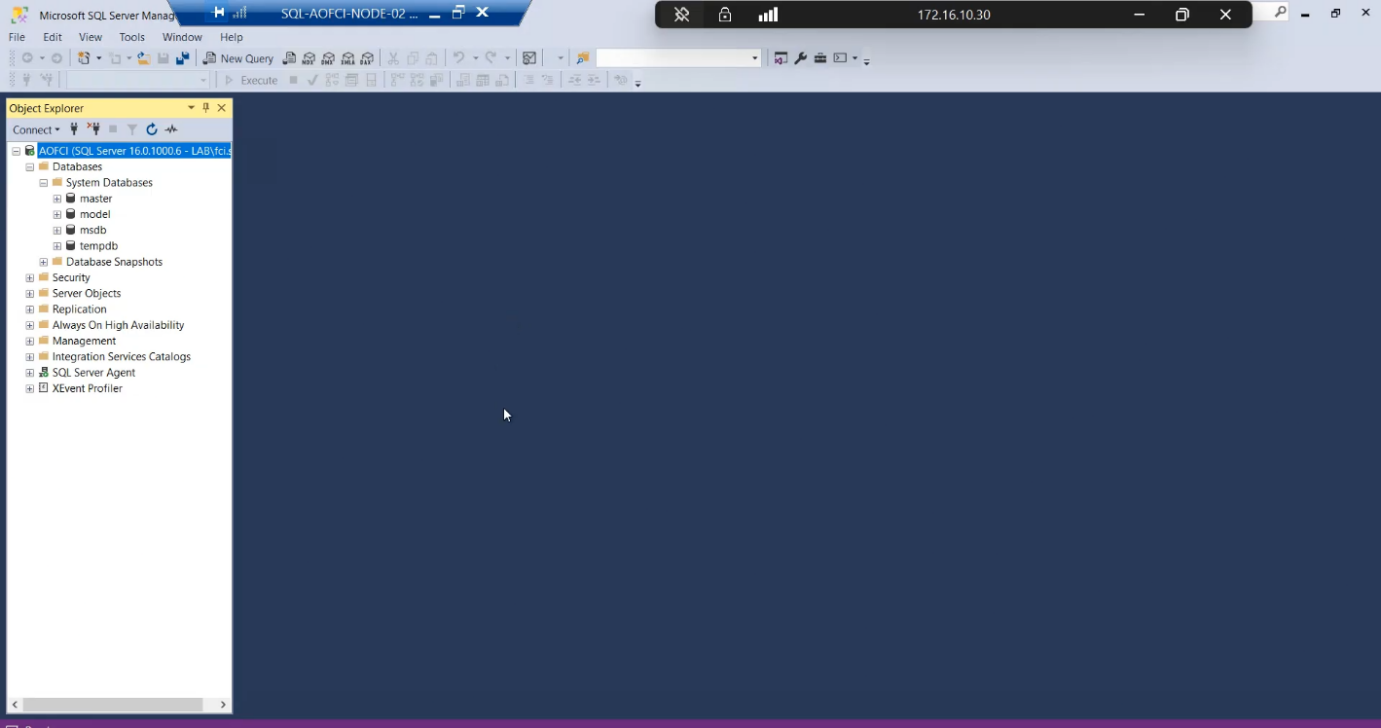
Connected. Server name shows AOFCI.
Now check FCM: Roles > SQL Server (MSSQLSERVER). Owner: Node-01. Possible Owners tab: both Node-01 and Node-02 listed. The cluster will now actually failover — that wasn’t true before this step.
Things that bite people in this part
Edition mismatch
The most common failure. Make sure both nodes are licensed and installed at the same edition. Standard supports max 2 nodes — if you’re planning Node-03 (Part 9), you may need Enterprise.
Build mismatch
If Node-01 has CU13 applied but you’re running the RTM installer on Node-02, the Add Node rules warn. Easiest fix: apply CUs to Node-02 immediately after Add Node so the build levels match within minutes. Mixed-build clusters technically run but support gets messy.
Service account password forgotten
If nobody documented the svc_sql password from Part 1 and it’s not in a vault, you’re going to reset it in AD — which means updating the SQL service in Configuration Manager on Node-01 too. Document service account passwords. Always.
Possible Owners list editable later
FCM > Roles > SQL Server (MSSQLSERVER) > right-click > Properties > Advanced Policies > Preferred Owners. You can specify which node should own SQL by default (e.g., always prefer Node-01). Useful in mixed-spec clusters where one node has more RAM/CPU.
Validation matters again
After adding any node, re-run cluster validation: Test-Cluster in PowerShell. The new node passing validation gets your config officially “supported” status with the new member included.
What’s next
The cluster is now genuinely highly available. Two nodes, shared storage, AOFCI virtual identity. But does failover actually WORK? Part 8 is the moment of truth: simulate a node failure, watch SQL move to Node-02, confirm clients reconnect transparently. See the full series at SQL Server Clustering pathway.