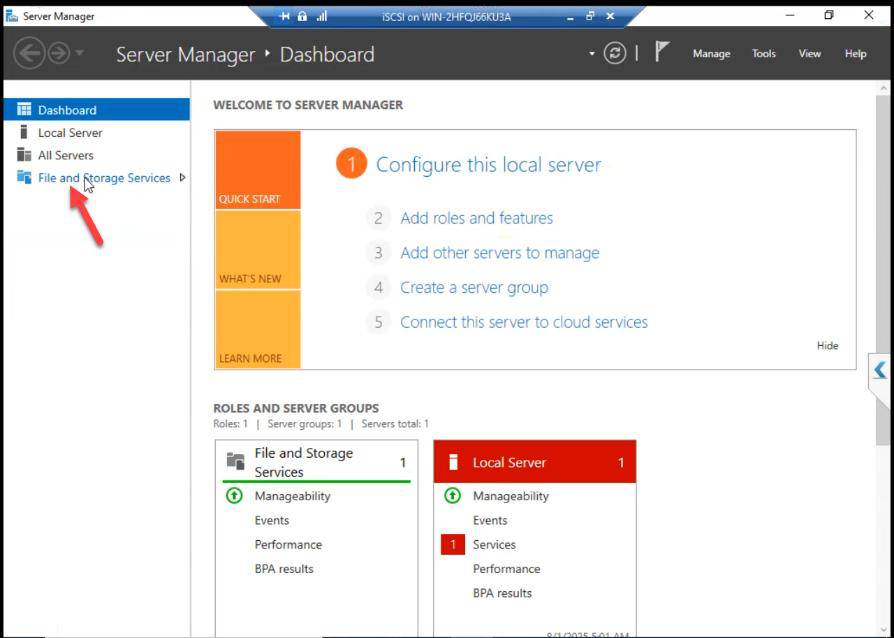
The iSCSI VM has its OS disk (40 GB) but nothing to share yet. This part adds a 500 GB Fixed VHDX as the storage pool, attaches it to the VM, brings it online in the OS, formats as NTFS, and mounts as D:. In Part 7 we’ll carve this disk into iSCSI LUNs (Quorum, Data, etc.) for the cluster.
Hyper-V side — create + attach the VHDX

iSCSI VM > Settings.Hyper-V Manager > right-click iSCSI VM > Settings.
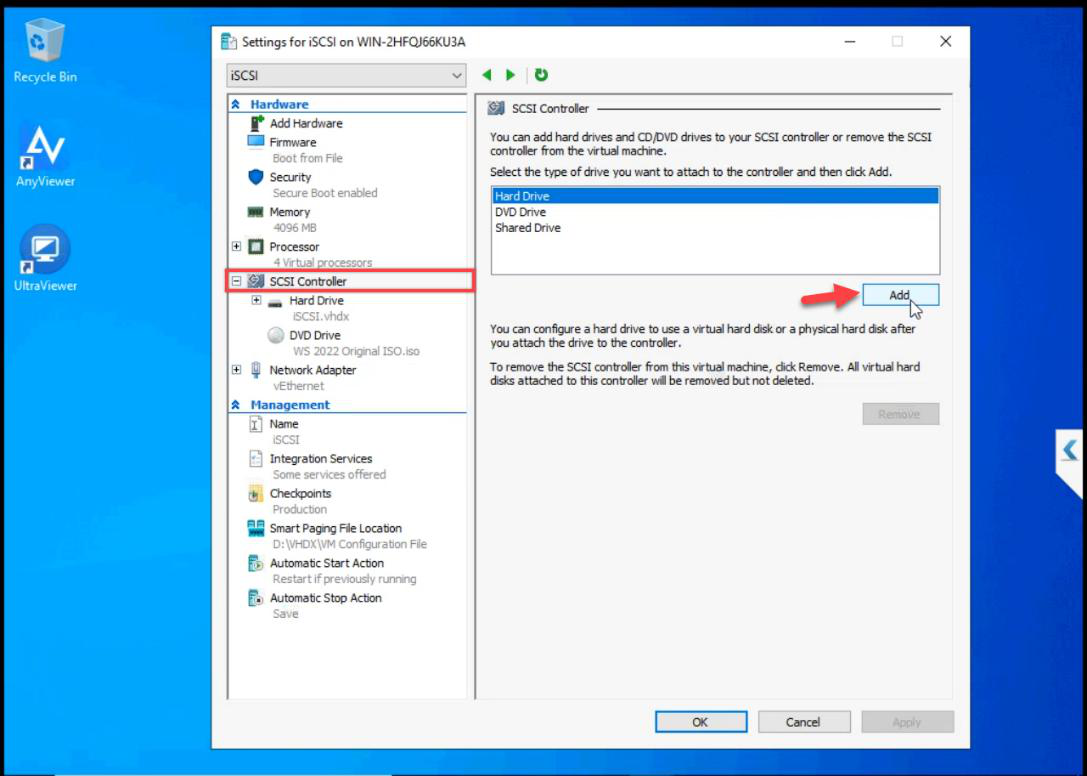
SCSI Controller > Hard Drive > Add.
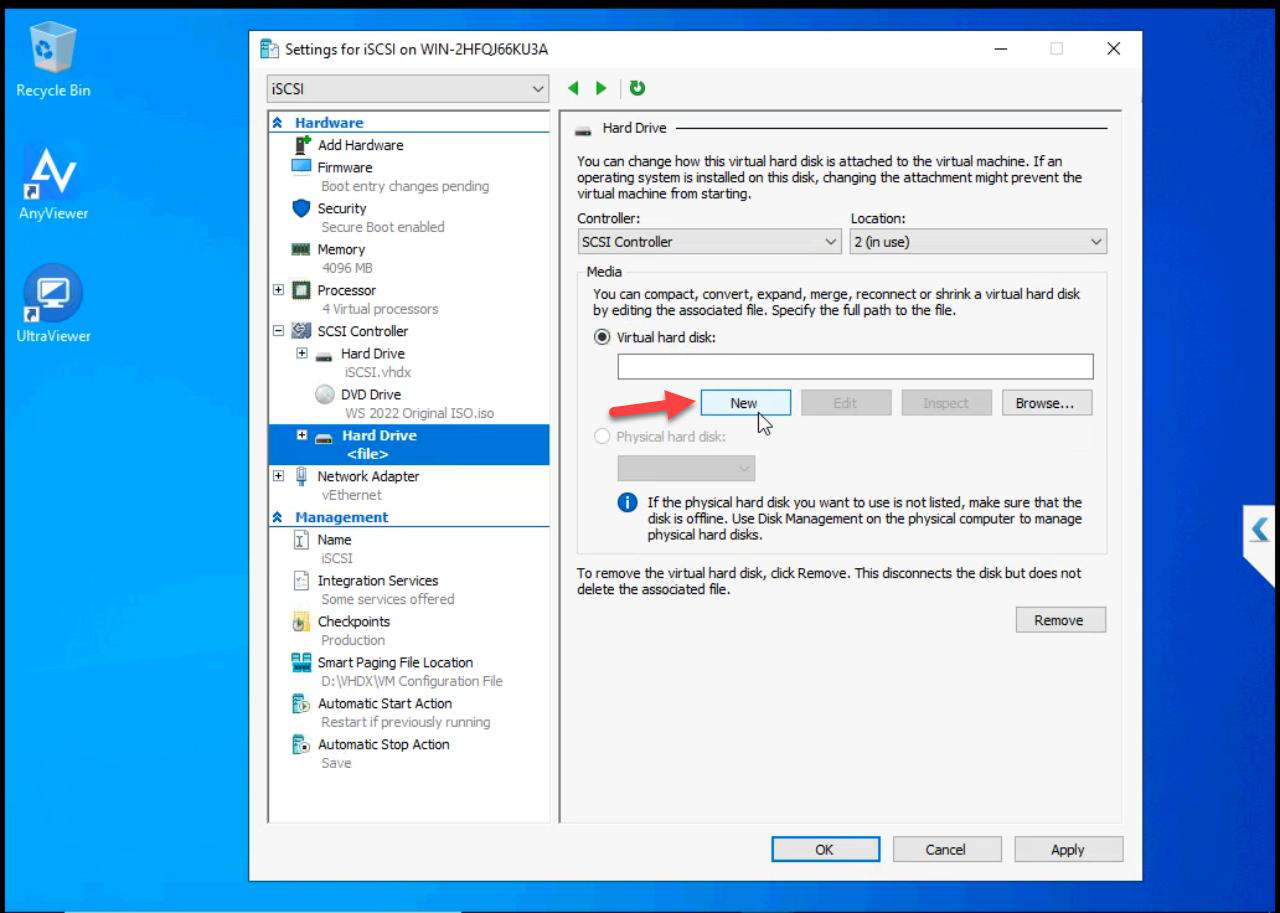
Click New to launch the New Virtual Hard Disk Wizard.
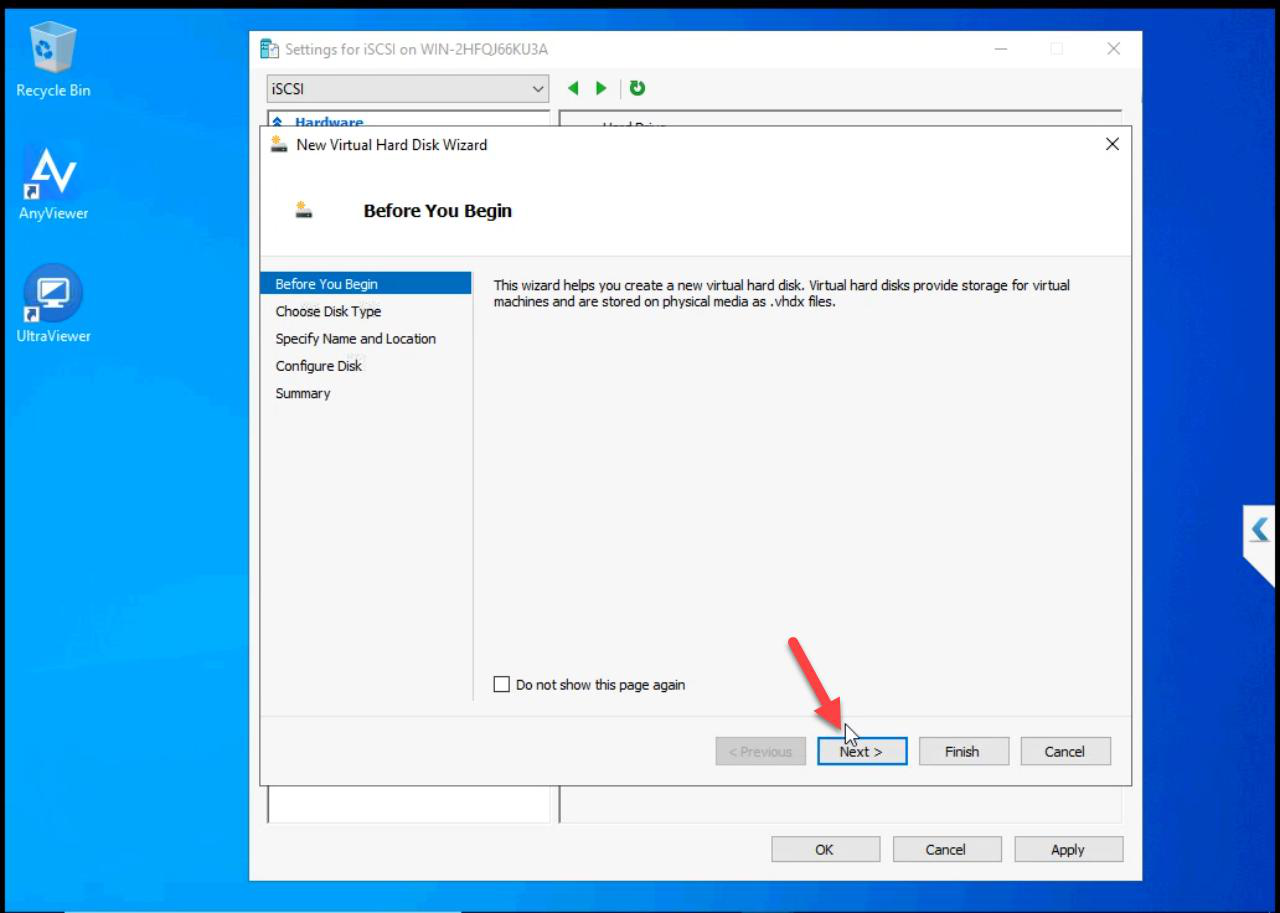
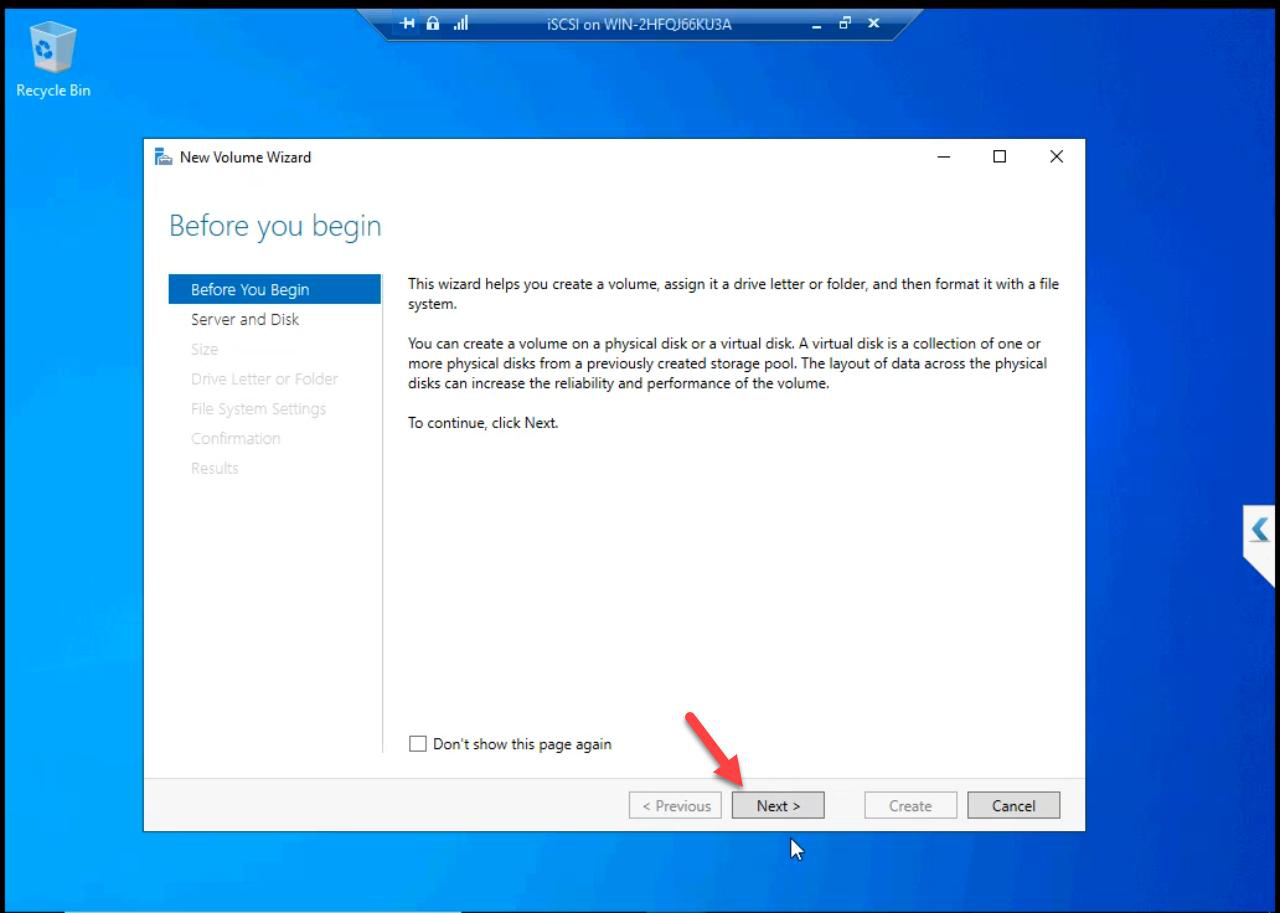
Before You Begin: Next.
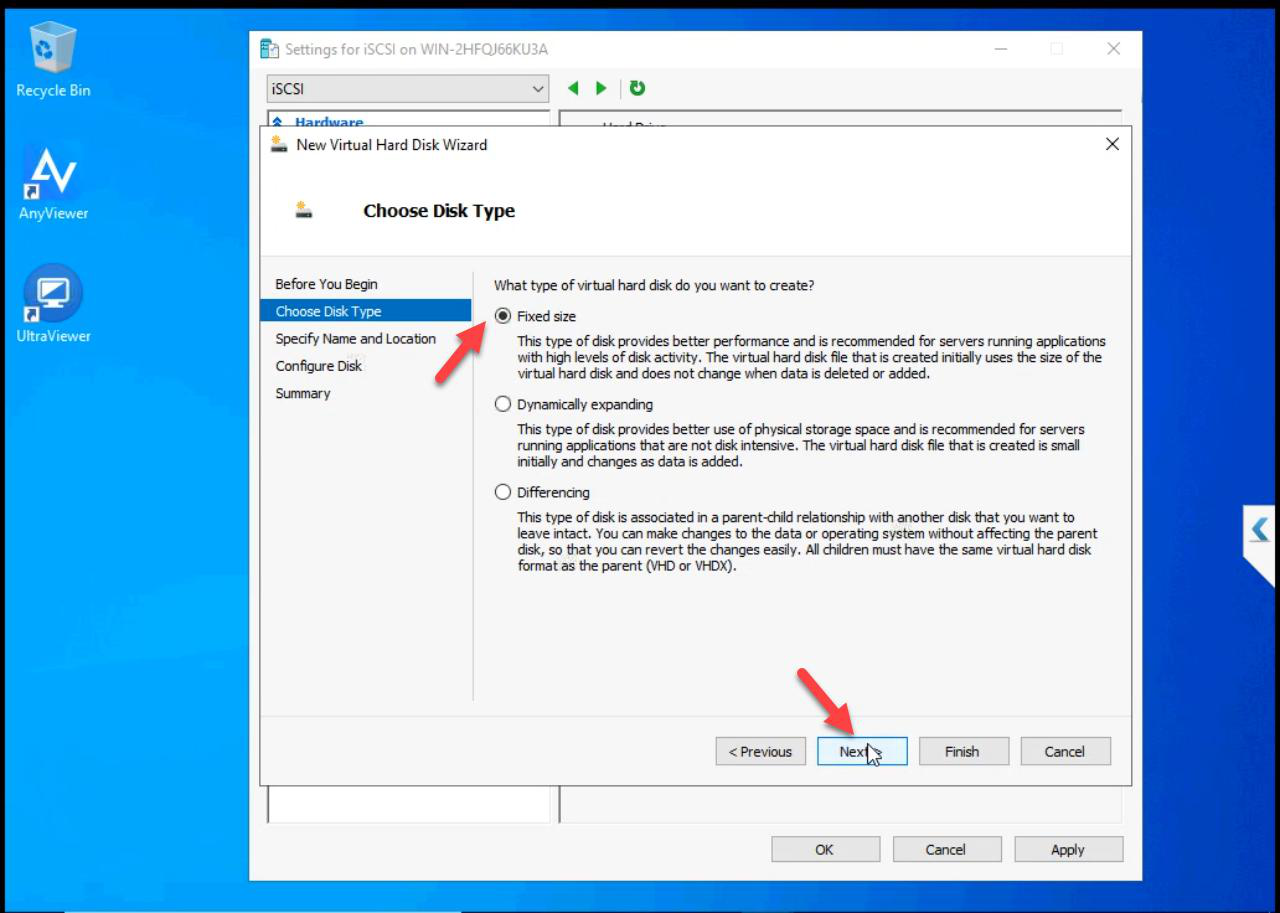
Fixed Size. This is the load-bearing decision in this part. Fixed pre-allocates the entire 500 GB on host disk — takes longer to create (10-30 min) but the file is fully laid out and never has to expand mid-workload. Dynamic VHDX would expand on demand, causing IO pauses every time it grows.
Production rule: SAN backing storage is always Fixed. Dynamic is for lab convenience or short-lived VMs. Cluster storage = Fixed, no exceptions.
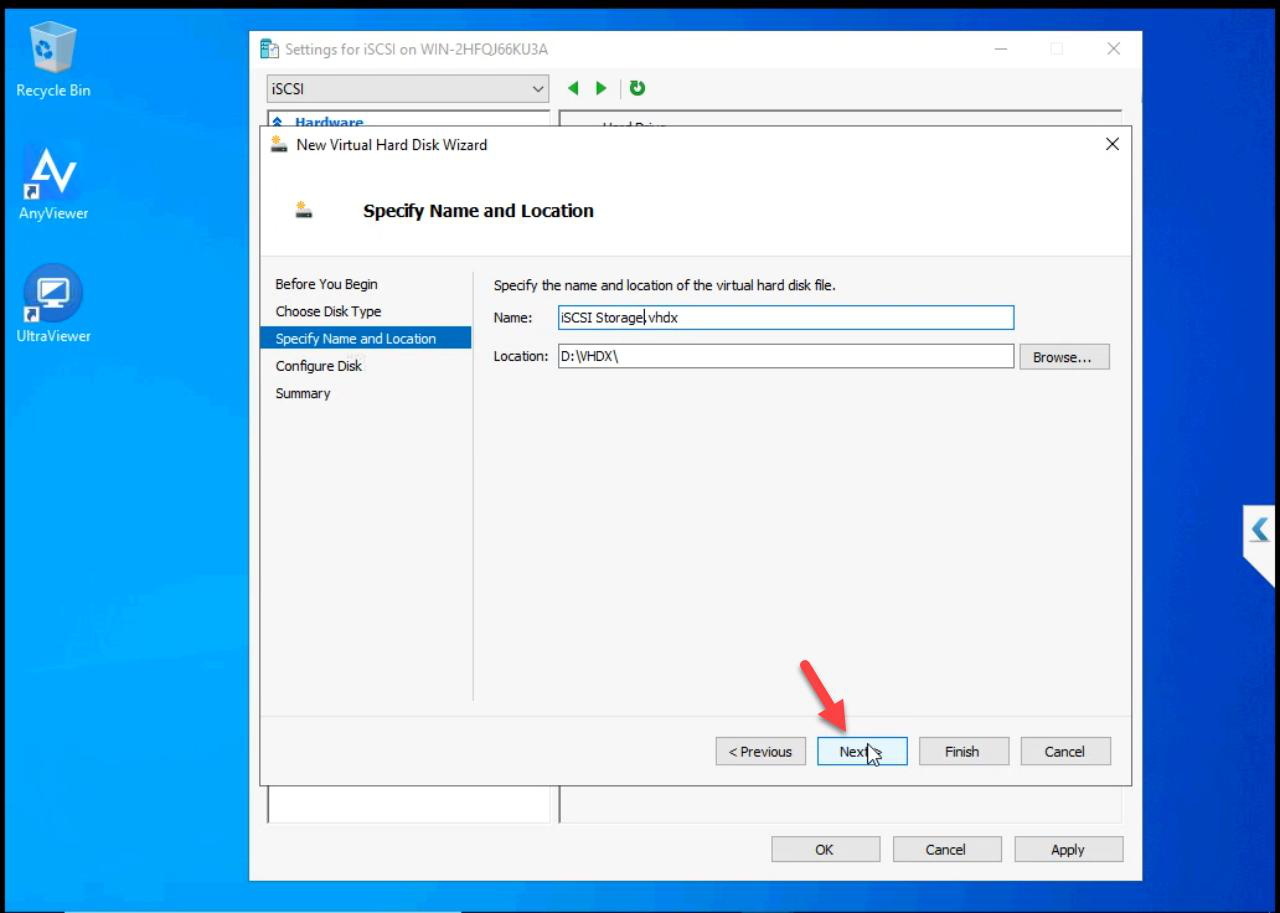
iSCSI-Storage.vhdx (or similar). Default location is fine for lab.Name: iSCSI-Storage.vhdx. Location matters — put this on the fastest physical disk on your host. The entire cluster’s storage performance depends on this single VHDX. If it’s on slow spinning disk, the cluster is slow. If on NVMe, it’s fast.

Size: 500 GB. Enough for the cluster LUNs (Quorum 1 GB + Data 100 GB + headroom for growth/extra LUNs).
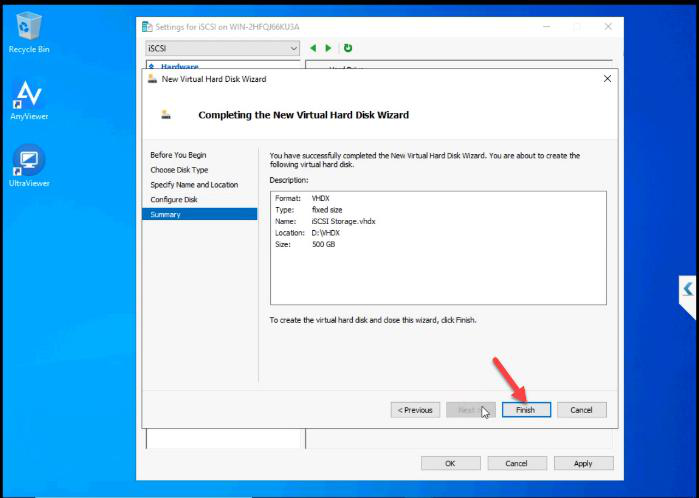
Review.
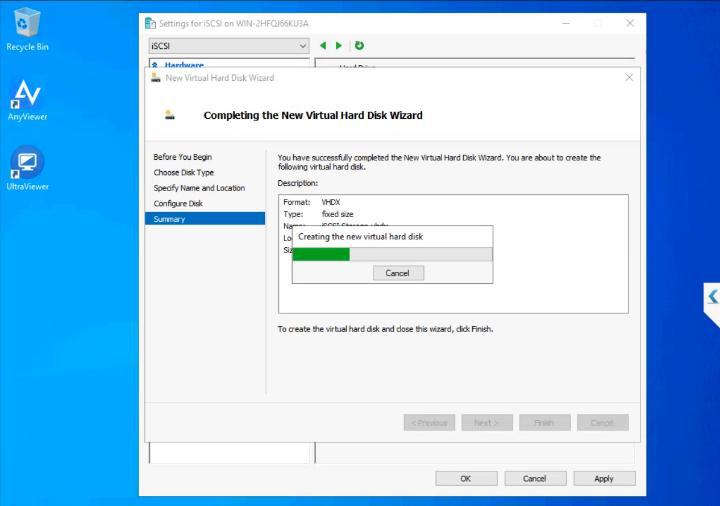
Creation runs. Get coffee. The progress bar slowly fills as the host writes 500 GB of zeros to disk.
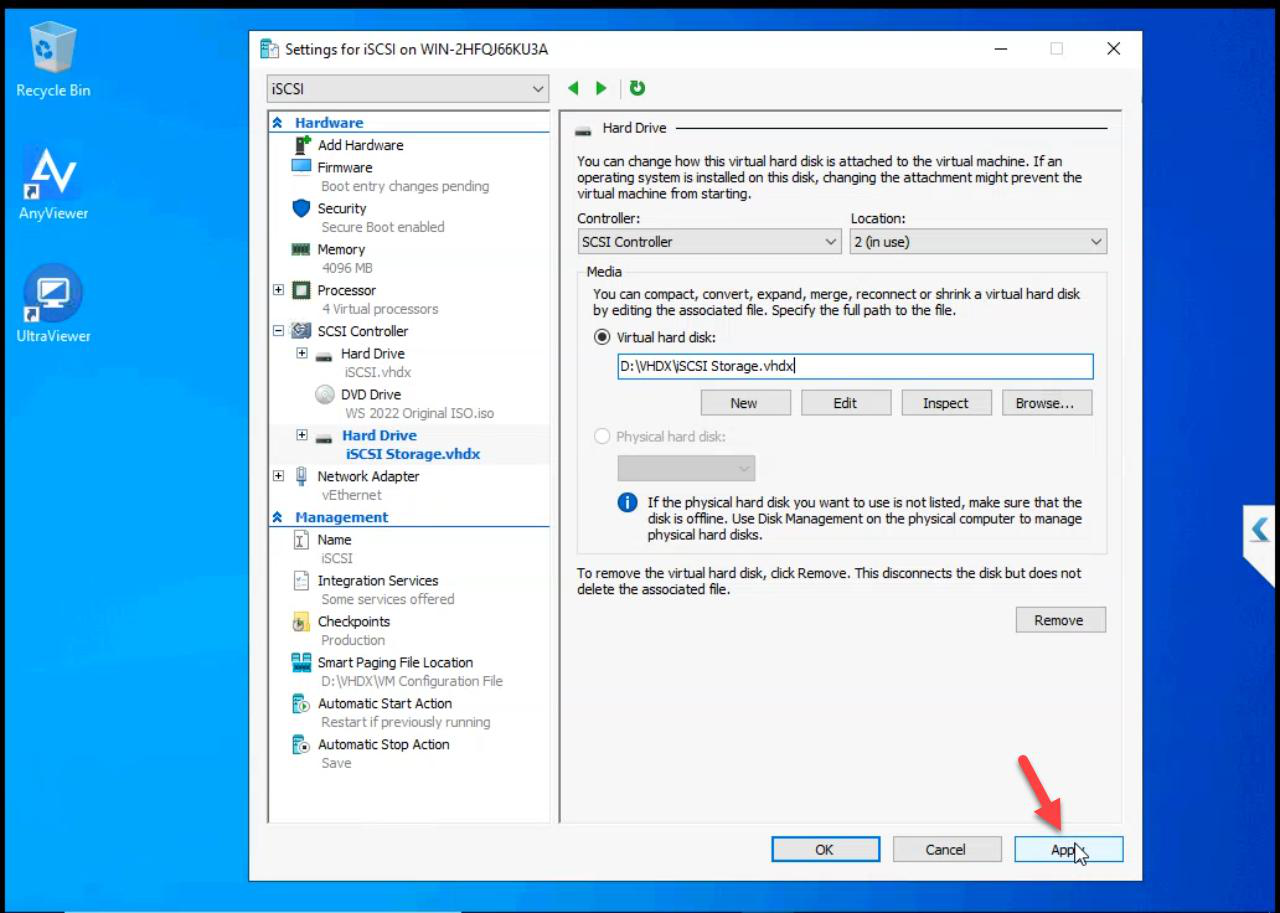
Apply > OK on VM Settings to attach the new disk to the iSCSI VM.
Guest OS side — bring online + format
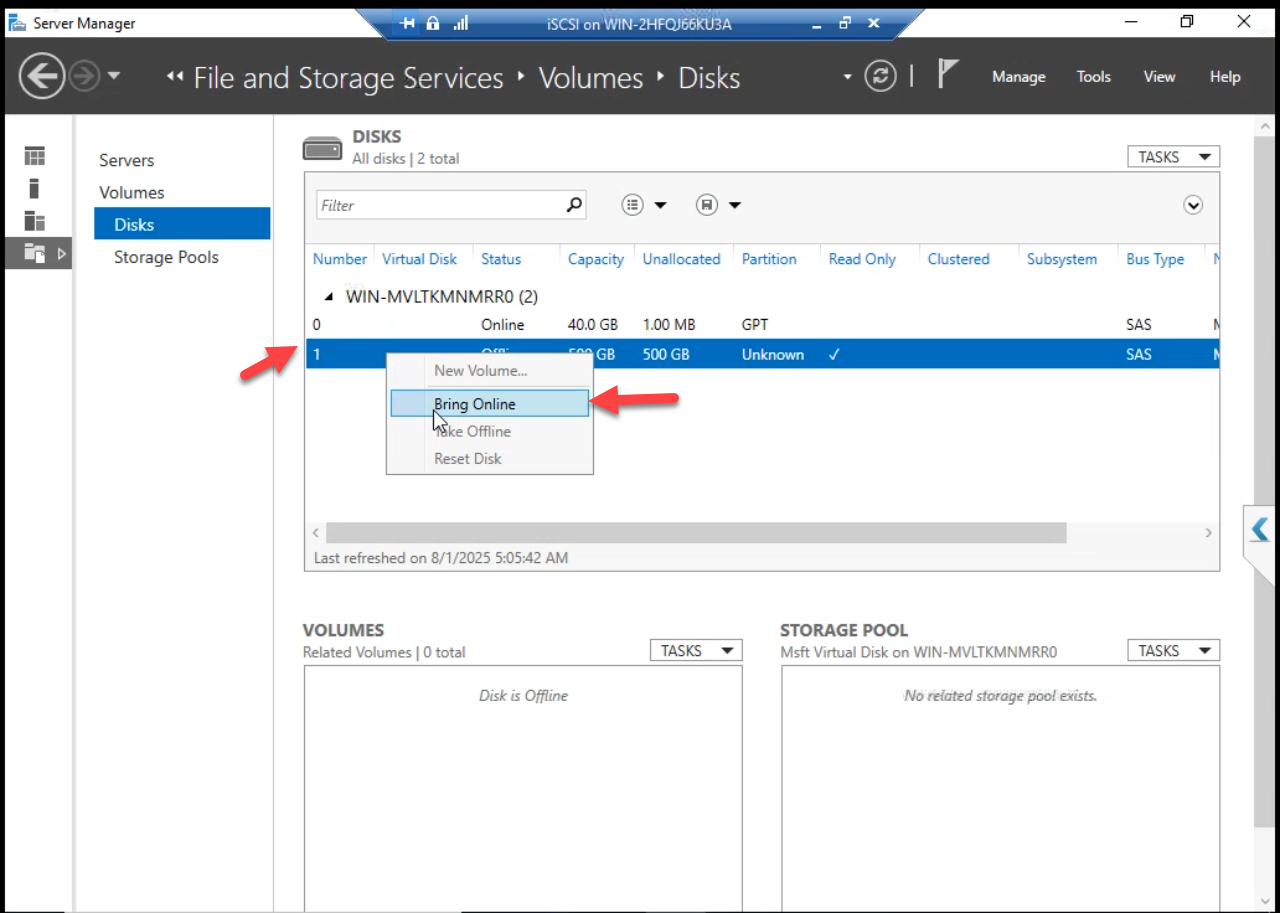
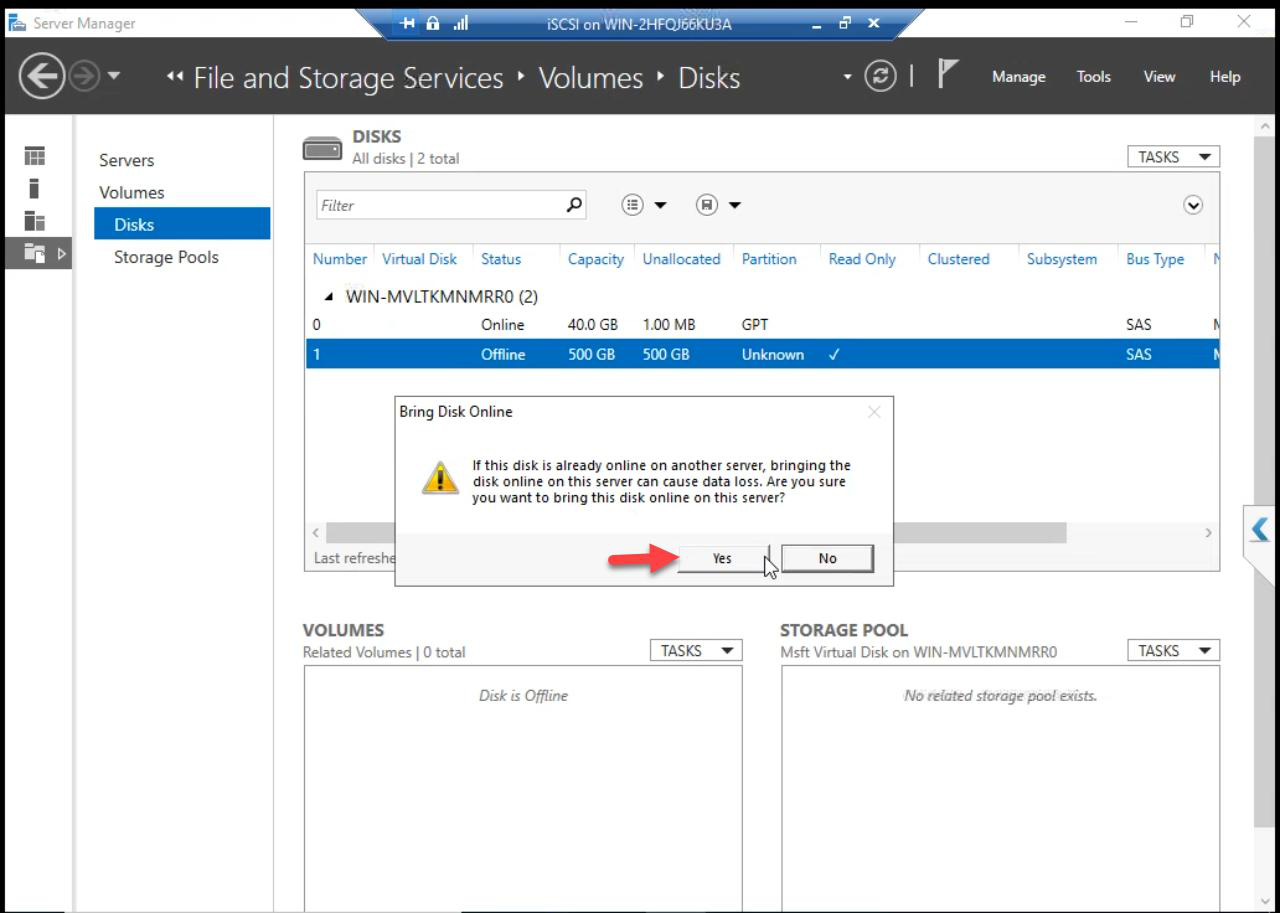
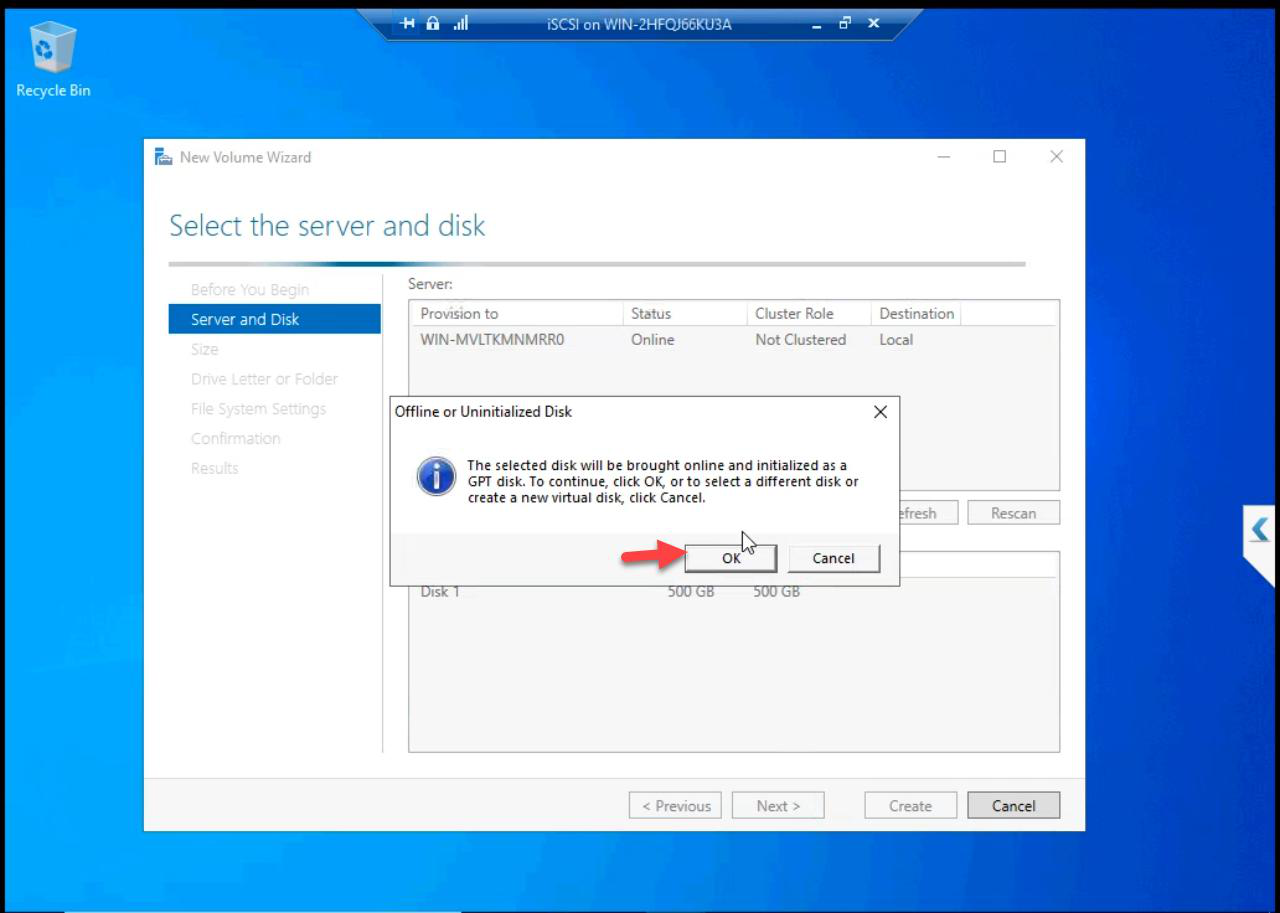
Right-click Disk 1 > Bring Online > Yes.
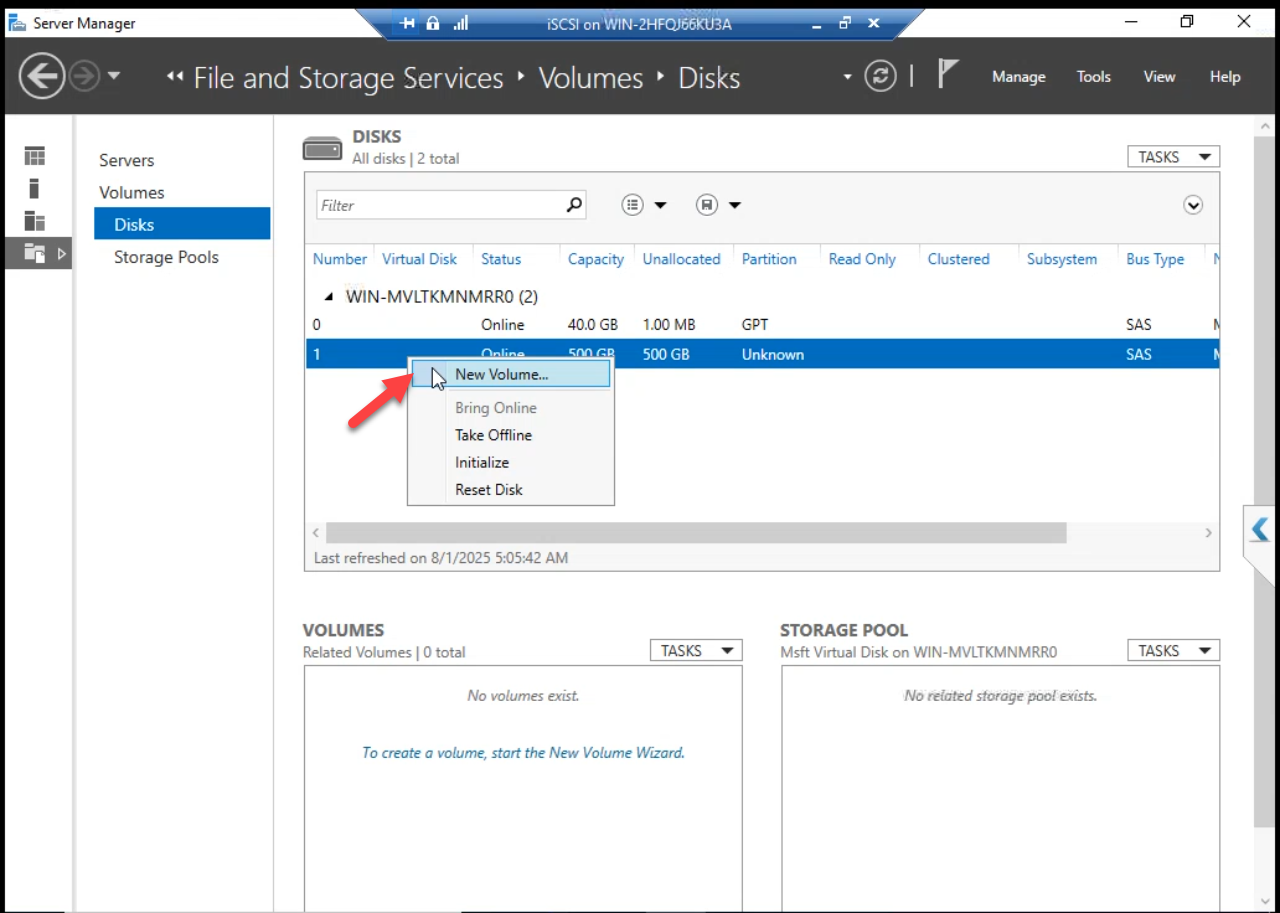
Right-click again > New Volume to launch the wizard.
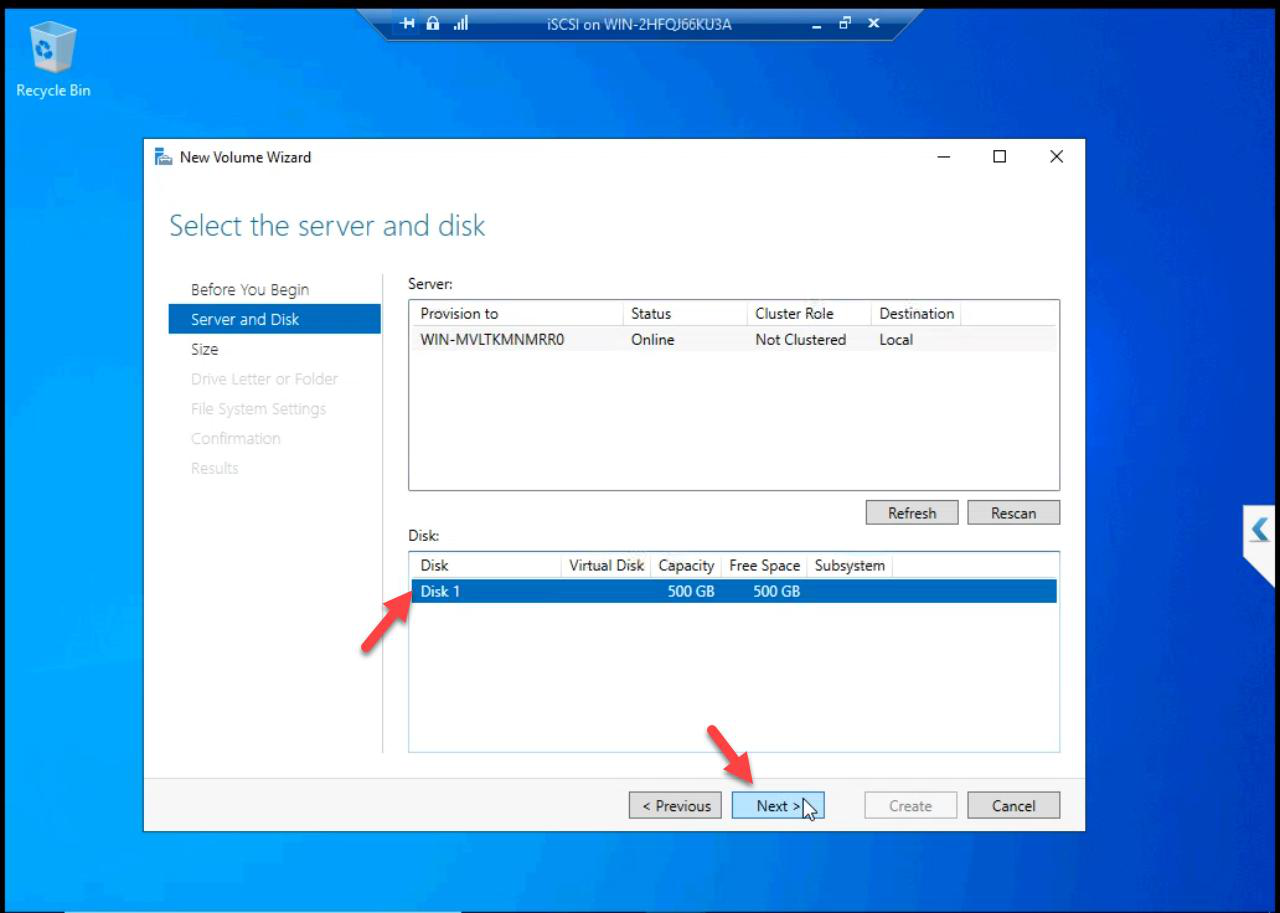
Wizard: server, disk — just confirm the new disk is selected.
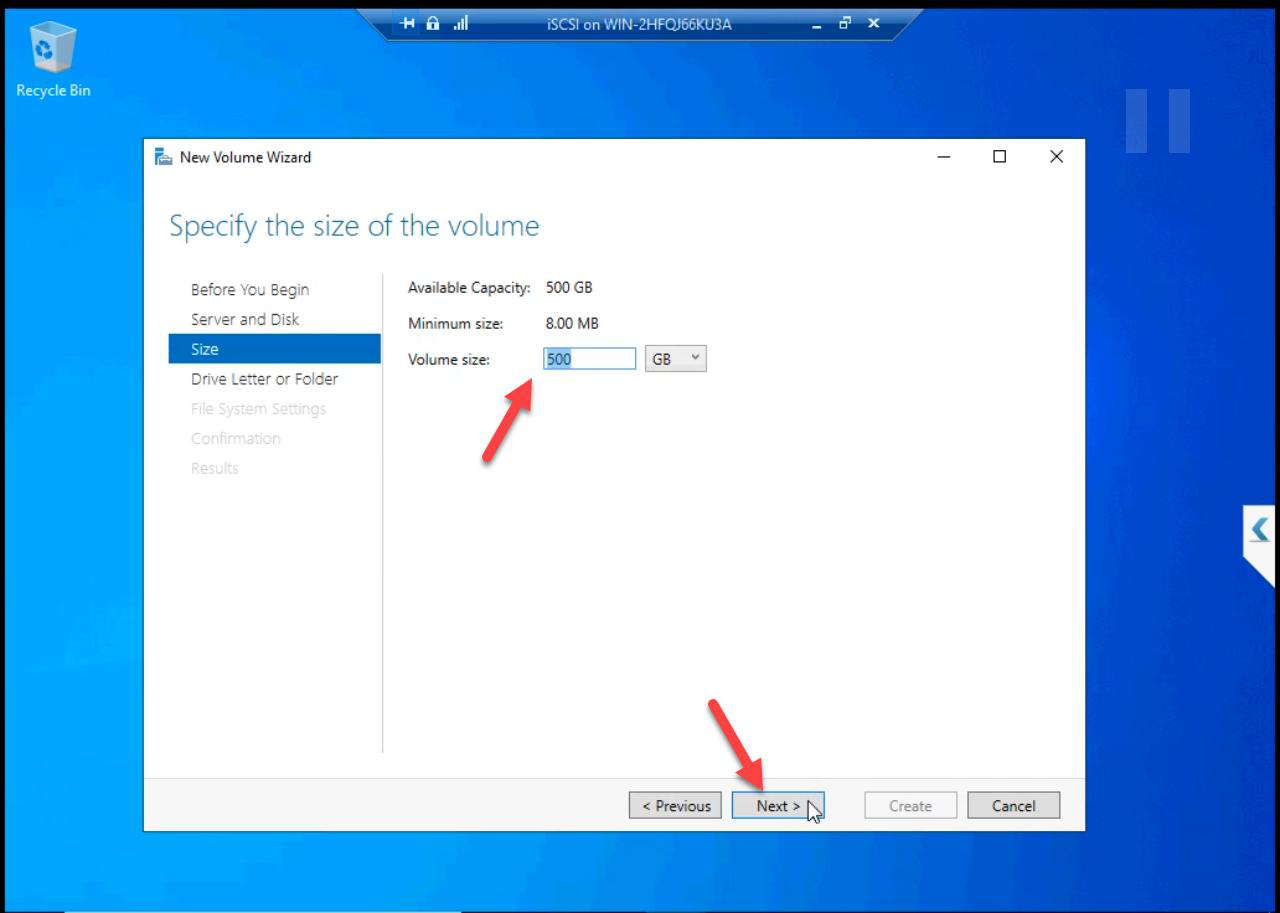
Volume Size: accept default. Uses entire 500 GB minus a few MB of NTFS overhead.
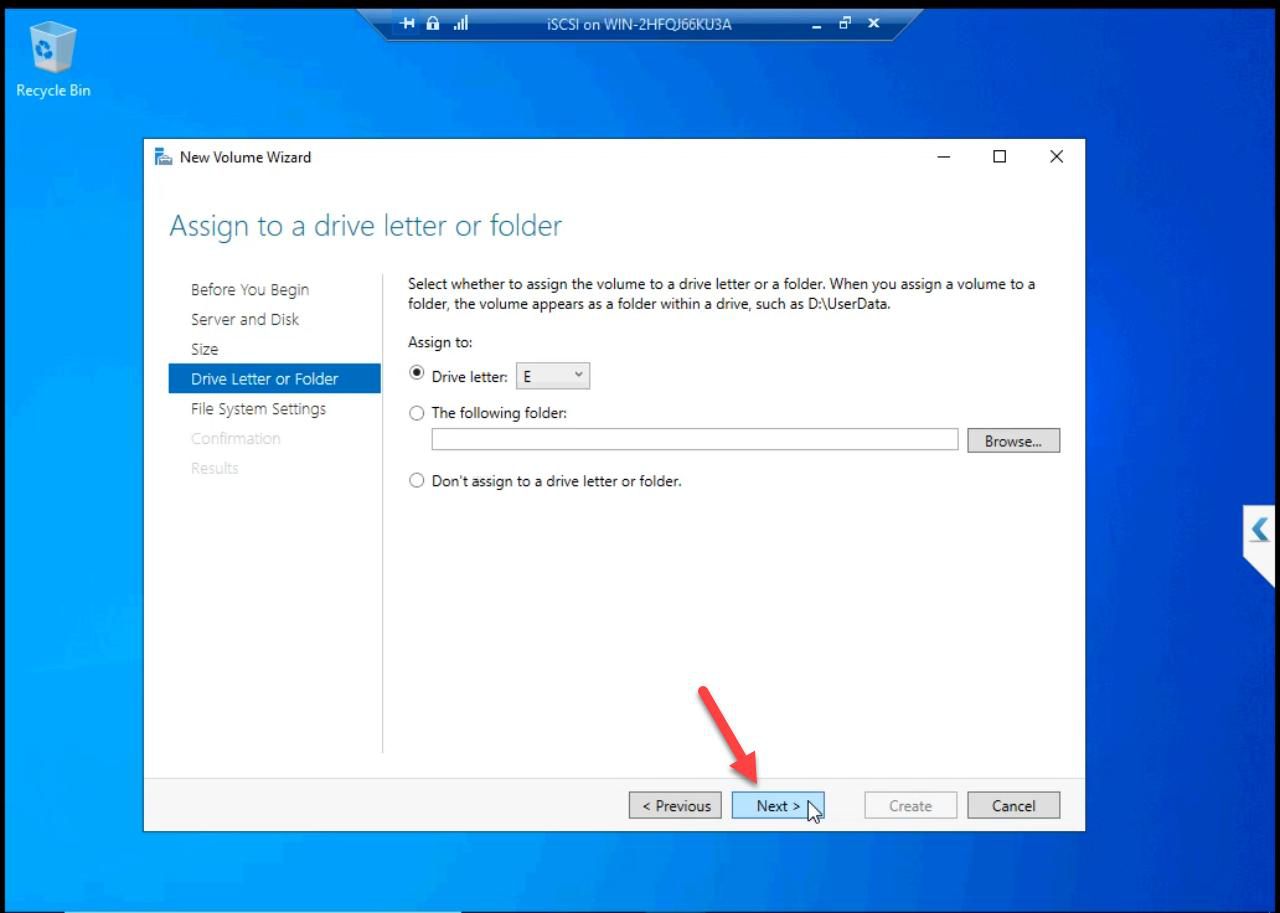
D:.Drive Letter: D:.
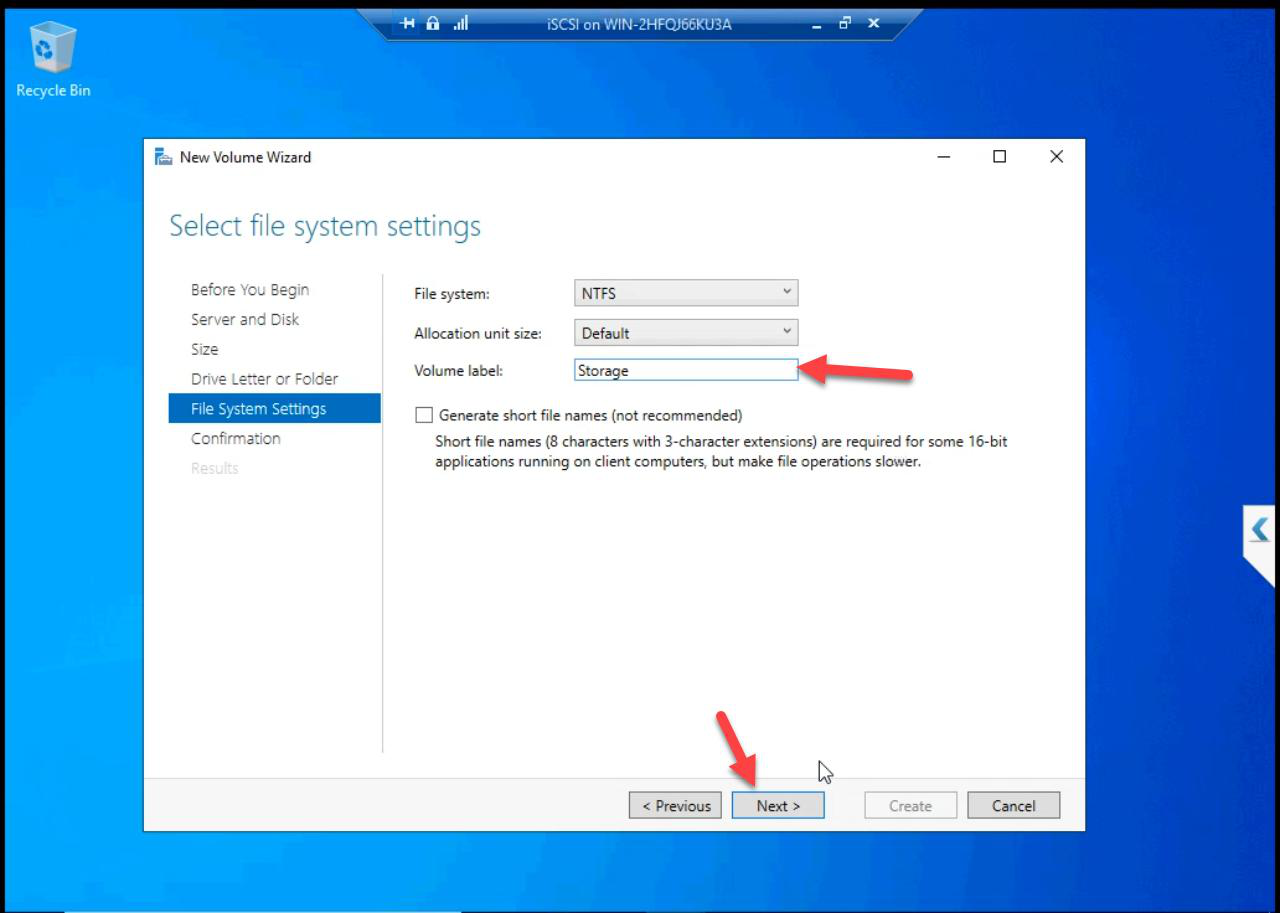
iSCSI_Storage_500GB.File System: NTFS. Default allocation unit (4 KB). Label: iSCSI_Storage_500GB — meaningful labels save lives during 03:00 troubleshooting.
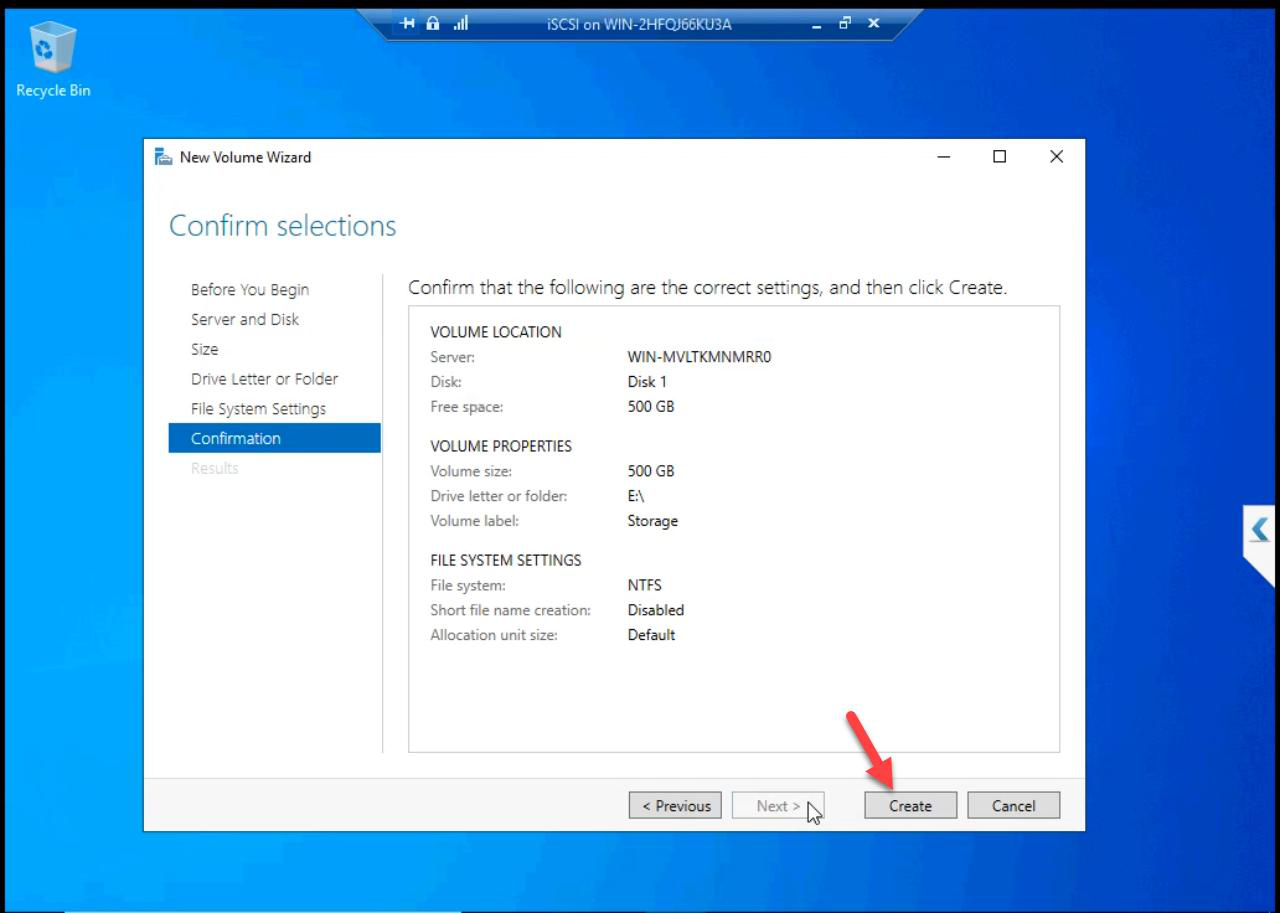
Review.
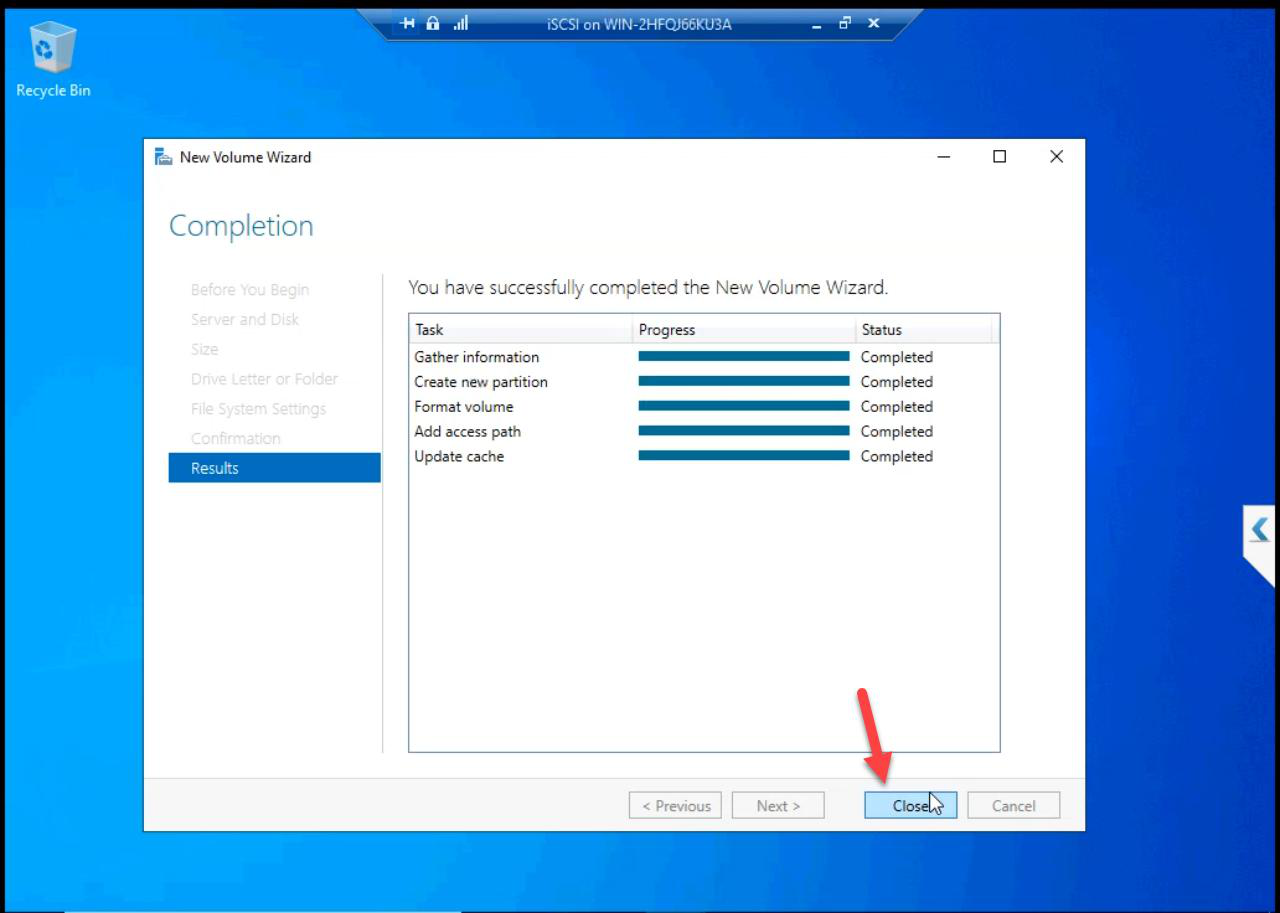
Volume created.
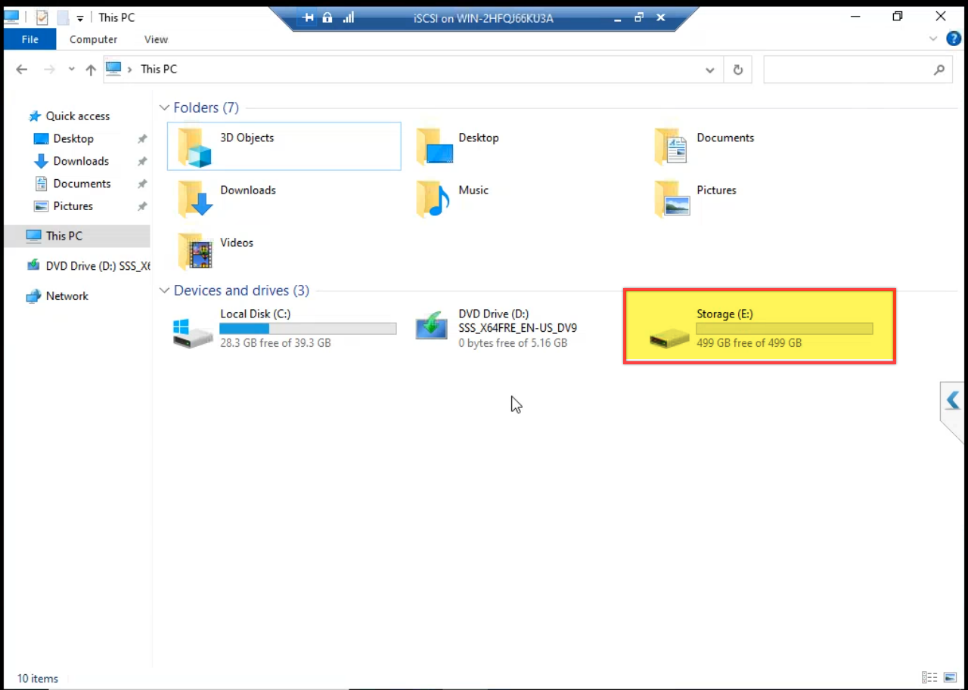
D:\ drive present in File Explorer with ~500 GB free. Ready to host the iSCSI Target’s LUNs in Part 7.File Explorer confirms D:\ with ~500 GB free. Ready for Part 7 to lay down iSCSI Target LUN files here.
Things that bite people in this part
VHDX on slow host disk
The iSCSI VM’s data VHDX IS the cluster’s storage. If you put it on a USB drive, the cluster runs at USB speed. Plan disk placement — this single file determines cluster performance.
Dynamic chosen by accident
Default selection in Hyper-V wizard varies. Always explicitly select Fixed for cluster-relevant storage.
Insufficient host space
Fixed 500 GB needs 500 GB free on the host disk. If you don’t have it, creation fails partway through. Check capacity before starting.
Drive letter conflicts
If D: is already in use (e.g., the OS image was mounted there), the wizard offers the next free letter. Either accept or remove the existing D: assignment first.
Forgot NTFS
The wizard offers ReFS (Resilient File System) as an option in Win Server 2022. ReFS is great for some workloads but iSCSI Target VHDX files prefer NTFS for compatibility. Stick with NTFS.
What’s next
Part 6 creates the three Hyper-V virtual switches (External, Storage, Heartbeat) and attaches them to the VMs — the network plumbing the cluster needs. See the full series at Hyper-V Failover Clustering pathway.