Microsoft releases new Entra Connect builds frequently — security patches, performance fixes, occasional new features. Keeping current is the easy part of operating Entra Connect IF you do an in-place upgrade: same server, same OS, just newer EC version on top. Total time: ~30 minutes including verification. Sync is paused for the upgrade window (5-15 min depending on installation size); users see no other impact. This post walks the in-place upgrade end-to-end across four phases.
In-place vs migrate — which one?
| Scenario | Use |
|---|---|
| Same server, same OS, newer EC version | In-place upgrade (this post) |
| Old server retiring; need to move EC to a new VM | Migrate to new server (next post) |
| OS upgrade required (e.g. moving from Server 2016 to 2022) | Migrate (Server in-place OS upgrades aren’t supported) |
| Going from V1.x to V2.x AND on Server 2012 R2 | Migrate (V2.x doesn’t support Server 2012 R2) |
If your environment fits the “in-place” row, this post is for you. Otherwise see the migrate post.
Prerequisites
- Server 2016 or newer for V2.x. The V2.x sync engine uses SQL Server 2019 LocalDB which doesn’t install on Server 2012 R2.
- TLS 1.2 enabled at the .NET layer (per Part 3).
- .NET Framework 4.7.2 or higher. 4.8 recommended.
- Free disk space for the upgrade (~2 GB temporary space during the install).
- Maintenance window if your org cares about sync downtime. The pause is brief (~20 min total including the post-upgrade Delta) but does happen.
If your version is so old that it’s on the “deprecated” list, Microsoft may require a two-hop upgrade (e.g. through 1.6 to 2.x). The wizard tells you if so.
Phase 1 — verify current state
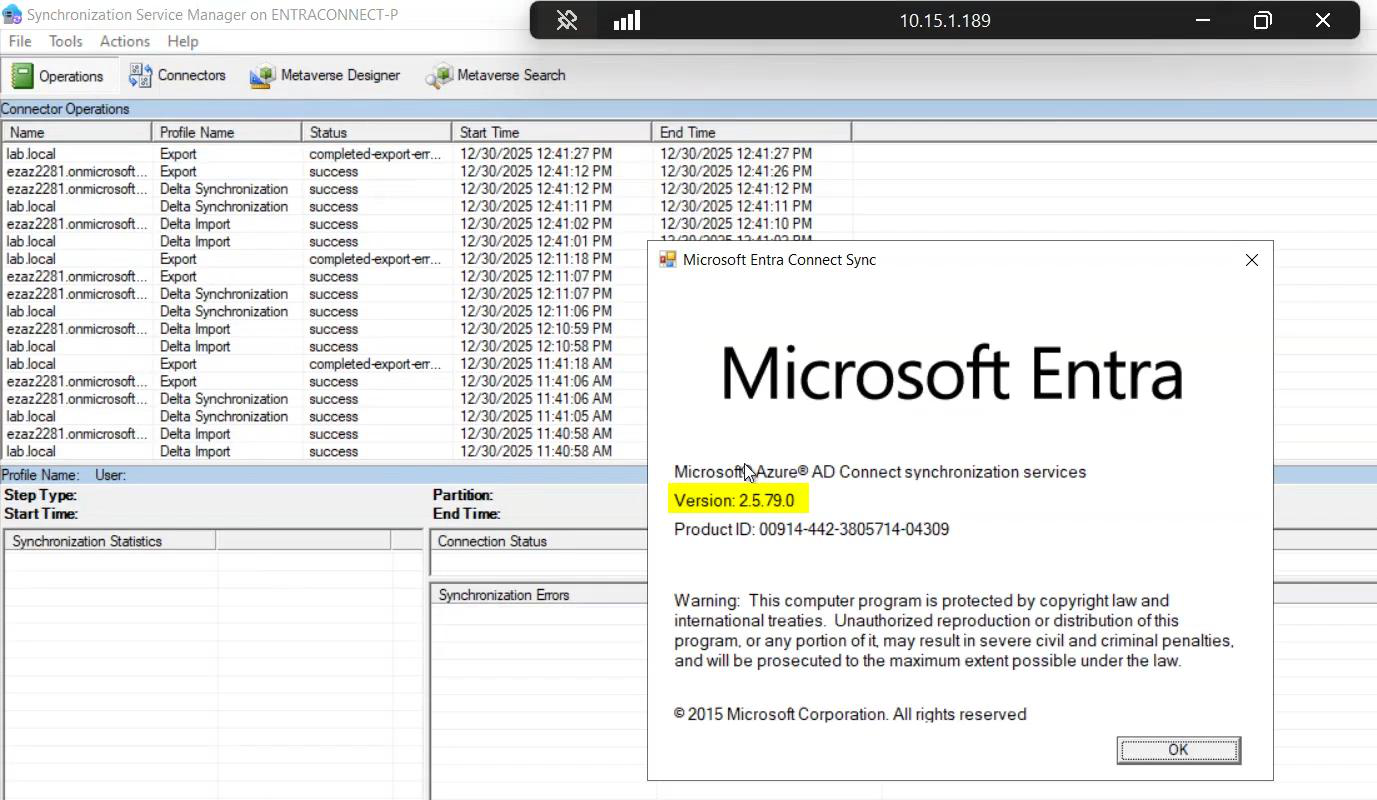
Find the version you’re currently running. Three ways covered in Part 8; pick whichever you prefer.
Option A — GUI
Open Synchronization Service Manager. Help > About.
 Part 8, four other ways to read this exist; pick whichever you prefer.
Record the version number. This is your baseline.
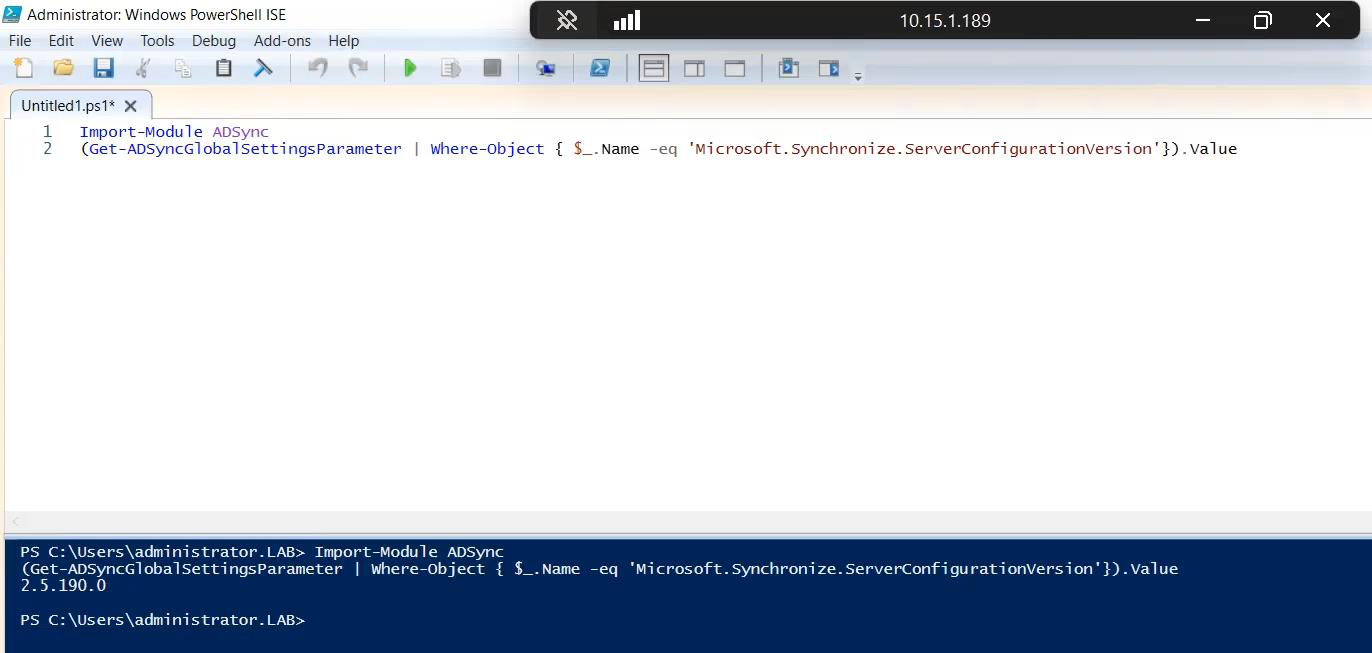
Option B — PowerShell
Import-Module ADSync
(Get-ADSyncGlobalSettings).Parameters |
    Where-Object { $_.Name -eq "Microsoft.Synchronize.ServerConfigurationVersion" } |
    Select-Object -ExpandProperty Value
Same answer in scriptable form.
Phase 2 — backup the configuration
This step is non-negotiable. The exported JSON is your insurance policy — if the upgrade goes catastrophically wrong, importing this file rebuilds the EC configuration on a fresh server.
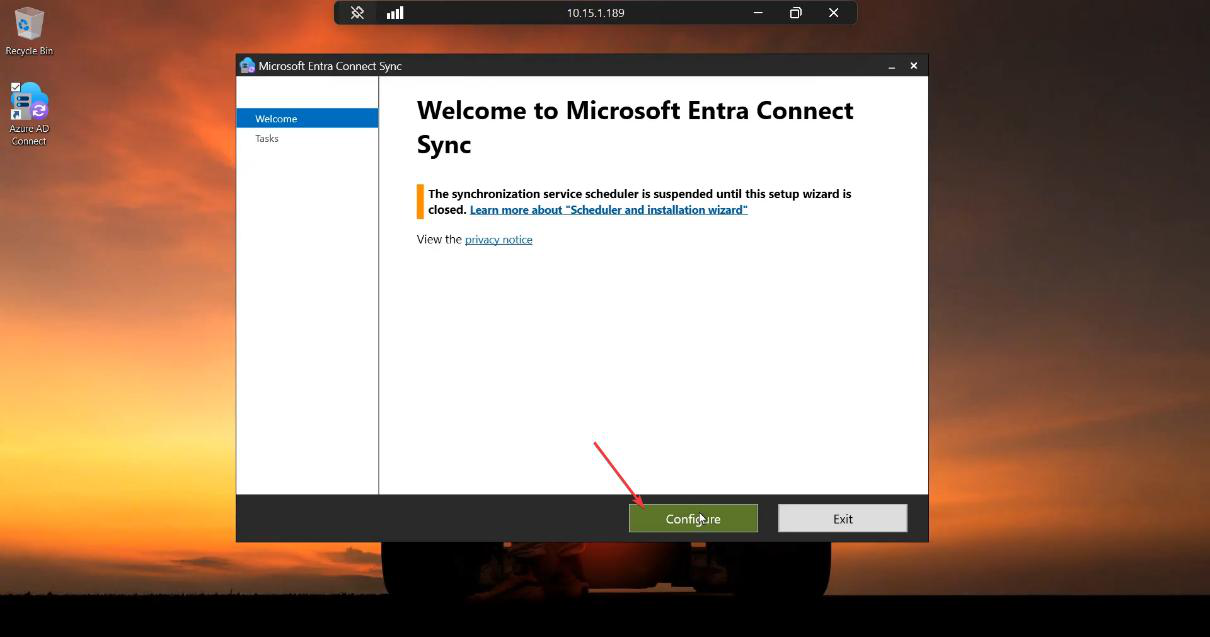
Launch the EC wizard from the desktop. Click Configure.
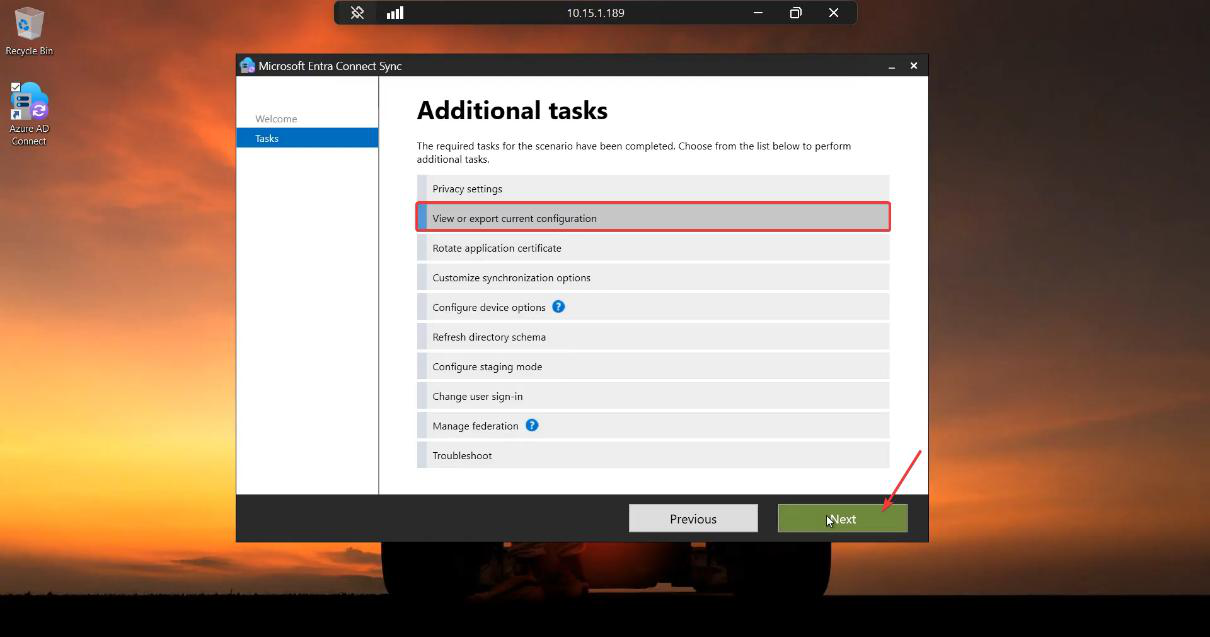
Pick View or export current configuration. Next.
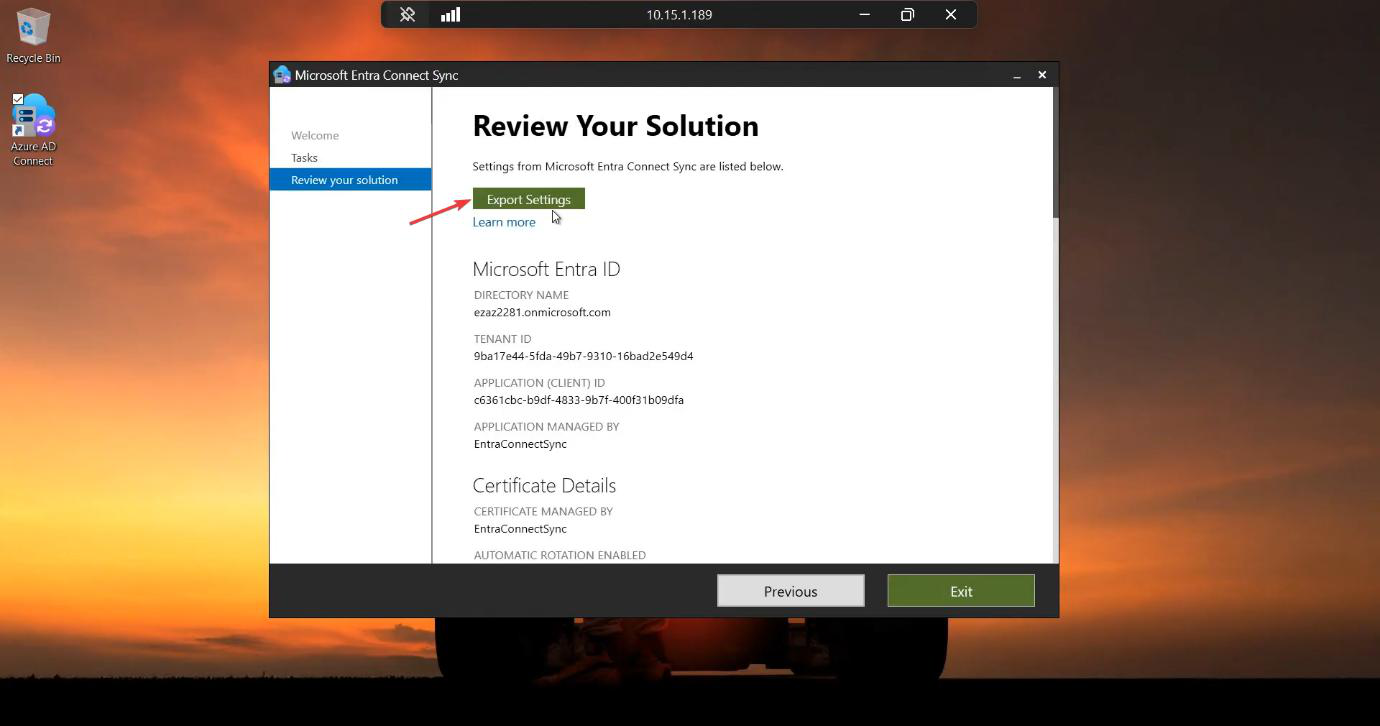
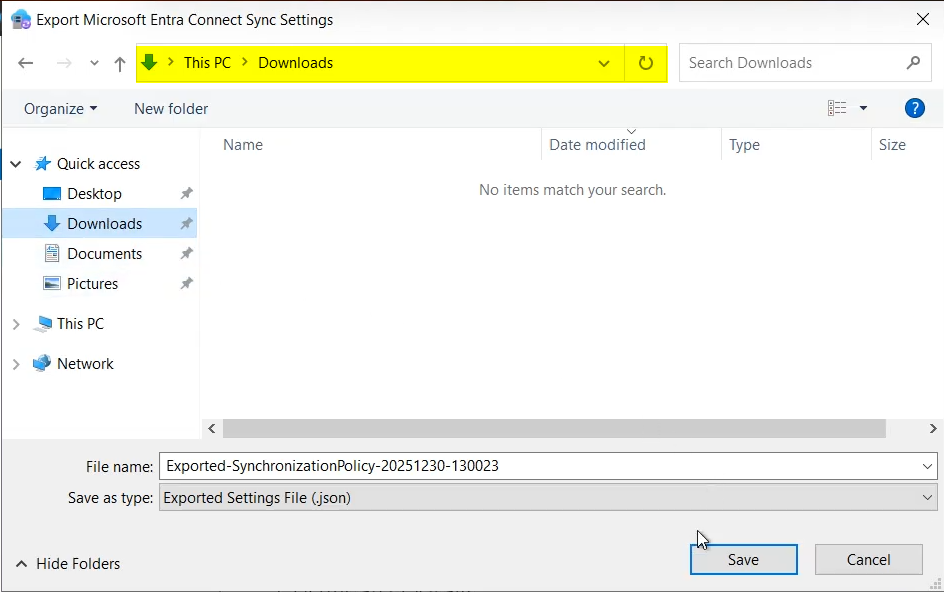
Click Export Settings.
Pick a destination. Best practice: save somewhere OFF the EC server. A network share, OneDrive folder, or even a USB drive works — the point is that if the EC server itself fails, the backup survives. Filename convention: include the date and a “pre-upgrade” tag, e.g. EntraConnect-config-2026-05-10-pre-upgrade.json.
JSON file on disk.
Wizard returns to the Tasks list. Close it.
Phase 2 done.
Phase 3 — run the upgrade
Step 3.1 — download the latest installer
From the EC server (or a workstation that can reach it), download the latest AzureADConnect.msi from the Entra admin centre per Part 2. Stage it on the EC server.
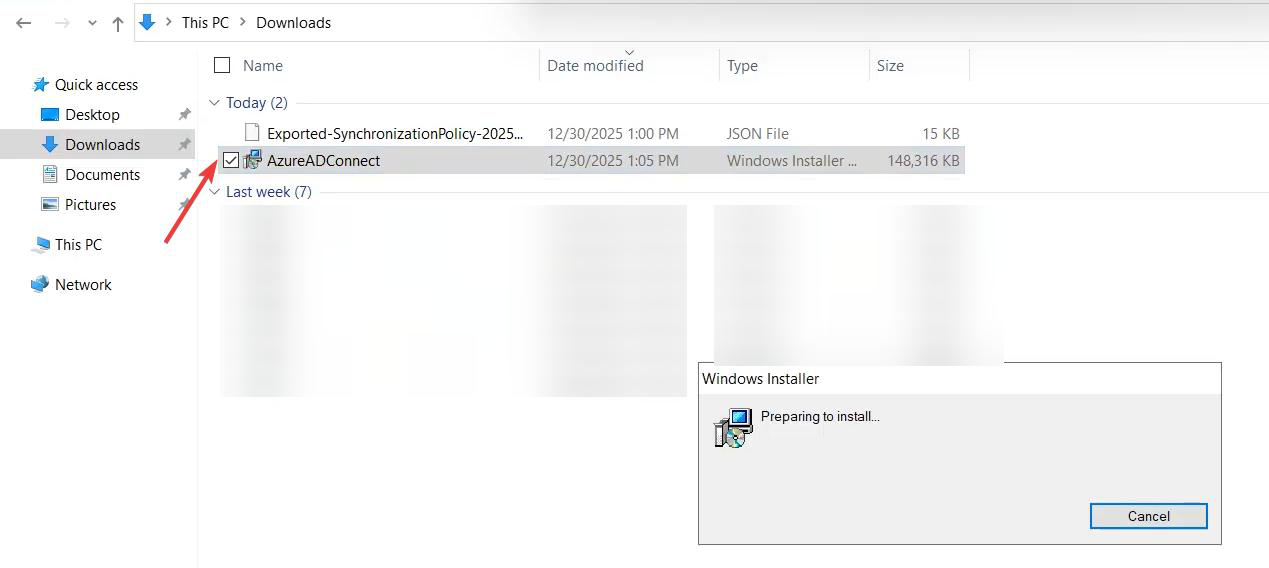
The .msi in the staging folder.
Step 3.2 — run the upgrade
Right-click the .msi > Run as administrator. Without elevation the upgrade fails partway through registering Windows services.
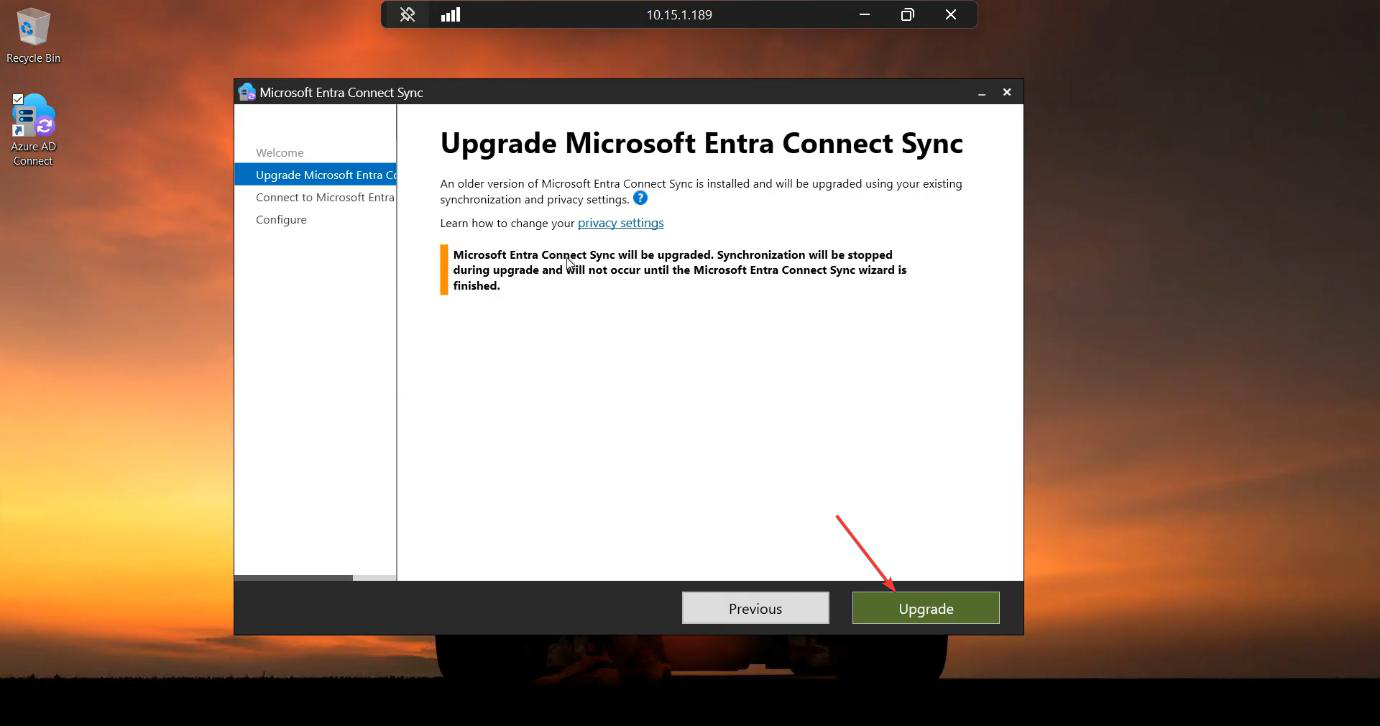
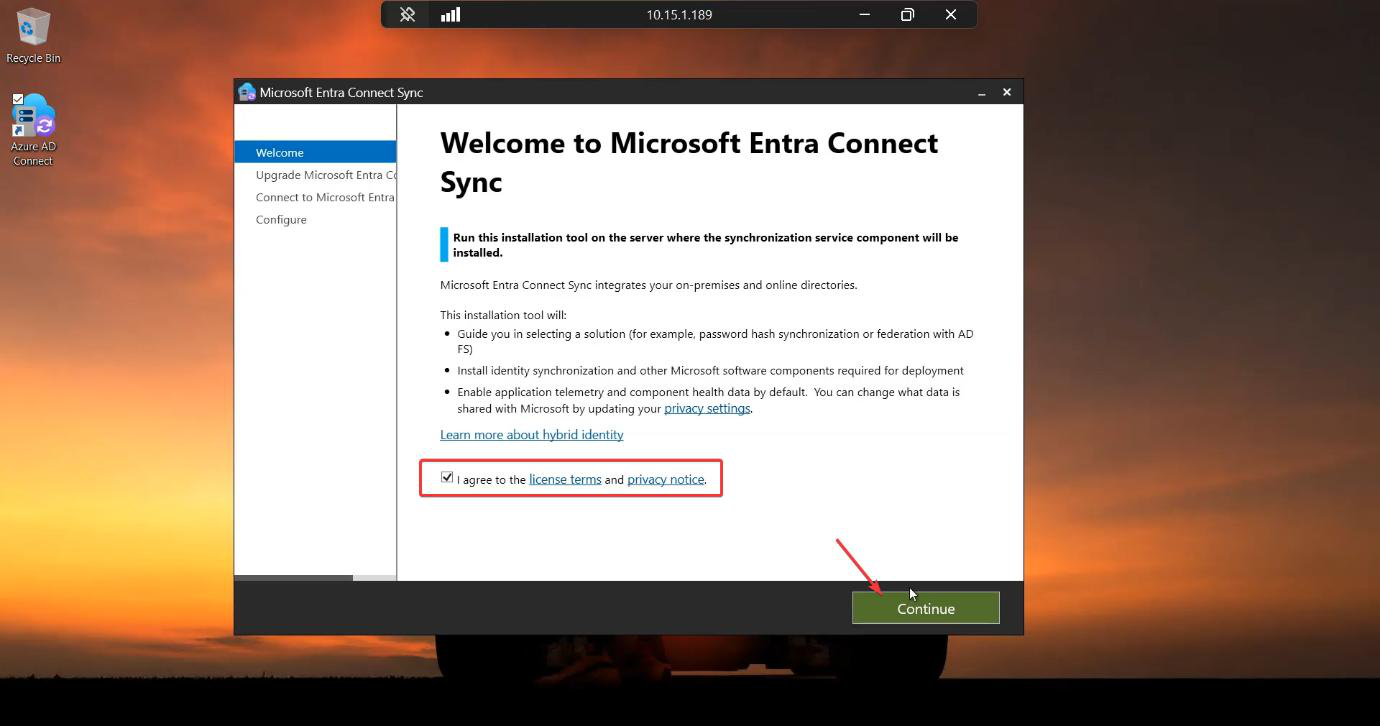
The installer detects the existing installation and announces it’ll upgrade rather than fresh-install. If you see a new-install screen instead, the installer didn’t recognise the existing version — do NOT proceed; investigate the existing install state. The most common cause is a partial uninstall from a previous failed attempt; clean up first.
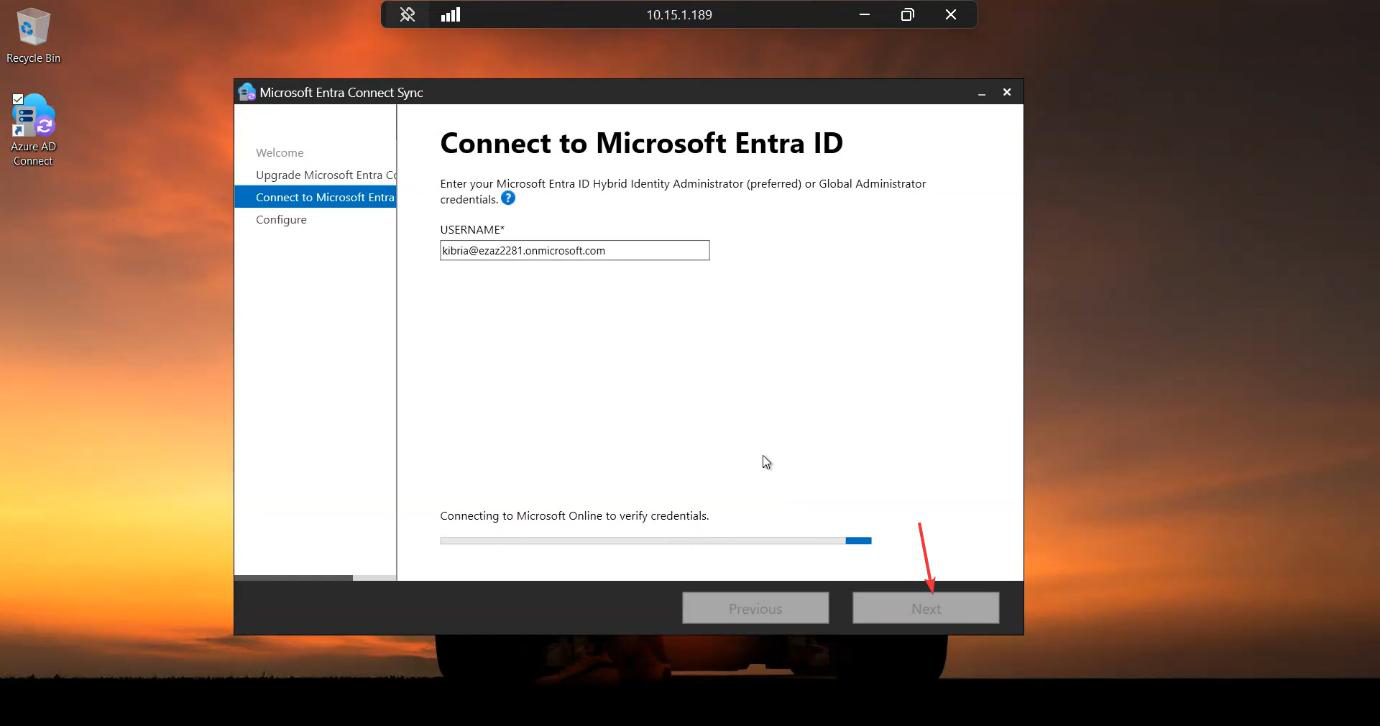
Authentication prompt. Sign in with a Global Administrator account. Same as the original install. Complete MFA if prompted.
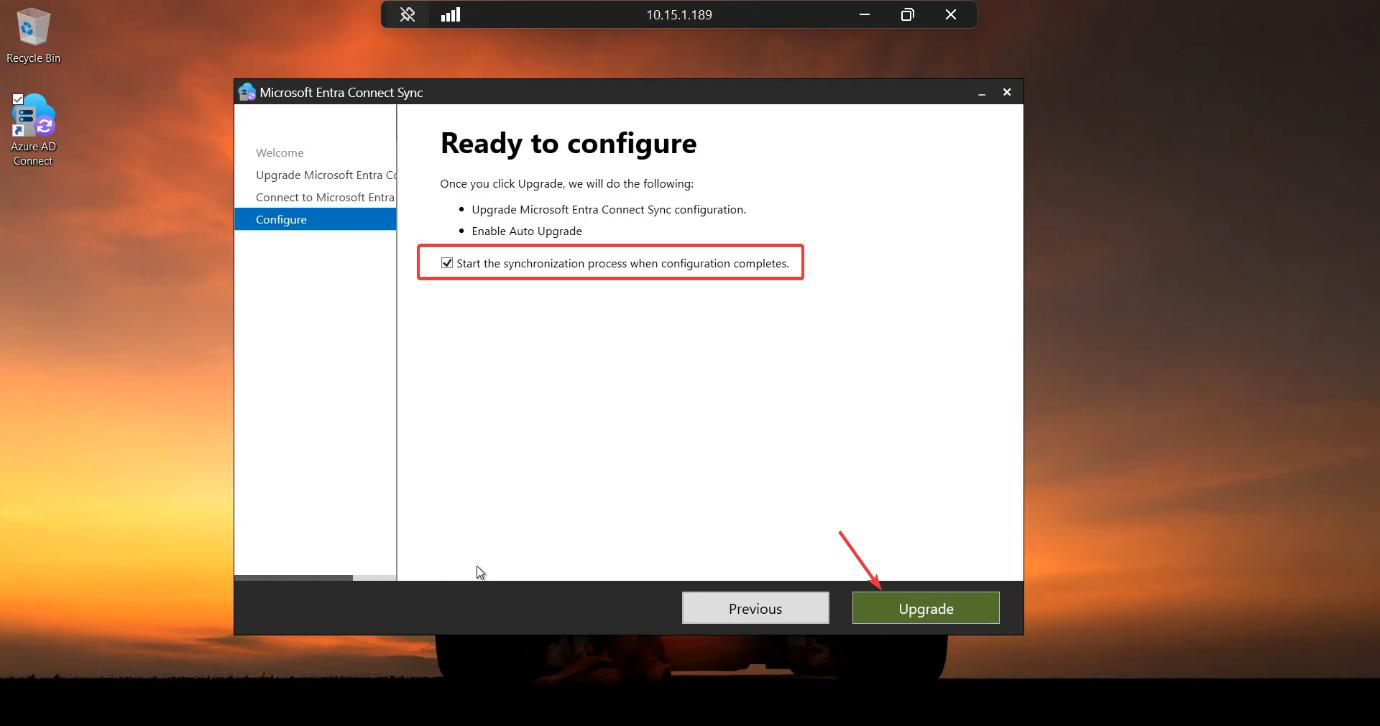
Ready to Upgrade summary. Tick Start the synchronization process when configuration completes. Click Upgrade.
Step 3.3 — wait
The wizard:
- Pauses sync.
- Updates binaries.
- Migrates the SQL configuration database to the new schema.
- Registers updated Windows services.
- Verifies cloud-side compatibility.
5-15 minutes typically. For very large installations, longer.
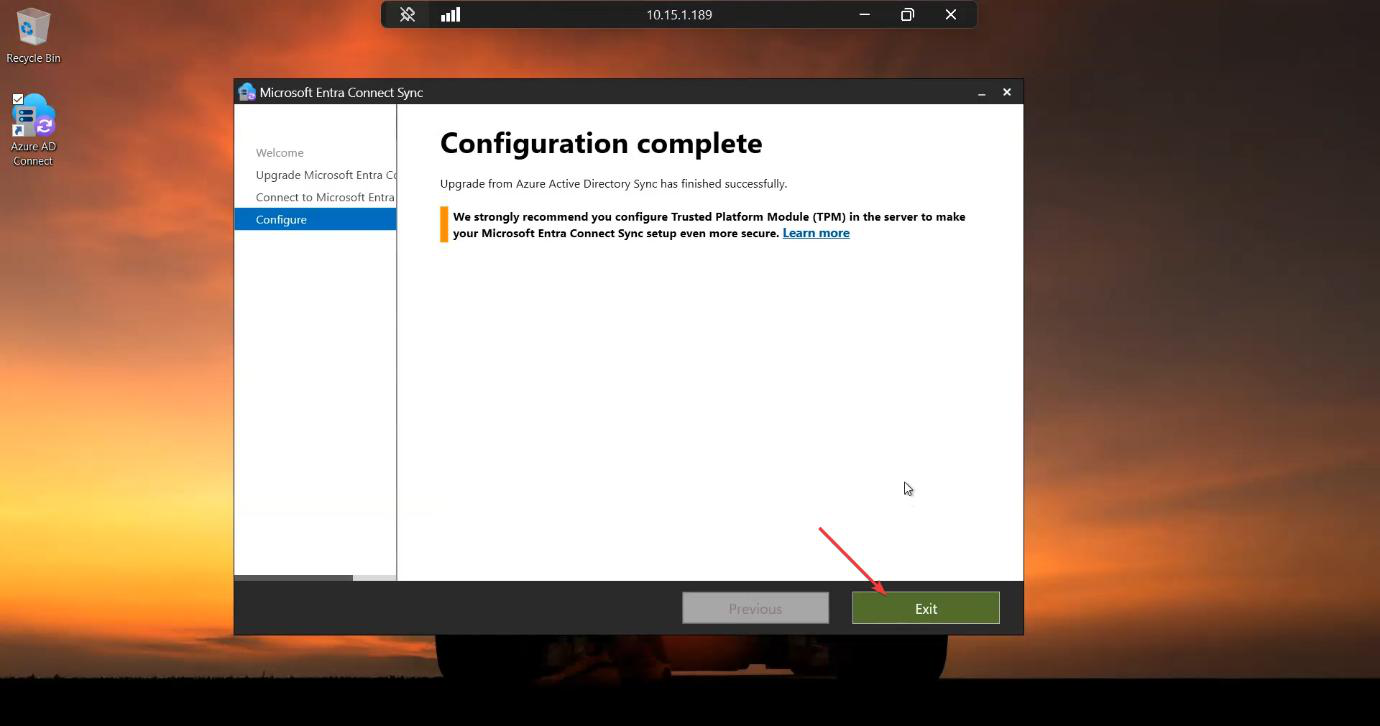
Configuration Complete. Sync auto-restarts. Click Exit.
Phase 4 — verify post-upgrade
Don’t declare victory until three checks pass.
Check 1 — GUI version
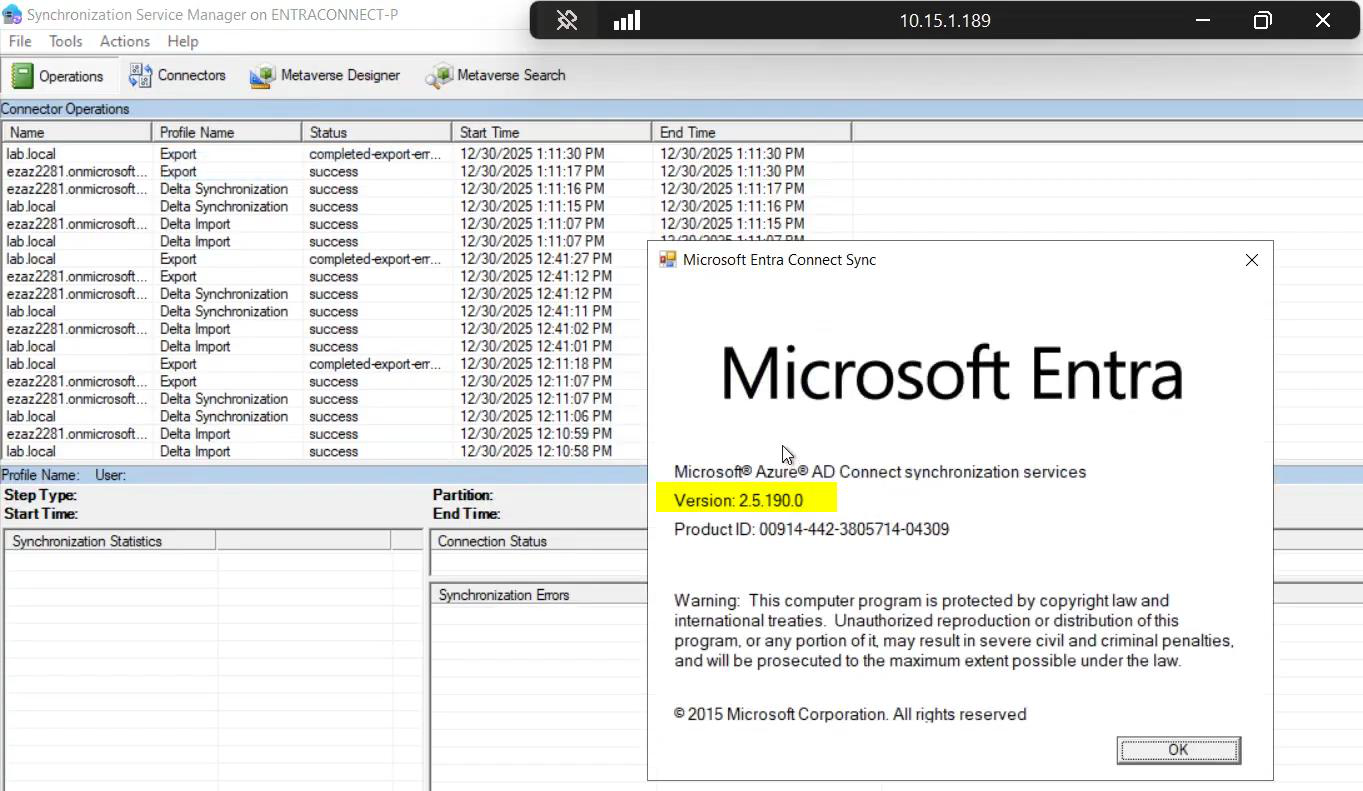
Wait 5-10 minutes after the upgrade completed. Open Sync Service Manager > Operations tab. You should see at least one successful Delta Import and Delta Export run since the upgrade. If not, check the Operations tab for errors; the most common post-upgrade issue is a sync-rule incompatibility that needs manual resolution.
Things that bite people
Skipped the configuration backup
The single most regretted decision. Upgrade goes wrong; you have no backup; rebuilding the EC server from scratch means re-doing every customisation by hand. The backup takes 30 seconds; do it.
Server 2012 R2 + V2.x attempt
The installer fails with a SQL LocalDB error. V2.x doesn’t install on Server 2012 R2. Either upgrade to V1.6.x final (last V1 release) or migrate to a new Server 2016+ host. Don’t fight it.
Insufficient .NET version
Installer fails with a .NET Framework error. Install .NET 4.7.2 or higher (4.8 recommended). Reboot. Retry.
TLS 1.2 not enforced for .NET
Per Part 3, .NET TLS 1.2 has to be explicitly enabled via registry. Without it, the installer’s cloud calls fail. Apply the registry keys + reboot before retrying.
Existing install partially broken
Previous failed install left the system in a half-state. Installer doesn’t recognise it as a clean upgrade target. Either repair via Programs and Features (clicking on the existing entry shows a Repair option), or fully uninstall + import config + fresh install (effectively a migrate-to-same-server).
Sync rules incompatible with new version
You modified default sync rules. The upgrade brings new versions of those rules; your customisations conflict. Post-upgrade, Sync Service Manager shows errors. Open the Sync Rules Editor, find the conflicting rules, decide which version to keep (usually the customised one), and apply.
MFA prompt during upgrade hangs
Same as during fresh install — the MFA pop-up needs https://secure.aadcdn.microsoftonline-p.com in Trusted Sites. If it hangs, kill the wizard, add the URL to Trusted Sites, retry. Caveat: aborting the wizard while it’s in the middle of upgrading the schema can leave the database in a half-migrated state — if that happens, you may need the configuration backup to recover.
Forgetting to re-enable Health Agent
If you originally installed using Hybrid Identity Admin (per Part 1 alternative), the Health Agent was disabled. The upgrade preserves that disabled state. If you want the cloud-side health visibility working, enable the Health Agent post-upgrade with the Microsoft-documented PowerShell command.
What’s next
In-place upgrade is the routine maintenance path. For the more complex case — moving Entra Connect to a NEW server (different hardware, different OS) — the next post covers the migration procedure: install on the new server, import the exported config, decommission the old. Series in the Hybrid Identity pathway.