Server Manager has been the “manage your Windows Servers” tool since the Windows 2008 era, and it shows. It assumes a single trusted-network model, doesn’t play well with hybrid or cloud environments, and the per-server console workflow is painful at scale. Windows Admin Center (WAC) is Microsoft’s replacement: a browser-based management surface that handles Windows Servers, failover clusters, hyper-converged infrastructure, Windows 10/11 endpoints, and Azure resources from one HTTPS interface. No installed agent on managed servers (it uses standard remote management protocols), no client software per admin (any modern browser works), and a clean extension model for adding capabilities.
This walkthrough installs WAC on a domain-joined Windows 11 admin workstation, configures HTTPS port 6516, adds a remote Windows Server 2022 domain controller, and walks through managing Roles and Features through the browser. The deployment-on-Windows-11-instead-of-the-server pattern is deliberate — treating WAC as a per-admin tool rather than centralized infrastructure is the right starting point for most environments.
What you need before starting
- A domain-joined Windows 11 (or 10) admin workstation
- Domain Administrator credentials (for managing remote servers, not for running the installer itself)
- HTTPS port 6516 open inbound on the workstation’s Windows Defender Firewall
- Microsoft Edge or Chrome — any reasonably modern browser works
- Do not install WAC on a Domain Controller. WAC manages DCs from elsewhere; running it on a DC is unsupported and creates an unnecessary attack surface on a tier-0 system.
What WAC actually manages
- Windows Servers — the core use case. Roles, features, services, scheduled tasks, registry, files, certificates, firewall, networking, the lot.
- Failover Clusters — through the Cluster Manager extension
- Hyper-Converged Infrastructure — Storage Spaces Direct, Azure Stack HCI
- Windows 10 / 11 endpoints — via the same protocols
- Azure resources — via Azure-integration extensions; bridges your on-prem and cloud management surfaces
Install WAC on Windows 11
Step 1 — Download the installer
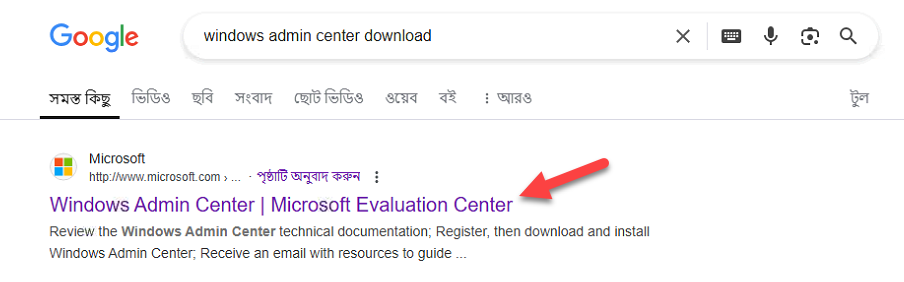
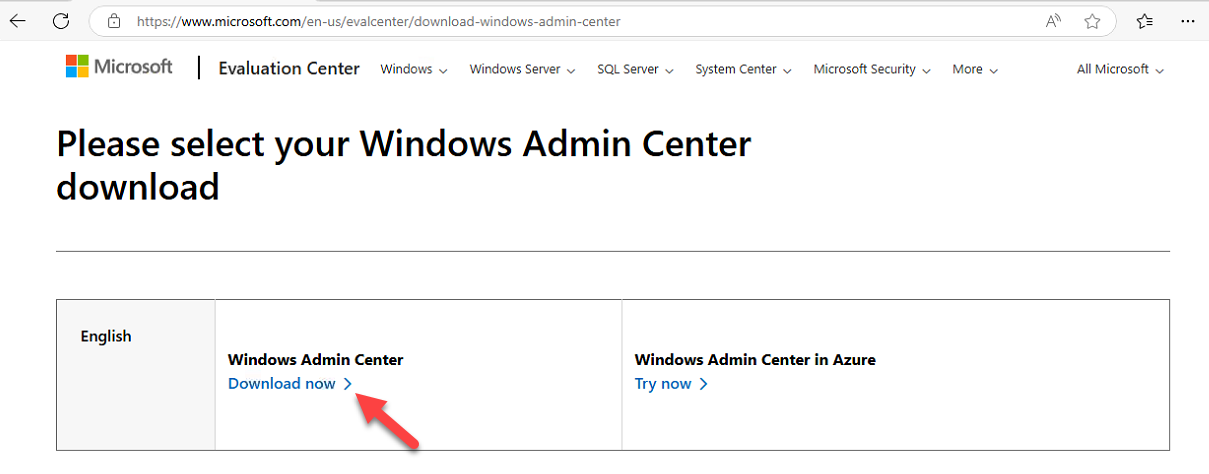
Open Edge, navigate to aka.ms/WACDownload, press Enter. The shortlink redirects to the official Microsoft download page; the MSI installer downloads automatically (or click Download manually). The Microsoft Evaluation Center is an alternative source if you prefer.

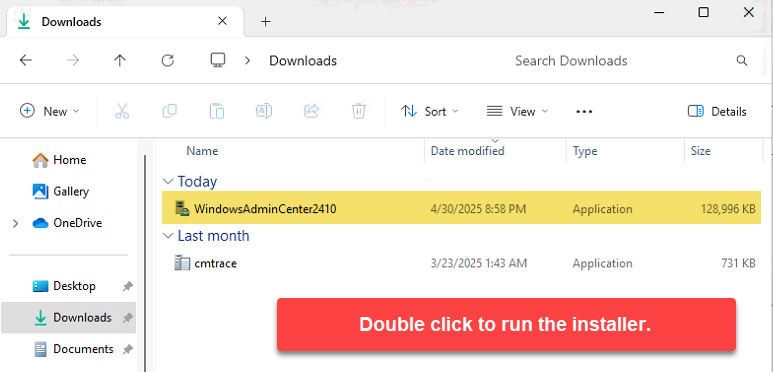
WindowsAdminCenterYYMM.msi matching the release version.Step 2 — Launch the MSI
From Downloads, double-click the .msi (e.g. WindowsAdminCenter2306.msi). The installer takes a moment to prepare its environment.
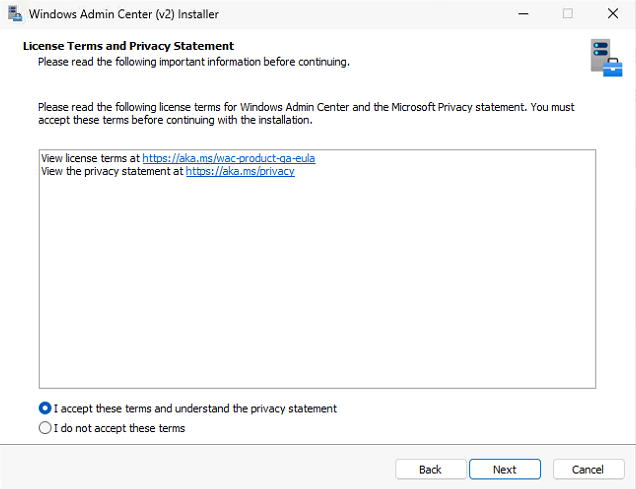
Step 3 — License agreement
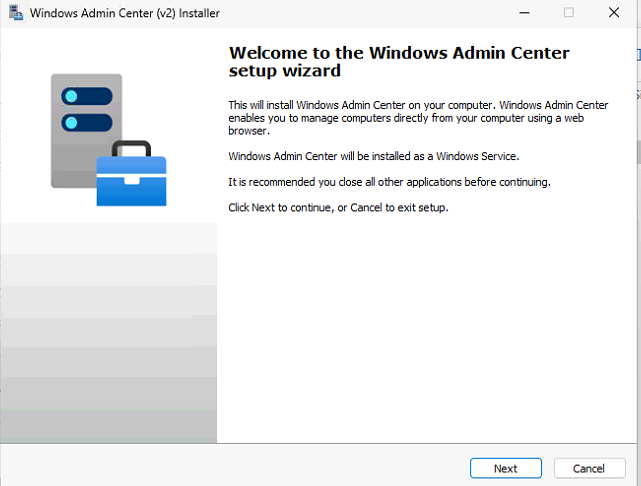
Welcome screen appears. Accept the license terms, click Next.
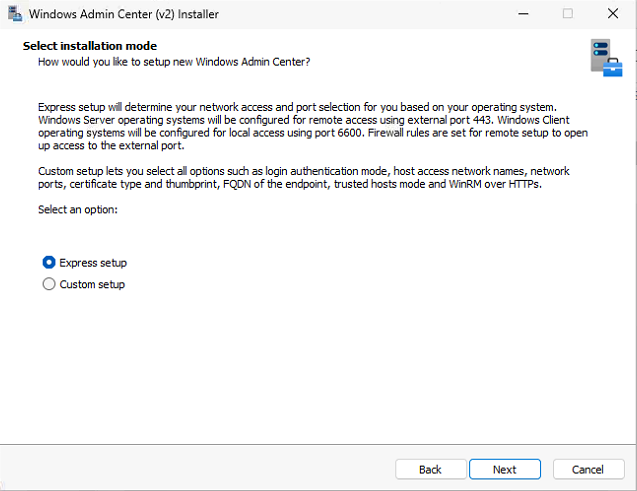
Step 4 — Pick Express Setup
Two installation modes: Express and Custom. Express is right for most workstation deployments — it picks reasonable defaults and uses a self-signed certificate for HTTPS. Custom is for cases where you need to specify a different port, point at a non-default install location, or pre-install a real certificate.
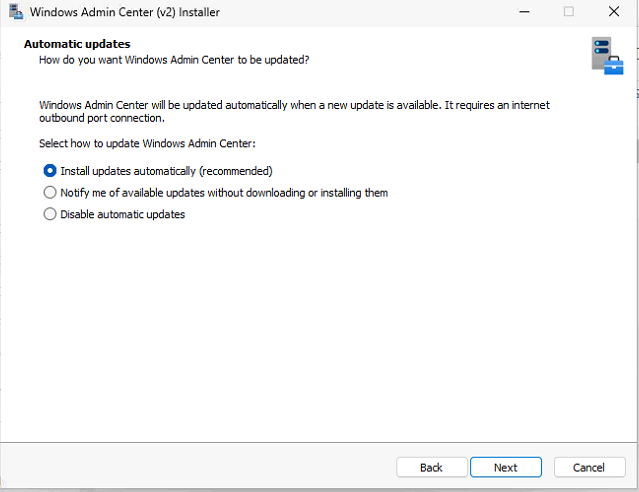
Step 5 — Microsoft Update opt-in
WAC asks whether to receive updates via Microsoft Update. Pick the opt-in — security and feature updates ship through this channel and you want them. Click Next.
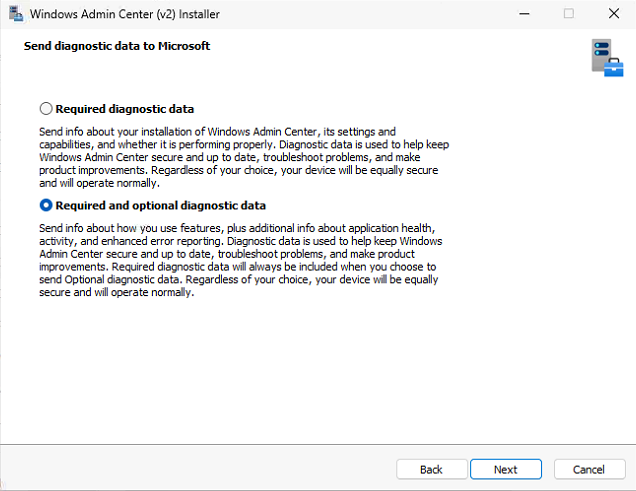
Step 6 — Diagnostic data
WAC sends diagnostic data to Microsoft. Two levels:
- Required — install and configuration telemetry only
- Required + Optional — adds detailed app usage, error reports, performance metrics
For a lab or test environment, Required + Optional is fine. For production with strict telemetry policies, pick Required only.
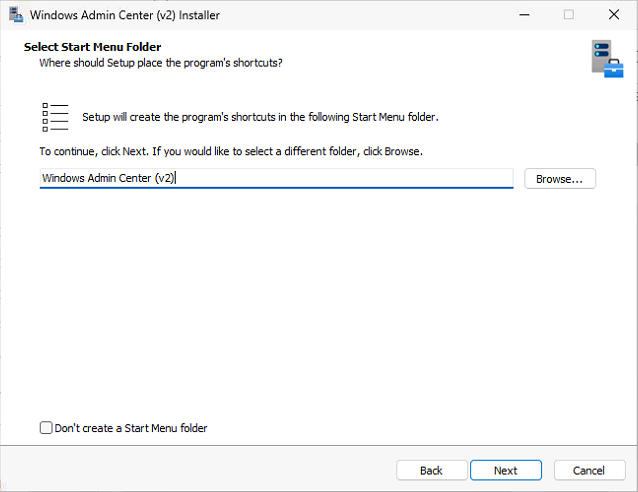
Step 7 — HTTPS port and shortcut
The default HTTPS port is 6516. Change it only if you have a conflict or a policy requirement. Keep the default URL as https://localhost:6516. Tick Create a desktop shortcut. Click Install.
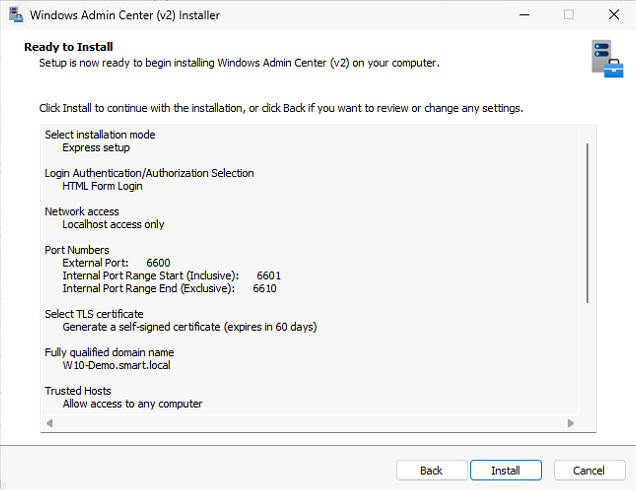
Step 8 — Wait for install
Install runs for a few minutes. WAC sets up its IIS-hosted UI, registers the service, and configures the firewall rule for inbound 6516.
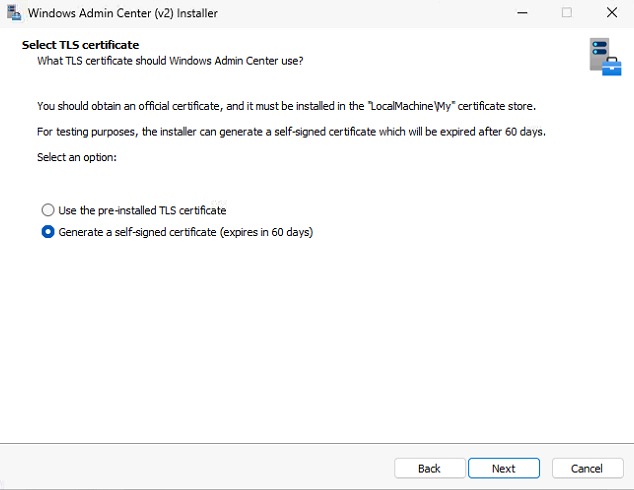
Step 9 — Pick the certificate
WAC needs an HTTPS certificate. The Express installer creates a self-signed cert and prompts you to confirm using it. Pick the self-signed cert and OK. For production, replace the self-signed cert with one issued by your internal CA (or a public CA if WAC will be reachable from outside) — instructions are in the WAC docs. Self-signed is fine for lab and initial deployment.
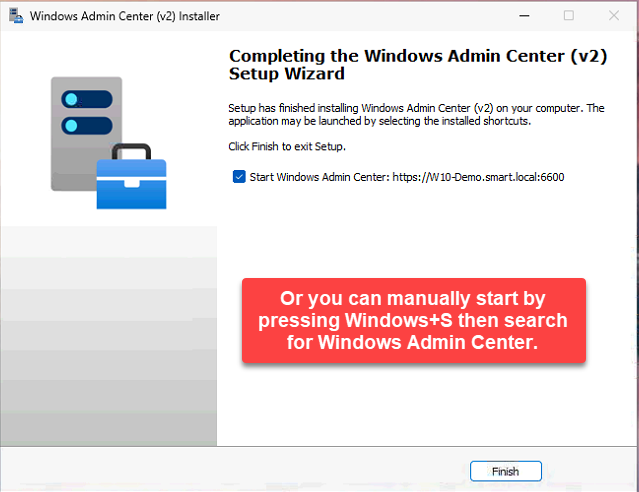
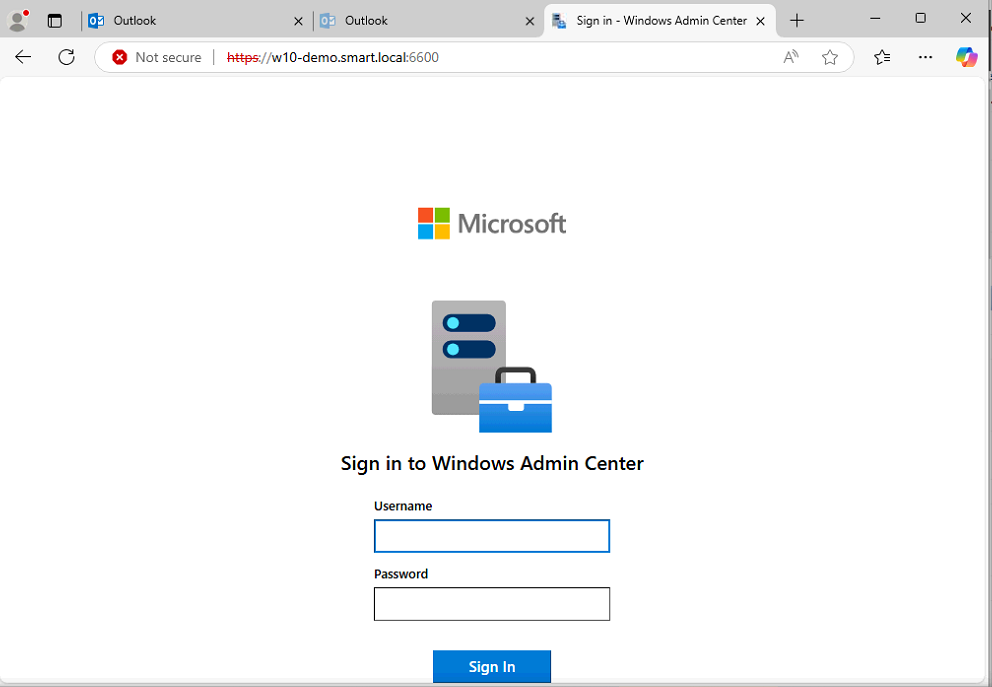
Step 10 — Launch WAC
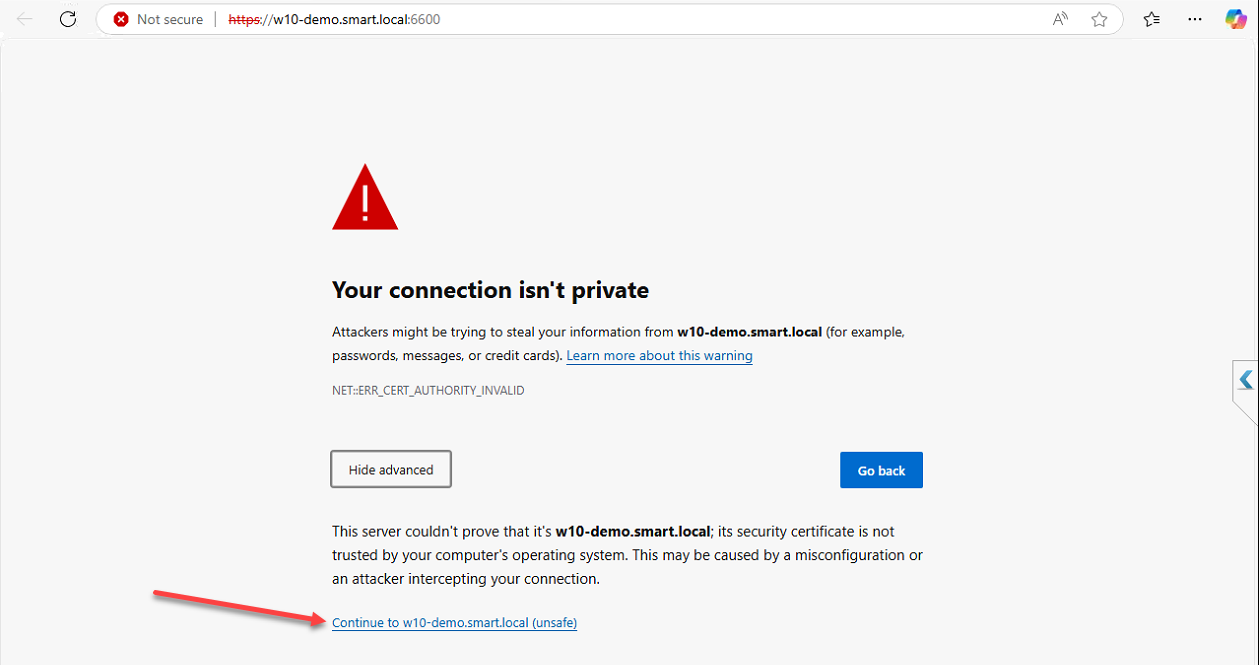
Double-click the desktop shortcut. WAC opens in your default browser at https://localhost:6516. The first browser load shows a certificate warning if you used the self-signed cert — that’s expected; trust it once and the warning disappears.

Add and manage remote servers
Step 11 — Wait for extension updates
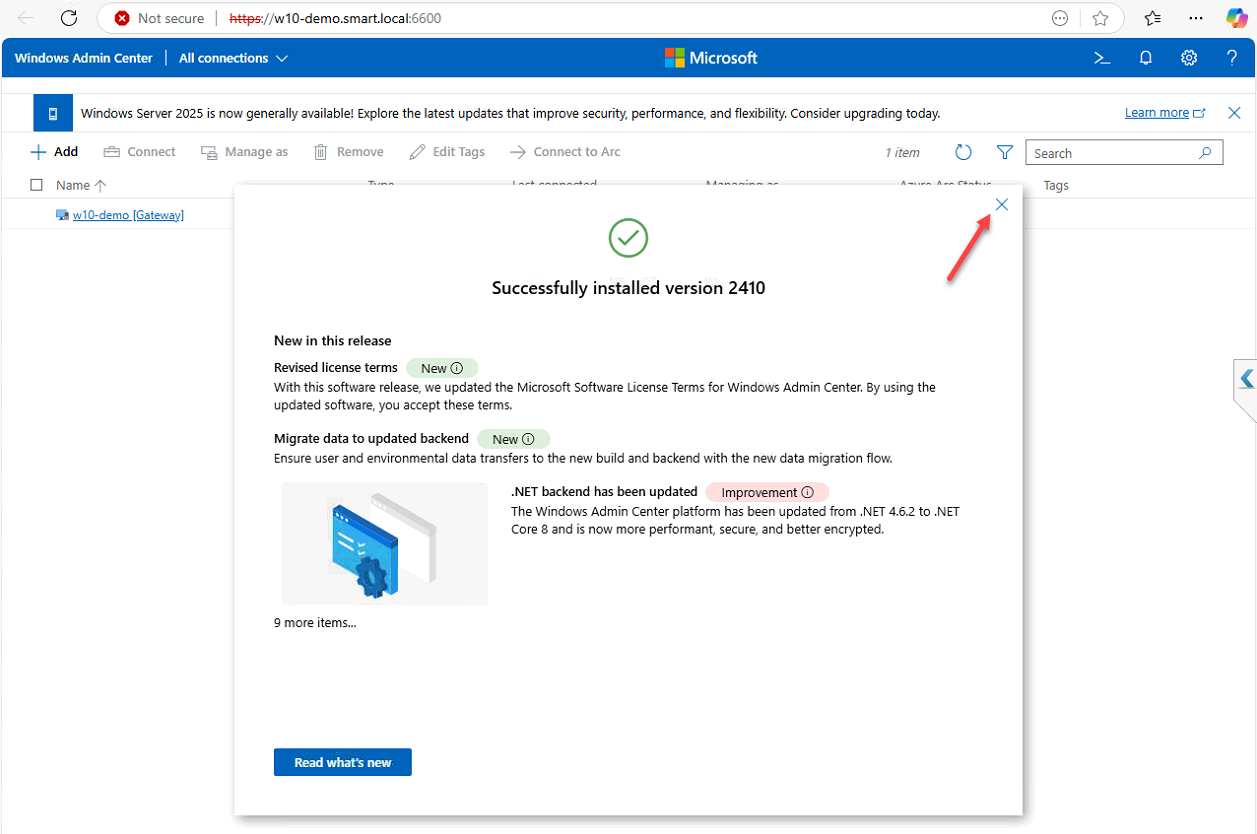
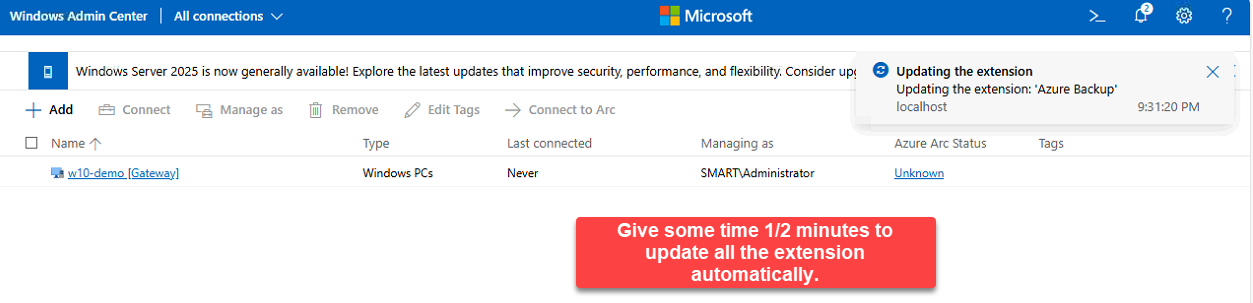
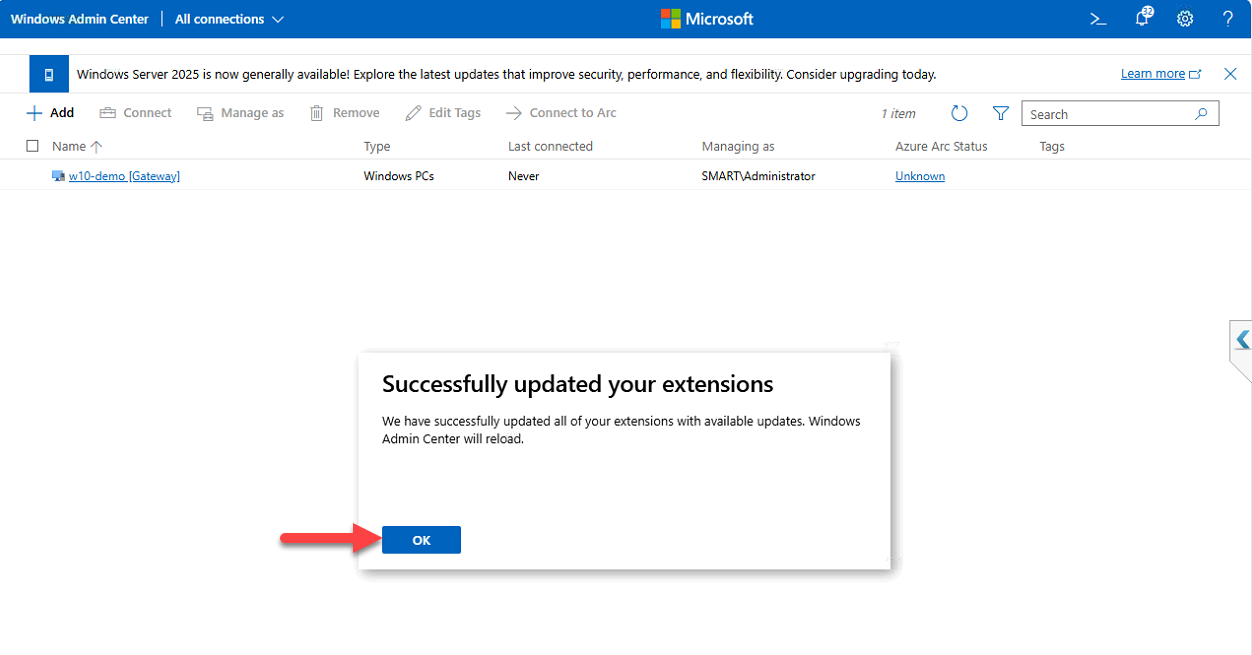
On first launch, WAC checks for and applies extension updates in the background. Wait for the updates to finish; click OK on the confirmation when extensions are current. The extension model is how WAC adds new capabilities — new server roles get manageability through extensions, and Microsoft ships updates regularly.
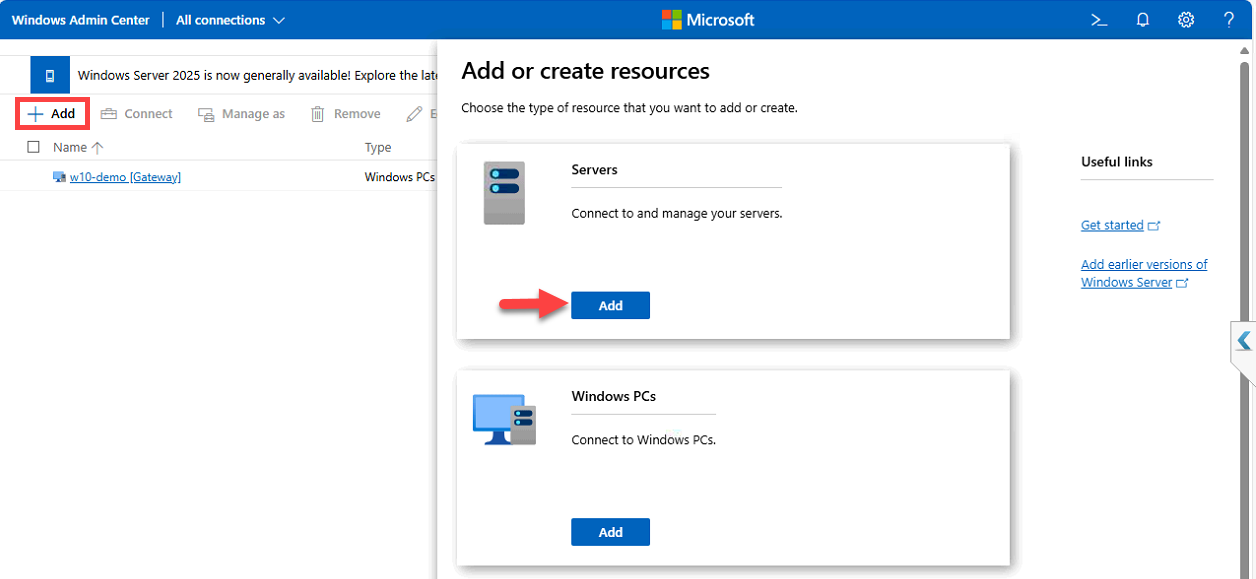
Step 12 — Add the domain controller as a managed server
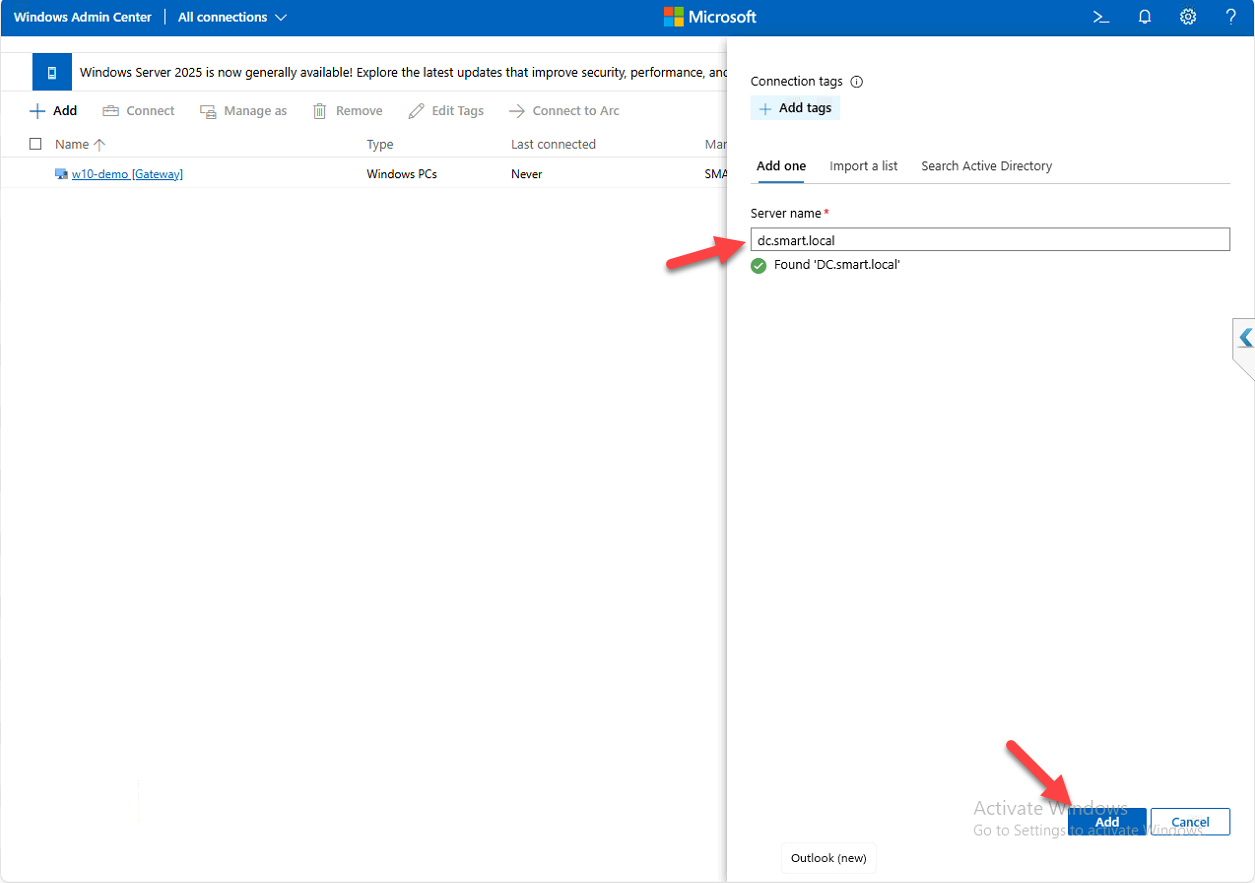
Click + Add in the top panel > Add Connections > Server Connection. Three ways to find the server: type the hostname, search Active Directory, or import from a list (CSV of servers, useful for bulk add). For a single server, type the FQDN:
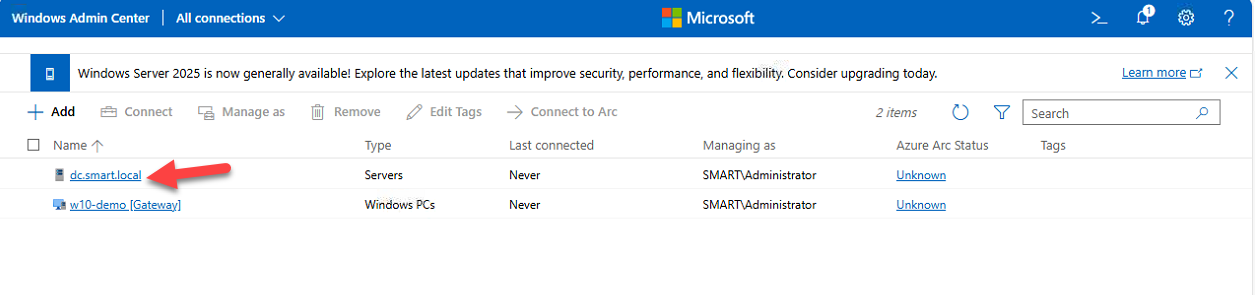
DC.smart.localWAC reaches the server, confirms reachability, and asks for credentials if needed. Click Add. The server appears in the connections list.
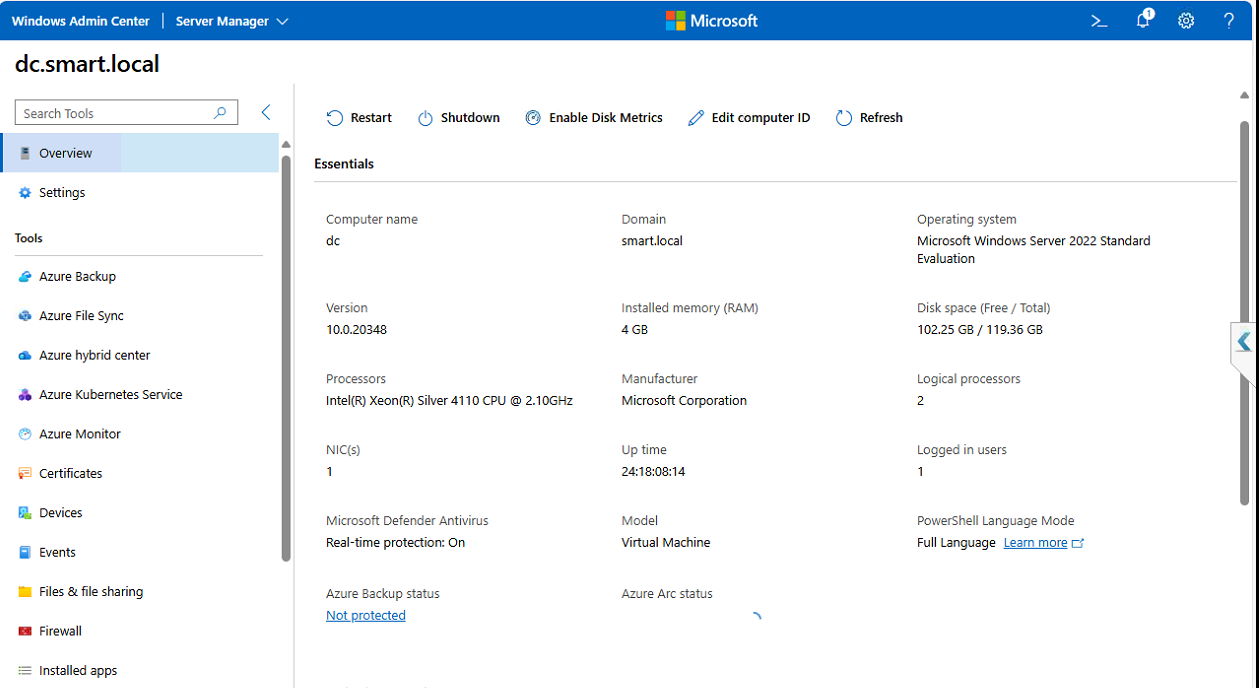
Step 13 — Connect and explore
Click the new server. The WAC dashboard for that server opens with system overview, real-time CPU/RAM/network/disk panels, and a left-nav of management surfaces: Roles & Features, Services, Files, Registry, Event Viewer, Performance Monitor, Scheduled Tasks, Updates, PowerShell, Remote Desktop, and many more depending on installed extensions.
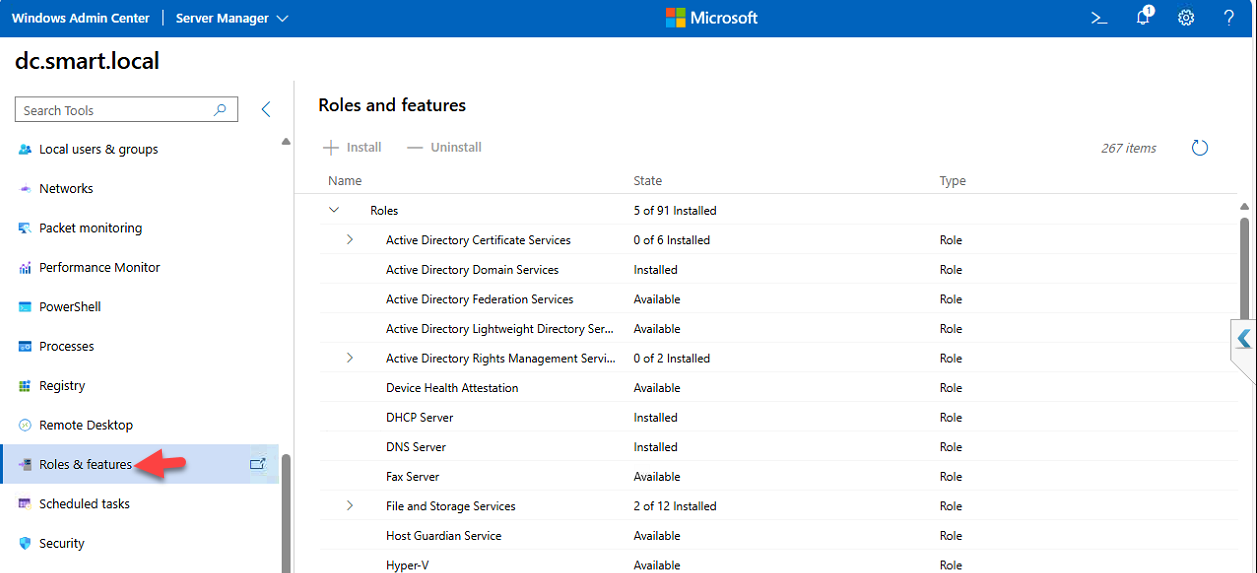
Step 14 — Manage roles through the browser
Open Roles & Features from the left nav. WAC shows every role and feature on the target server with current install status. From here you can install new roles (Web Server, DHCP, etc.), remove ones you don’t need, or just inspect what’s installed — same operations as Server Manager’s Add Roles wizard, but in a browser, against a remote server, without RDP.
Security considerations
If you install WAC in gateway mode (a centralized WAC instance that all admins connect to, rather than per-workstation installs), open inbound HTTPS 6516 on the gateway server’s firewall. For larger environments configure Role-Based Access Control (RBAC) to delegate per-server access without granting full admin everywhere — helpdesk staff get read-only or specific tool access, senior admins get full management.
You can also sign into WAC directly from the DC console if you must (handy for emergency in-band management when the workstation can’t reach the DC over the network), but per the prerequisites — don’t install WAC on a DC.
Bonus: Azure integration
WAC ships with Azure integration extensions: Azure VM management, Azure Backup, Azure Monitor, Azure Security Center, and more. Register WAC with Azure under Settings > Azure — once registered, hybrid management surfaces appear inline in the WAC UI alongside on-prem ones. Useful for environments with workloads in both places.
Extending WAC
The extension model is what keeps WAC current. Open Settings > Extensions to see installed extensions and browse available ones — Storage Migration Service, Cluster Manager, Azure Hybrid Center, and many third-party extensions for backup vendors, SIEM tools, etc. Install only what you actually need; extensions add UI surface and slightly increase the WAC instance size.
Things that bite people in production
Don’t install on a DC
This is in the prerequisites for a reason. DCs should be tier-0 with minimal additional services running. WAC is a management surface and a privileged-access target — running it on a DC creates a path for credential theft from the DC itself.
Replace the self-signed cert for production
Self-signed certs work but produce browser warnings on every machine that hasn’t trusted them. For any production deployment, get a cert from your internal CA or a public CA (if WAC will be exposed externally), and configure WAC to use it. The Microsoft docs cover the cert-replacement procedure in detail.
Gateway mode for teams
Per-workstation WAC installs are fine for one or two admins. For larger teams, install WAC in gateway mode on a dedicated server — everyone connects to the same WAC instance, RBAC is centrally managed, and audit logs land in one place. The trade-off is one more server to maintain; the win is centralized control.
Watch the firewall rule
The Express install opens inbound 6516 on Windows Defender Firewall. If you’re running a third-party firewall on the WAC host, you have to open 6516 there yourself. If WAC users are on a different subnet from the WAC host, the path between them also needs 6516 open.
Manage WAC like any other web app
WAC is a privileged management surface. Treat the host as a tier-1 (or tier-0, if it manages tier-0 servers) machine: limit who can sign in, enable strong authentication (smart cards, MFA via cloud auth), patch promptly, and log everything. A compromised WAC host is one step from a compromised everything-WAC-manages.
Where this fits
WAC is the modern admin surface for Windows Server. The companion pieces are managing Active Directory through Windows Admin Center, managing the DNS Server role through WAC, and enabling Remote Desktop using WAC — once WAC is installed, the rest of the WAC-based admin walkthroughs work against any server you’ve added. For broader Windows Server hygiene see the Windows Server Administration pathway.